Sublimation for Beginners: How to Sublimate a T Shirt
Let's sublimate a t shirt! Here's an easy, beginner-friendly sublimation project for all you sublimation beginners out there!

This step by step tutorial will show you how to do your first sublimation project - how to sublimate on a t shirt!

Open Silhouette Studio and your sublimation design.

We are using the Busy Doing Nothing sublimation design from the March 2022 SVG Design & Font Bundle.

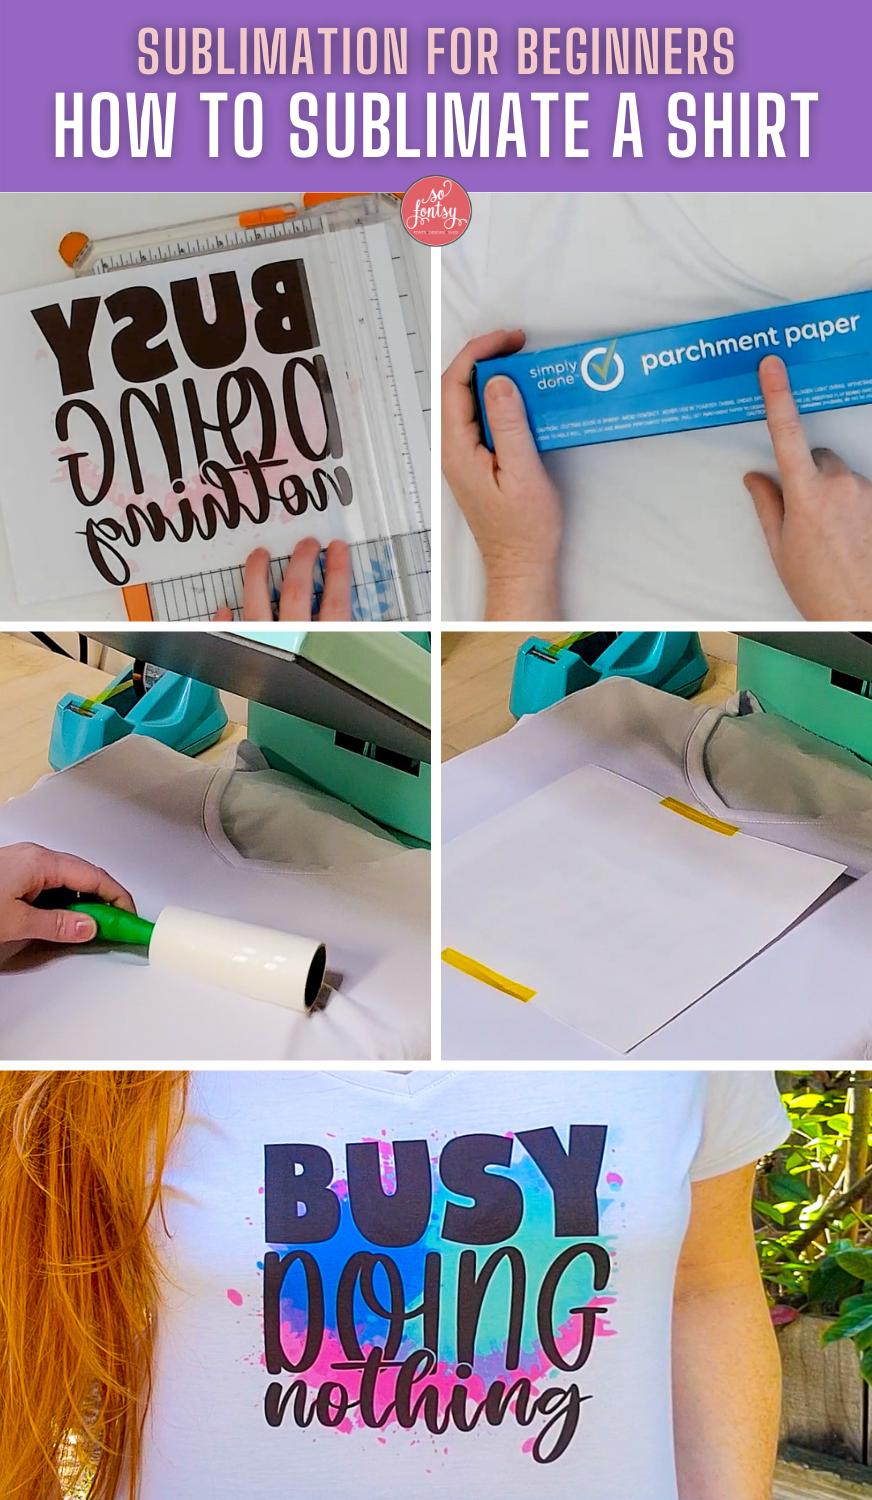
Now it's time to print the design - remember to mirror the design prior to printing. You need to print the image in reverse.
Roughly trim around the sublimation transfer with a pair of scissors or paper trimmer. Don't worry that the image will appear faded and dull. This is normal.

Warm up your heat press to 400 degrees F. Lay a piece of parchment paper over the bottom platen of your heat press. This protects your heat press from any accidental ink transfer.

Place the t shirt on the heat press and do a pre-press of 10 seconds to release any moisture and/or wrinkles in the shirt.

Place a piece of parchment paper inside the shirt, sandwiched between the front and back. This parchment paper will protect the shirt from potential ink bleeding through the front onto the back of the shirt.

Run a lint roller over the t shirt to remove any lint, pet hair, etc.

Place your sublimation transfer face down onto the t shirt.
Place a piece of heat transfer tape on the edges to hold the transfer in place while pressing.

Cover with a piece of parchment paper.

Press for 60 seconds.

After pressing, remove the transfer by lifting the paper up and away from the t shirt.

Your transfer is complete and ready to wear!

Grab the Busy Doing Nothing sublimation design in the March 2022 SVG and Font Bundle:
Check out these other blog posts for more about what you can do with sublimation:
- How to Use Sublimation Blanks
- How to Use Sublimation Transfer Wraps
- Sublimating on Glitter HTV (Sublimation on Cotton and Darks Hack)
- How to Sublimate on Wood
Watch the project timelapse video below:
Love it?!? Pin it for later:


