
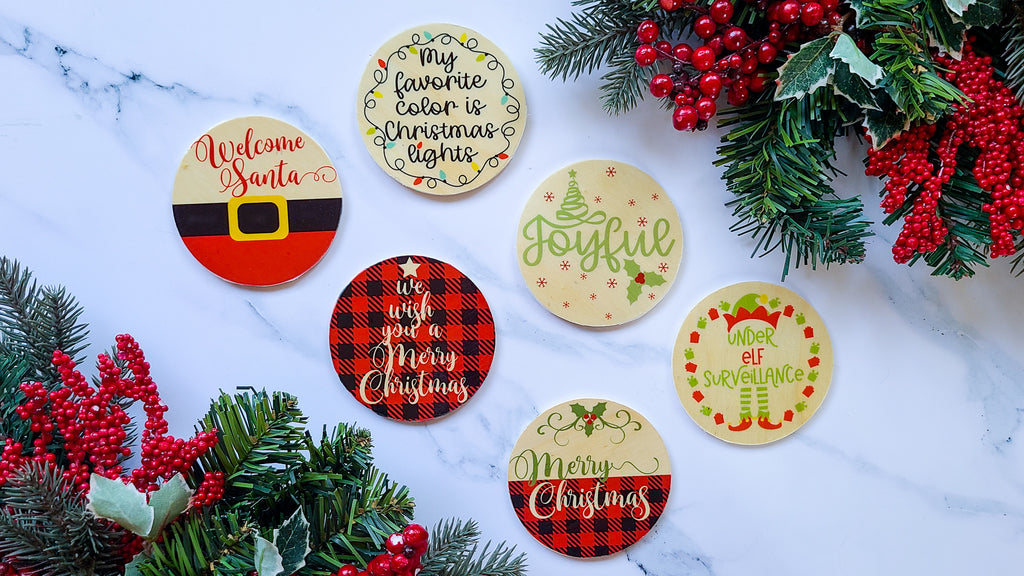
How to Sublimate on Wood

Now you have even more options when it comes to making wood signs - you can use sublimation!
In this tutorial, we'll show you how to sublimate on wood - it's surprisingly easy!
Find the sublimation designs used in this project in the Big Fall and Winter Porch SVG Bundle:

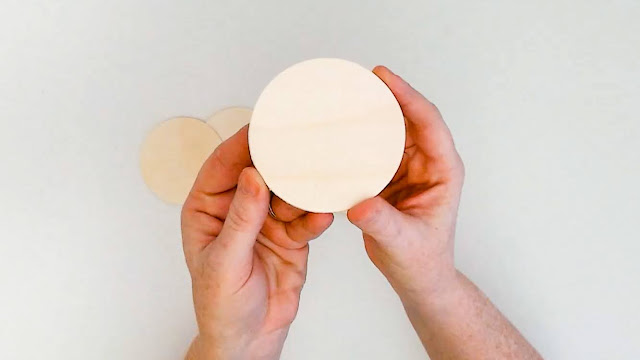
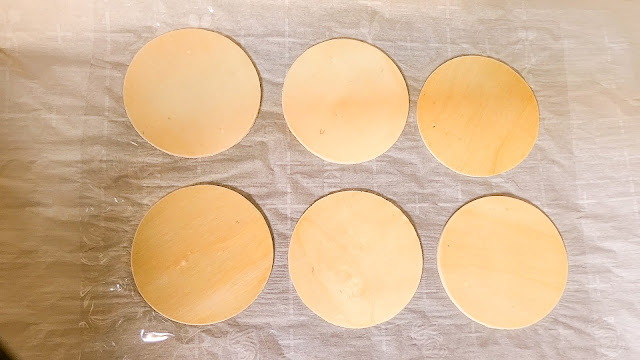
Small, thin wood slices are perfect for this project because they to fit into a heat press.
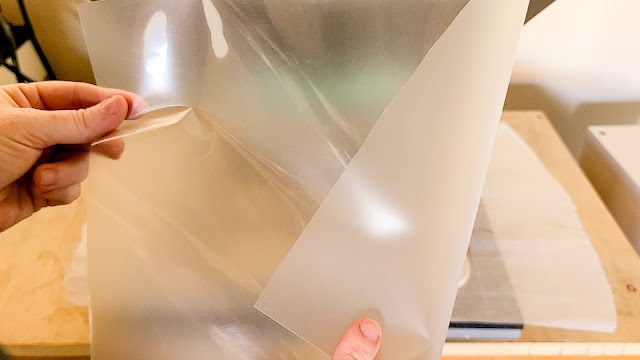
You'll also need thermal laminating pouches - the kind you would use to laminate a piece of paper in a laminator.
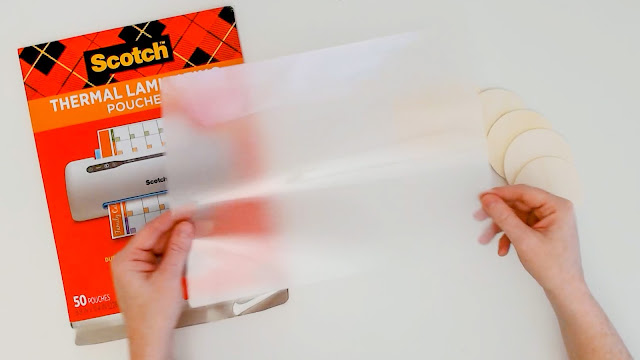
Cut the laminating pouch at the seam to separate the top and the bottom which creates two sheets.
Set one sheet aside because we only need one for this project.

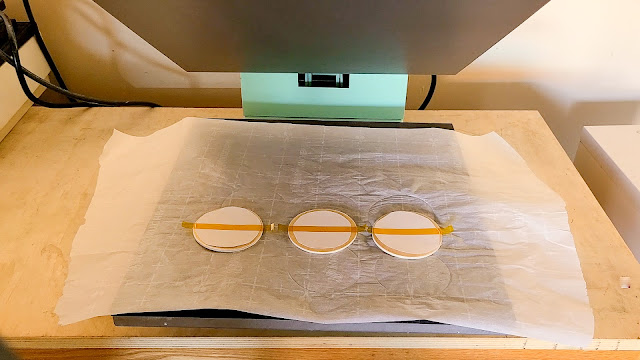
Set your heat press at 385 F for 60 seconds and place a piece of parchment paper on the bottom platen of your press.
Place the wood slices on the warmed-up heat press, the place thermal laminating sheet over wood slices. The laminating sheet should extend beyond all the edges of the wood slices.
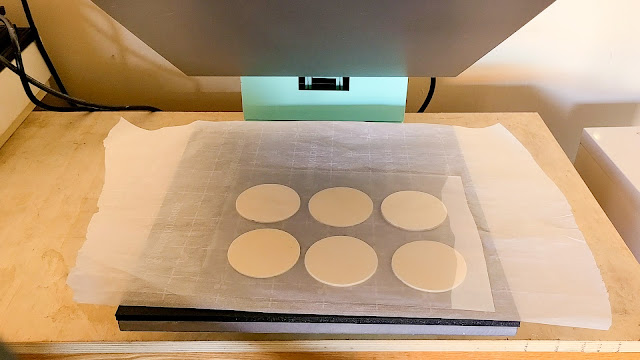
Place the matte or "frosted" side (the "inside" of the pouch) on top of the wood slices, the glossy side (the "outside" of the pouch") should be facing up.
Next, cover them with another piece of parchment and press for 60 seconds. Remove the wood slices - the laminate will be stuck to them.
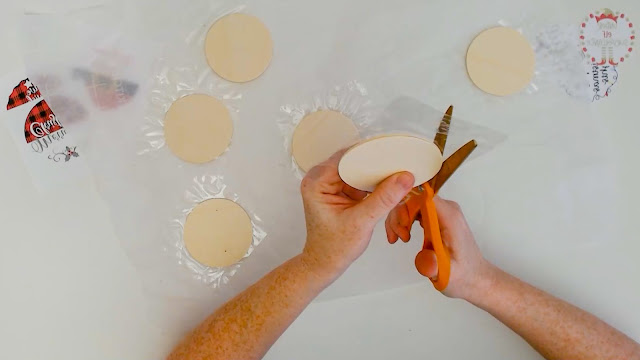
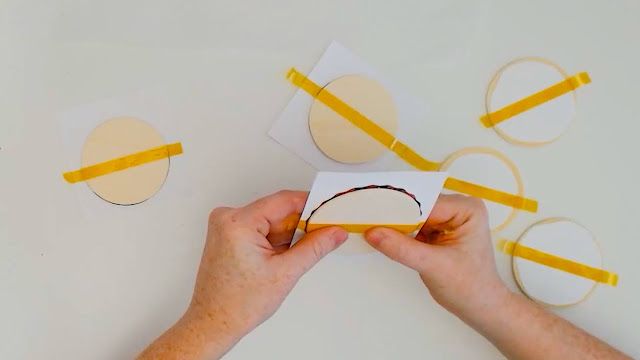
Cut away the excess laminate around the edges of the wood slices. You can do this with a pair of scissors or even craft knife on a self-healing cutting mat.
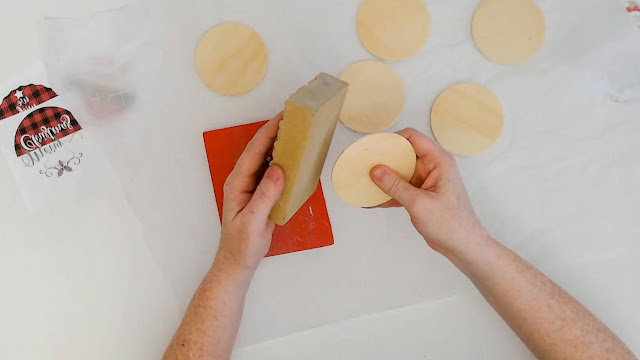
Then, use a piece of sandpaper or a sanding block to smooth out the edges of the wood slices.
Next, print out your sublimation design. We used the Sawgrass SG1000 for this project. Then, trim away excess paper around the design, if necessary.
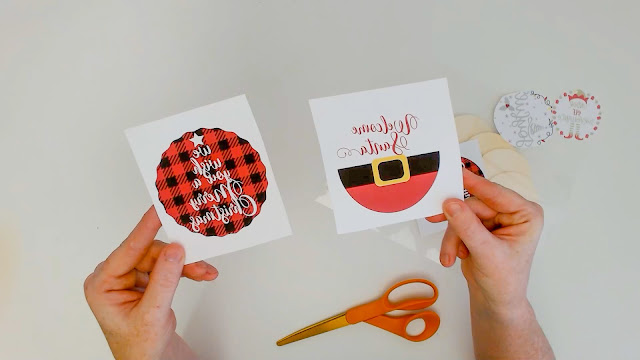
Apply the sublimation design face down over the laminated wood slices.
Hold the paper in place with a strip of heat resistant tape.
Next, take the wood slices back to the heat press - still at 385 F - and place them on the heat press with the sublimation paper on top.
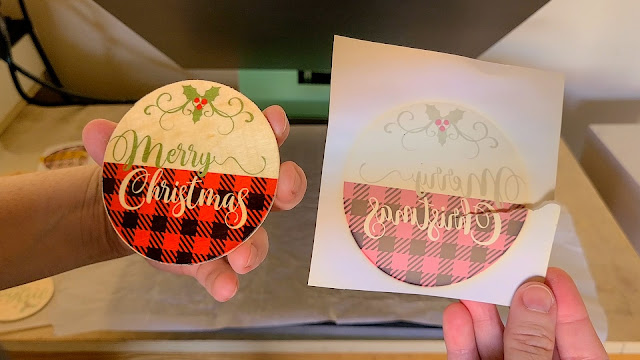
Cover them with a piece of parchment and press for 60 seconds. Then, carefully remove the sublimation paper.
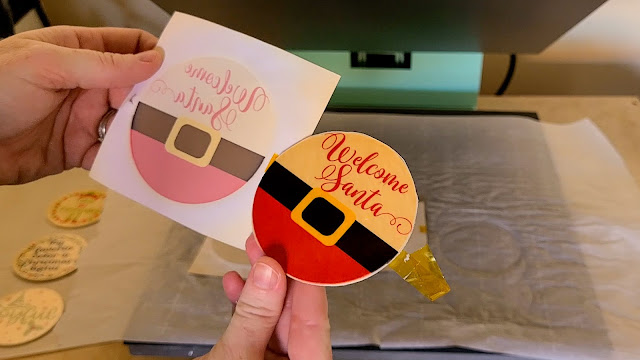
Isn't that so cool?! Just imagine all the fun projects you can create with sublimated wood!
You can find all the designs used in this project in the Big Fall and Winter Porch SVG Bundle.

Watch the timelapse video tutorial below:
Like this project? Pin it!

