
How to Use Heat Press Transfer Paper with Dark and Light Materials

No sublimation printer? No problem! You can still transfer images onto both dark and light materials using heat press transfer paper. In this tutorial, we'll show you how to do it!
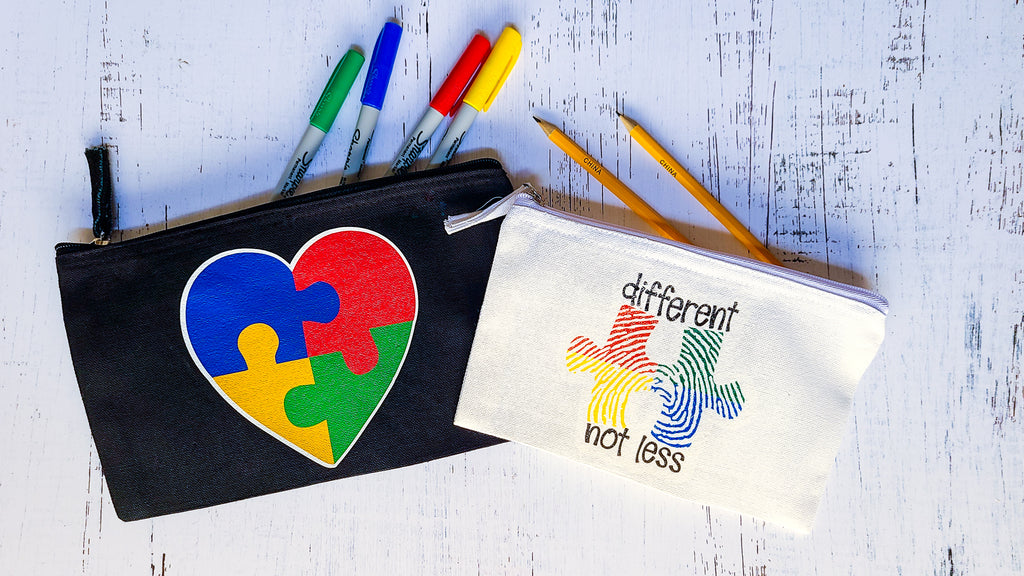
In this tutorial, we're using StarCraft Inkjet Printable transfers. There are two different kinds - a heat press transfer paper for light-colored materials, and another transfer paper for dark-colored materials.

This tutorial will show you the steps for both materials, but the directions are included with the heat press transfer paper so it's super easy to reference while working on your project.

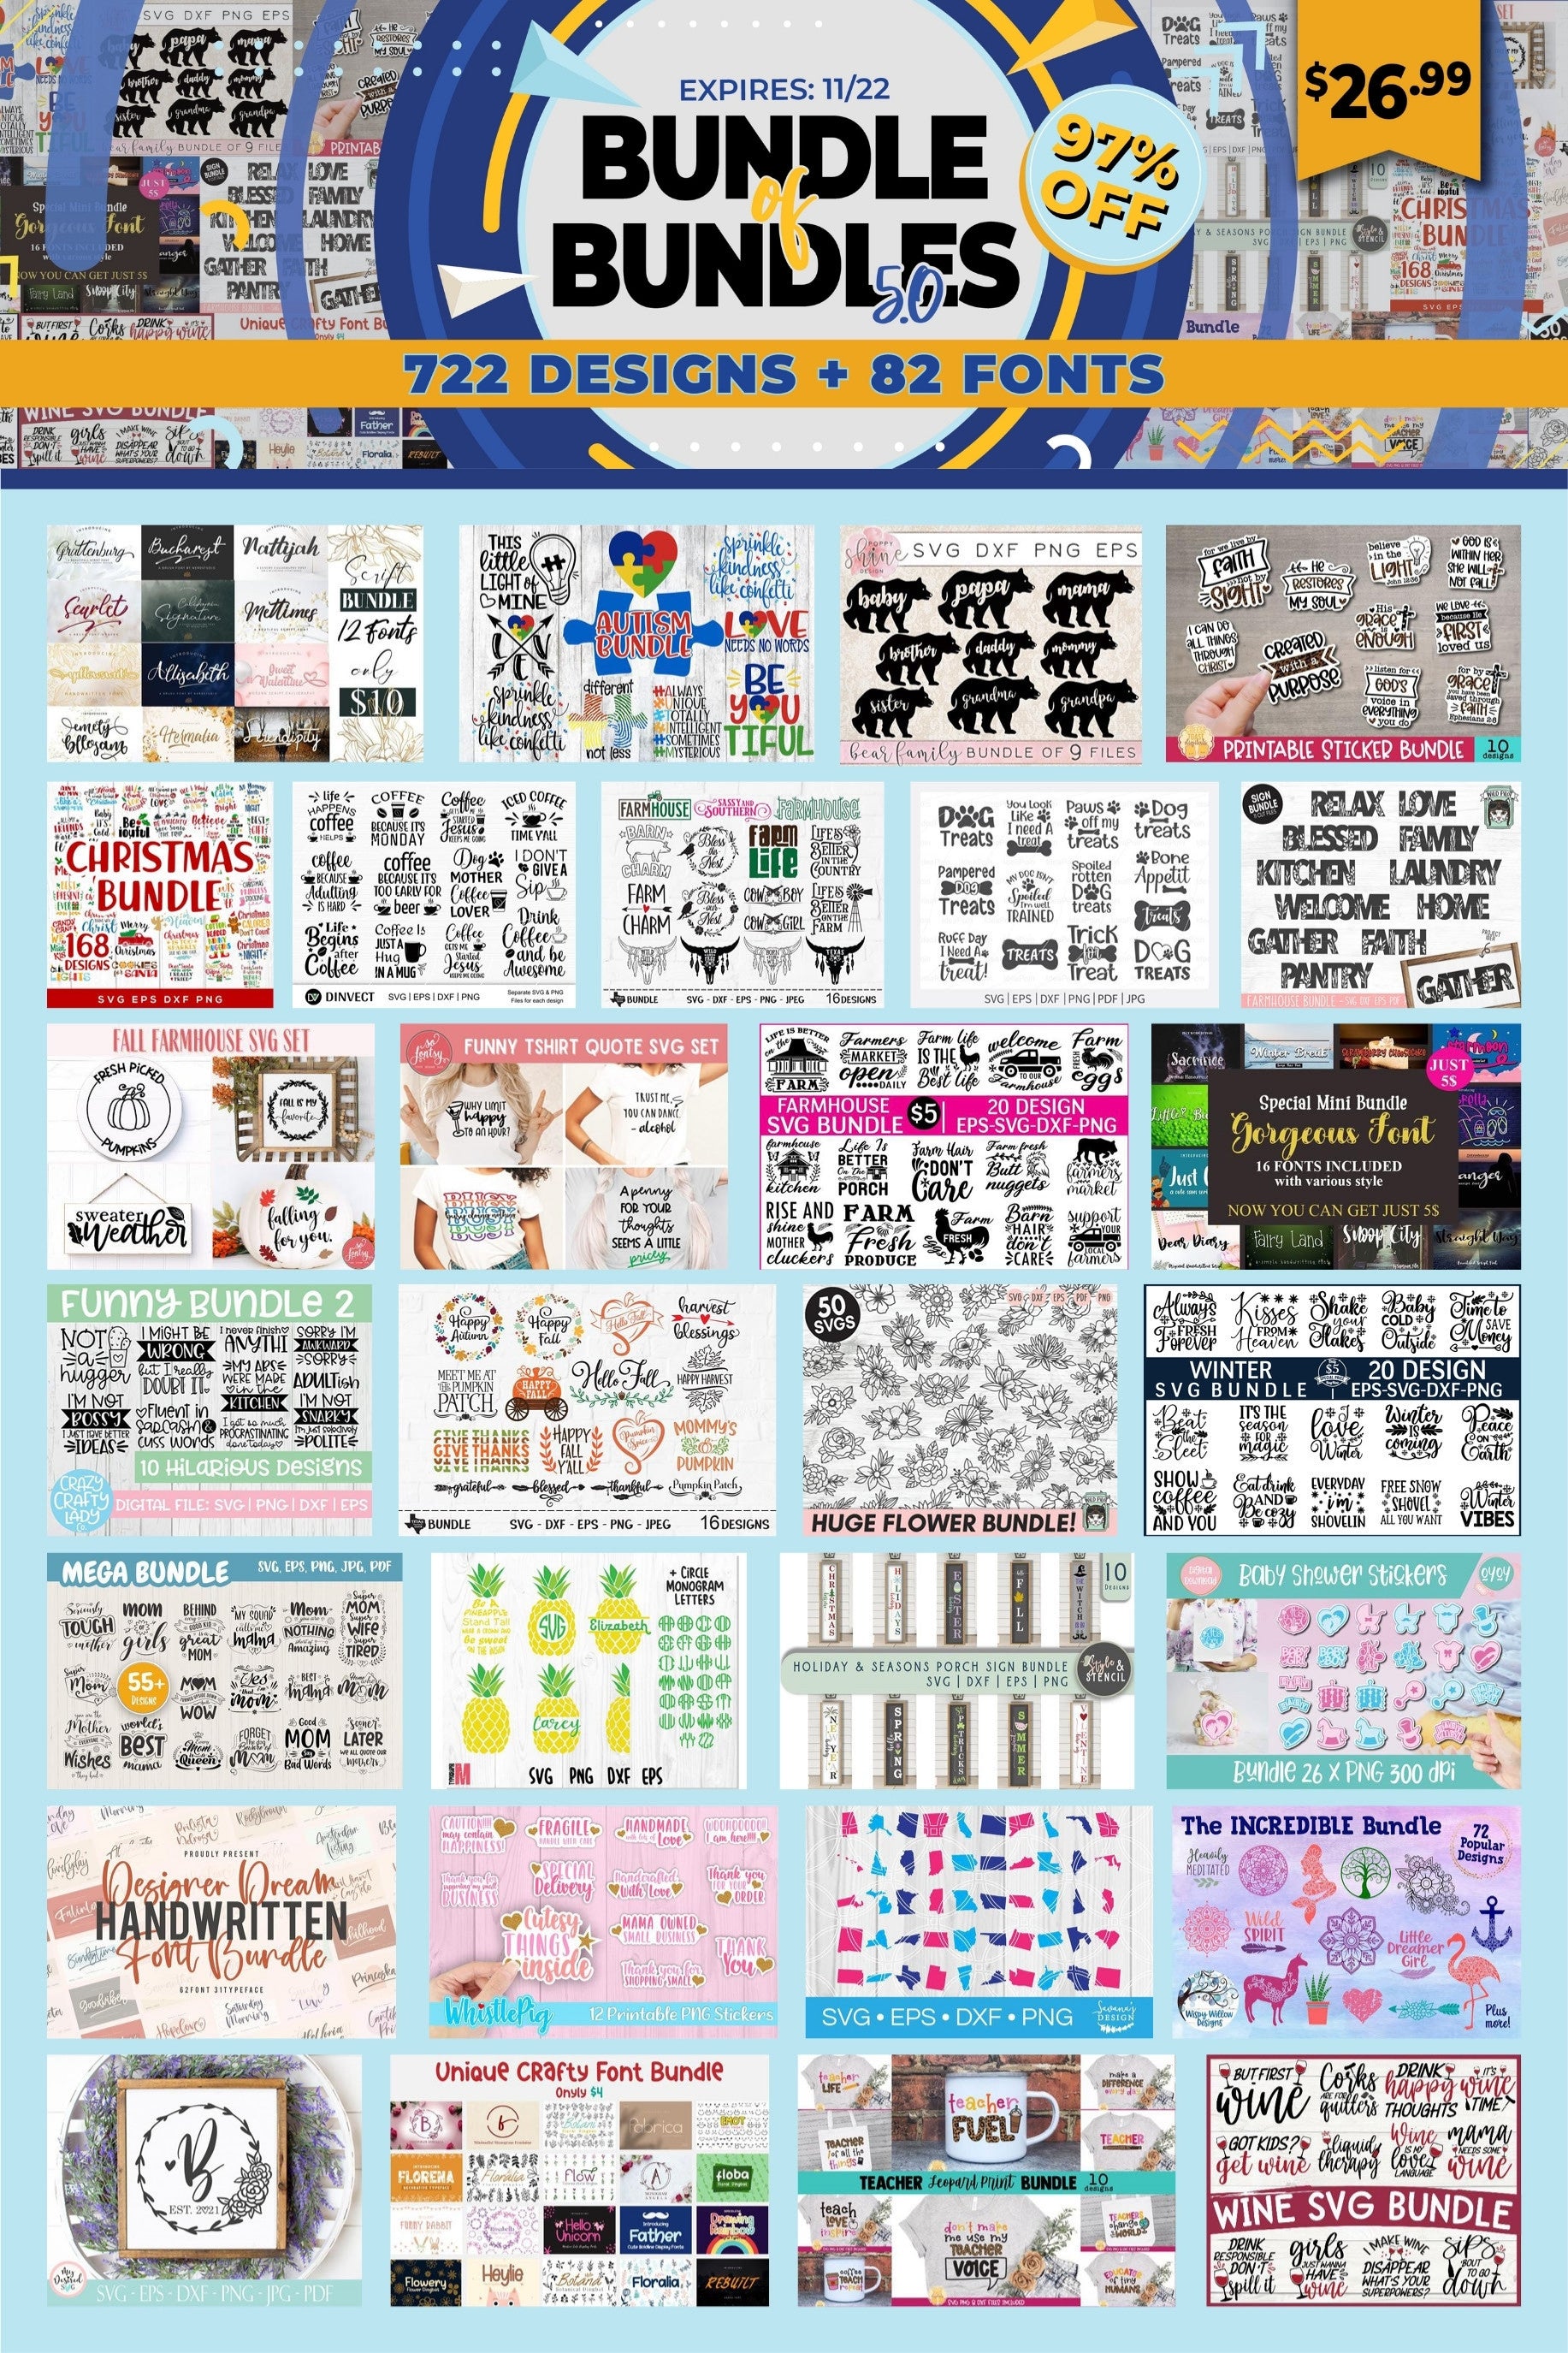
You can grab the designs used in this project in the Bundle of Bundles 5.0 SVG Designs & Font Bundle - it's 97% off and includes over $900 in designs & fonts for your die cutting machine!

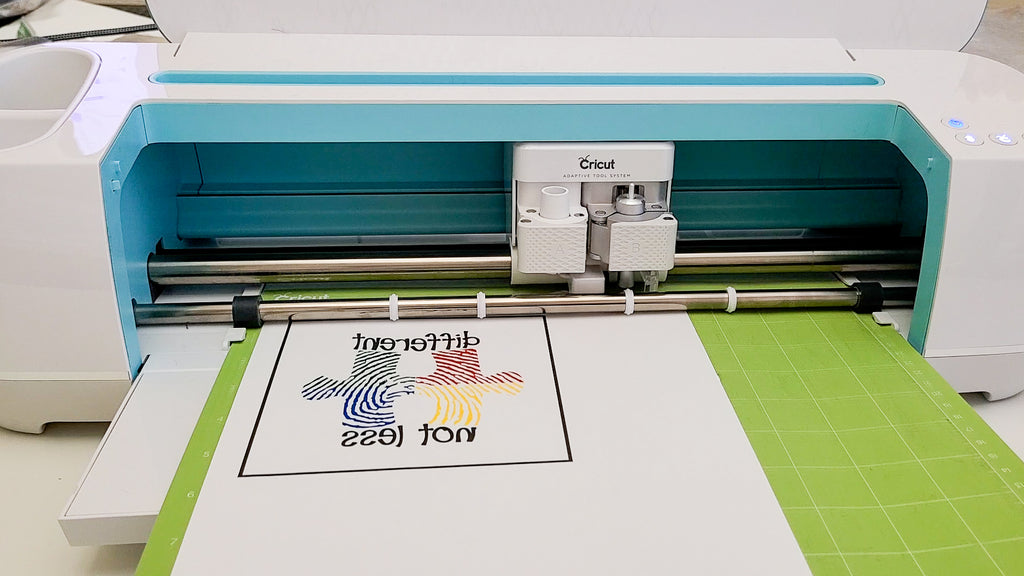
I am using the Print Then Cut feature in Cricut Design Space.
Print your image on your inkjet printer and place onto your mat.
** When using the transfer paper for light materials, you need to mirror the image prior to printing.
** When using the transfer paper for dark materials, you do not need to mirror.
Cut out your design.
Trim or weed away the excess material from around the design.
You can do this with a pair of scissors or create an offset around your design in Cricut Design Space.


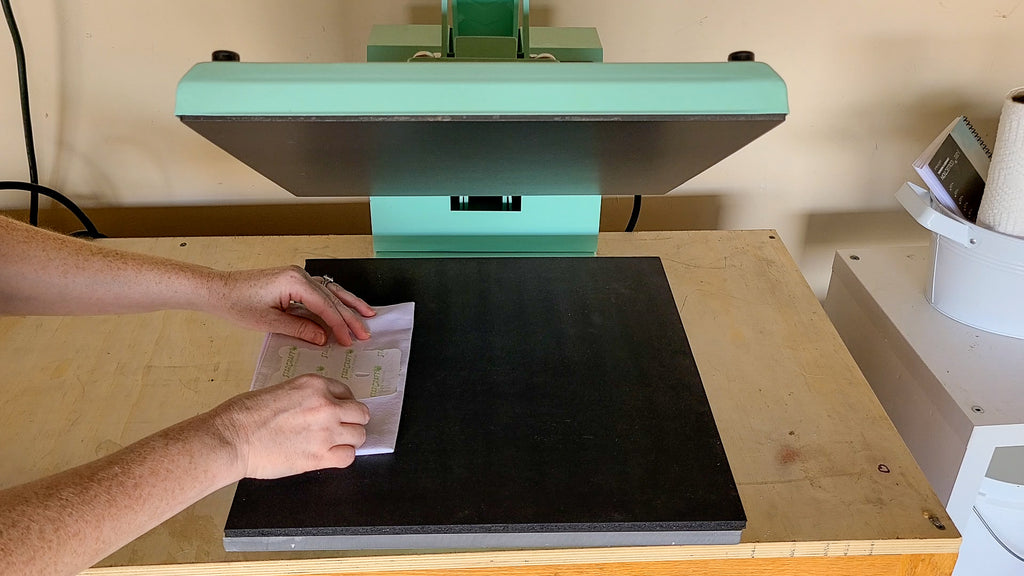
Next, it's time for pressing. You're going to get best results when using a heat press.
Transfer Paper for Light Materials
With the transfer paper for light materials, heat up the press to 375 degrees F.
Lay the transfer with the printed side down and press for 30 seconds with heavy pressure.
Then, peel off the transfer right when it’s done, while it’s still hot.

Transfer Paper for Dark Materials
Now, with the transfer paper for dark materials, before pressing, you first need to remove the image from its release liner - the backing.
Then, this time you’ll lay the transfer down with the printed image facing up.

Then cover with a piece of parchment. And press at 350 degrees F for 30 seconds.
And then after pressing, wait until it’s completely cooled to peel off the parchment.

It's as easy as that to print and press heat press transfers at home with your inkjet printer!
If you liked these designs, you can find them in the Bundle of Bundles 5.0 SVG Designs & Font Bundle:
And check out the project's video tutorial below:
Pin it for later!!
![]()


