How to Use a Mug Press

In this tutorial, you will learn how to use a mug press and create this ready-for-summer tumbler. You can find this sassy summer design in the Funny Sayings SVG Design Bundle.
A mug press is a great addition to your crafting tool set because it allows you to efficiently press HTV and sublimation onto mugs, glasses, and tumblers with consistent results.

We are using the Swing Design Digital Coffee Mug and Cup Heat Press. Always use the press on a flat, sturdy surface. Keep in mind the press will get very hot so if you can, set up near a window.
Always read the manual and manufacturer's directions before using as well as performing a test press on scrap material before pressing your actual project.
Attach the Correct Size Attachment
If applicable, attach the correct size attachment to the mug press before starting your project. To do this, make sure the press is completely cooled down (if you recently used it), and unplugged from the outlet.
Unplug the installed attachment from the digital panel unit by unscrewing it and gently pulling it out.

Unscrew the four screws on the mug press part to release the attachment.

Slide out the attachment & slide in the correct size. The side with the cord should be closest to the digital panel unit.

Reinstall the screws to secure the correct attachment in place in the mug press.

Plug and screw in the cord to the digital panel unit.

Note: if your mug press has a cord holder (to hold the cord out the way), you may need to remove it with a screwdriver prior to switching attachments.

Adjust mug press pressure
Before plugging in or turning on the machine, check the mug press pressure. Use the pressure knob to adjust the pressure between the mug and the attachment.
When you turn the knob to the right it will reduce the pressure. When you turn the knob to the left it will increase pressure.

Place the mug or tumbler in the mug press, and push down the handle to check the pressure. Keep adjusting the knob until you find the suitable pressure.

Check your mug press manual or with the manufacturer of the substrate (the mug or tumbler) for recommended pressure settings.
Turning on the press
Plug in the mug press machine to an outlet and turn it on by pressing the switch, and the switch should light up.

The first few times you turn it off it might give off a non-toxic odor which is totally normal and will eventually go away.
Set Time and Temperature
Press the SET button and then use the arrow keys to select the desired temperature. When done setting temperature, press SET again.

Use the arrow keys to set the time. Hold SET for 3 seconds to save the time and temperature settings.

When your target temperature has been reached, it's time to press your mug.
Pressing A Mug
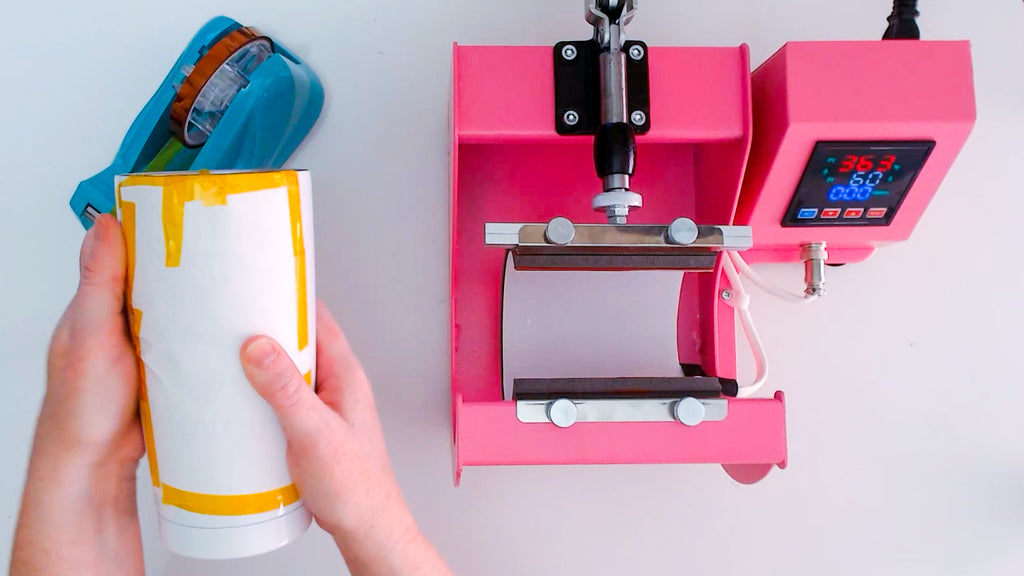
Attach the sublimation paper transfer with heat resistant tape with the image side facing the sublimation mug.

Put the mug/tumbler in the middle of the heat pad ...

... and pull down the handle.
Press the red button on the side of the press to start the time.

During press, you'll see the temperature setting drop which is completely normal.
The machine will beep when the timer is done. Press the red button to stop the timer beeping.
The mug will be EXTREMELY hot! DO NOT use your bare hands to take the mug out of the press. Use an oven mitt! (Note: with full tumbler wraps or large designs, you make need to rotate/move the mug in the press, then press again).

After pressing, carefully remove the sublimation paper (or carrier sheet if you pressed HTV).

To press another mug, wait for the temperature to return to the set temperature before pressing the next mug.
Unplug the machine when not in use and store the mug press open.

Keep the machine clean and dust free. Clean the mug press mat with damp soft cloth about once a month.
And don't forget to enjoy your newly pressed mug or tumbler!

You'll find this sublimation design we used in this project in the Funny Sayings Bundle.
If you want a tutorial for a full sublimation wrap tutorial with a mug press, check out this blog post:
Watch the project timelapse below:
PIN it for later:


