How to Make a Monogram in Cricut Design Space
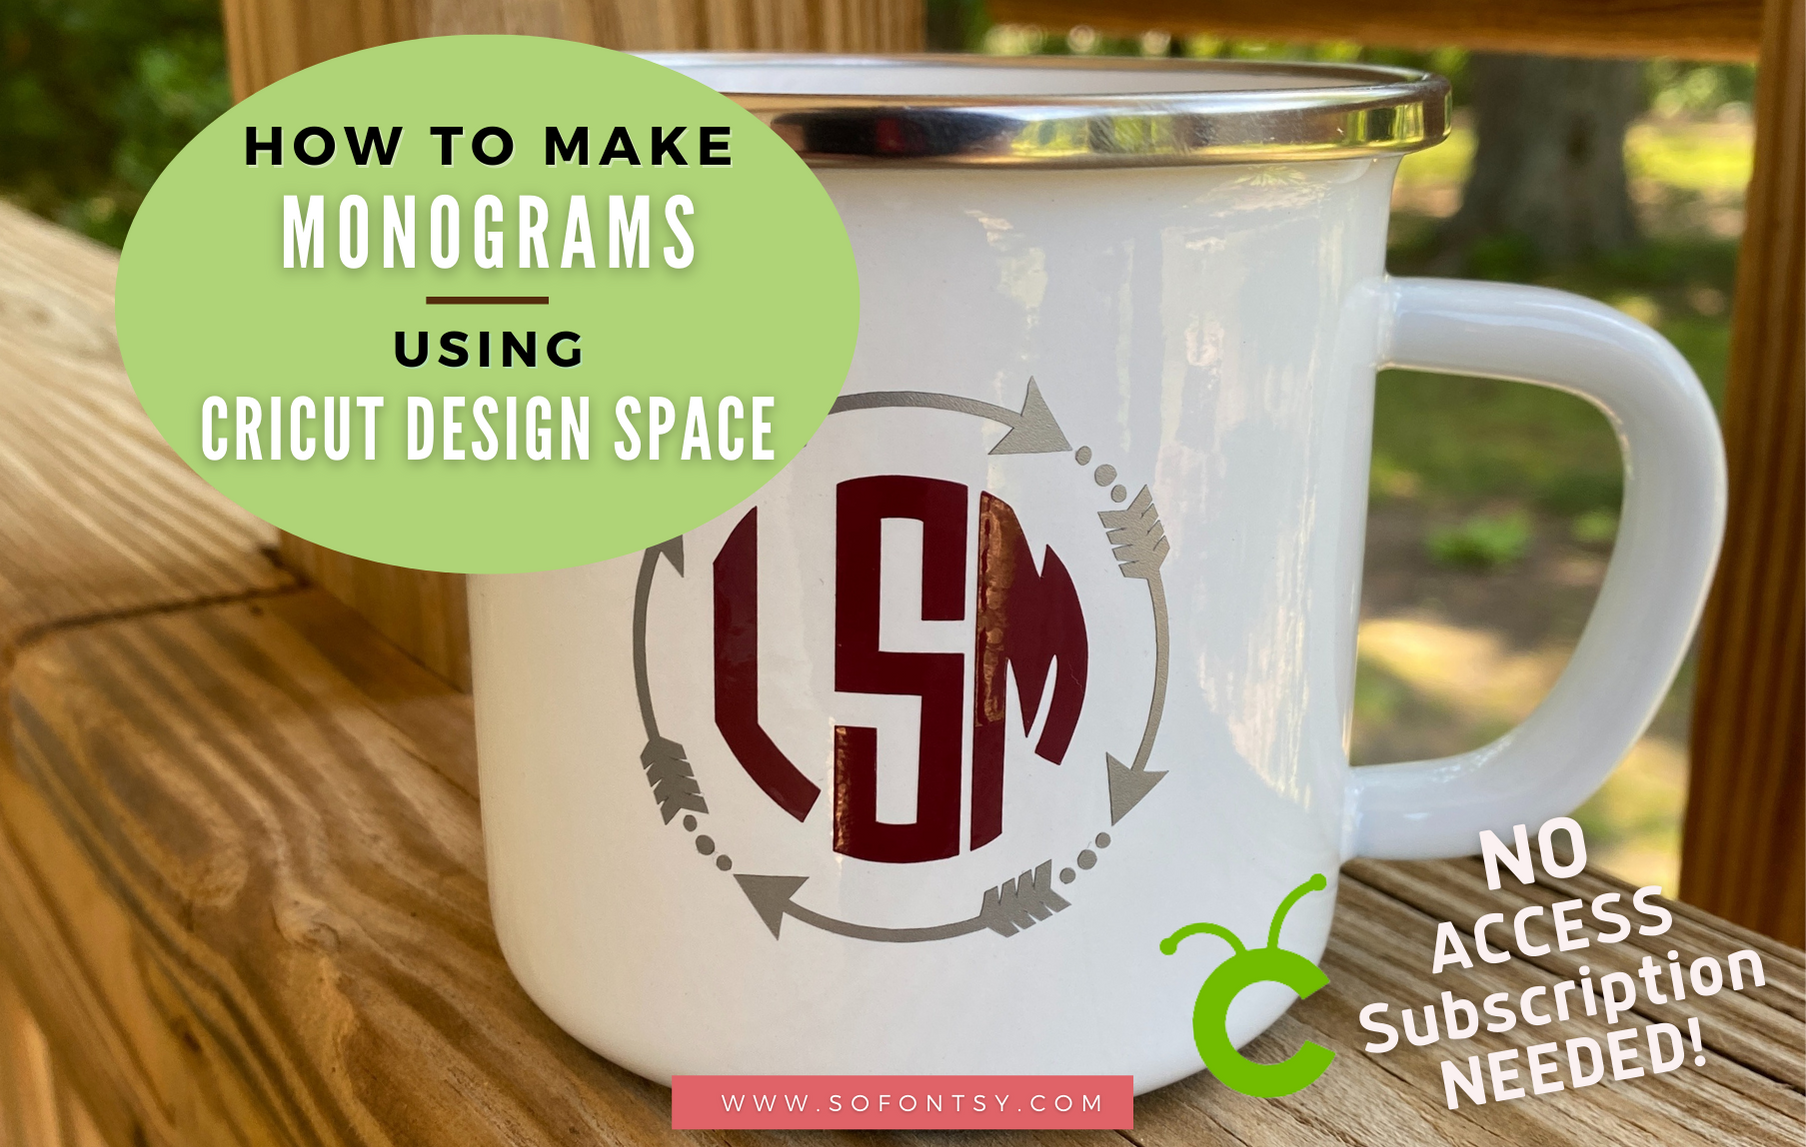
Learn how to create a monogram in Cricut Design Space without having a Cricut Access subscription. You don’t need a monogram maker - these are SO easy to do!
We are making a 3 letter monogram design. If you need help setting up your monogram design, check out this tutorial.
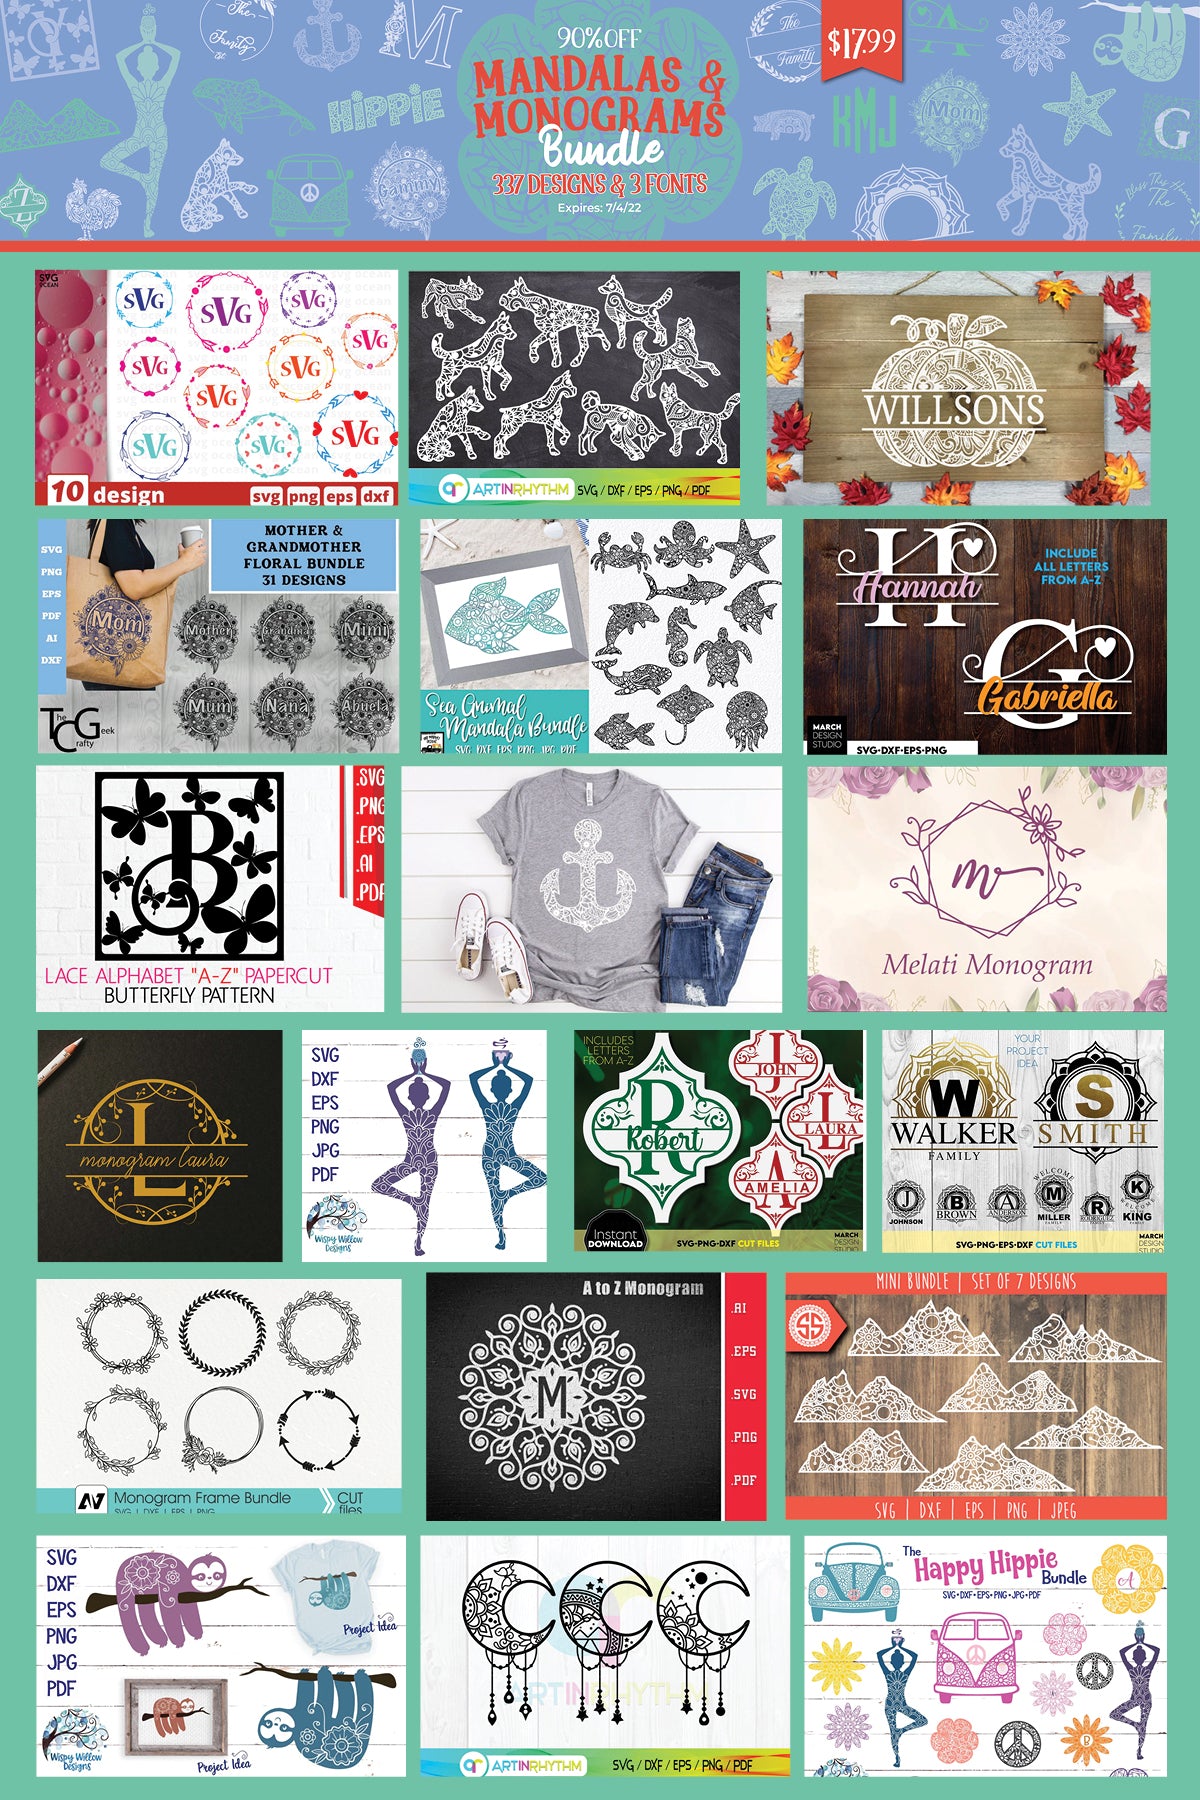
You can find the Monogram Font & Frame we used in the Mandalas & Monograms Bundle.
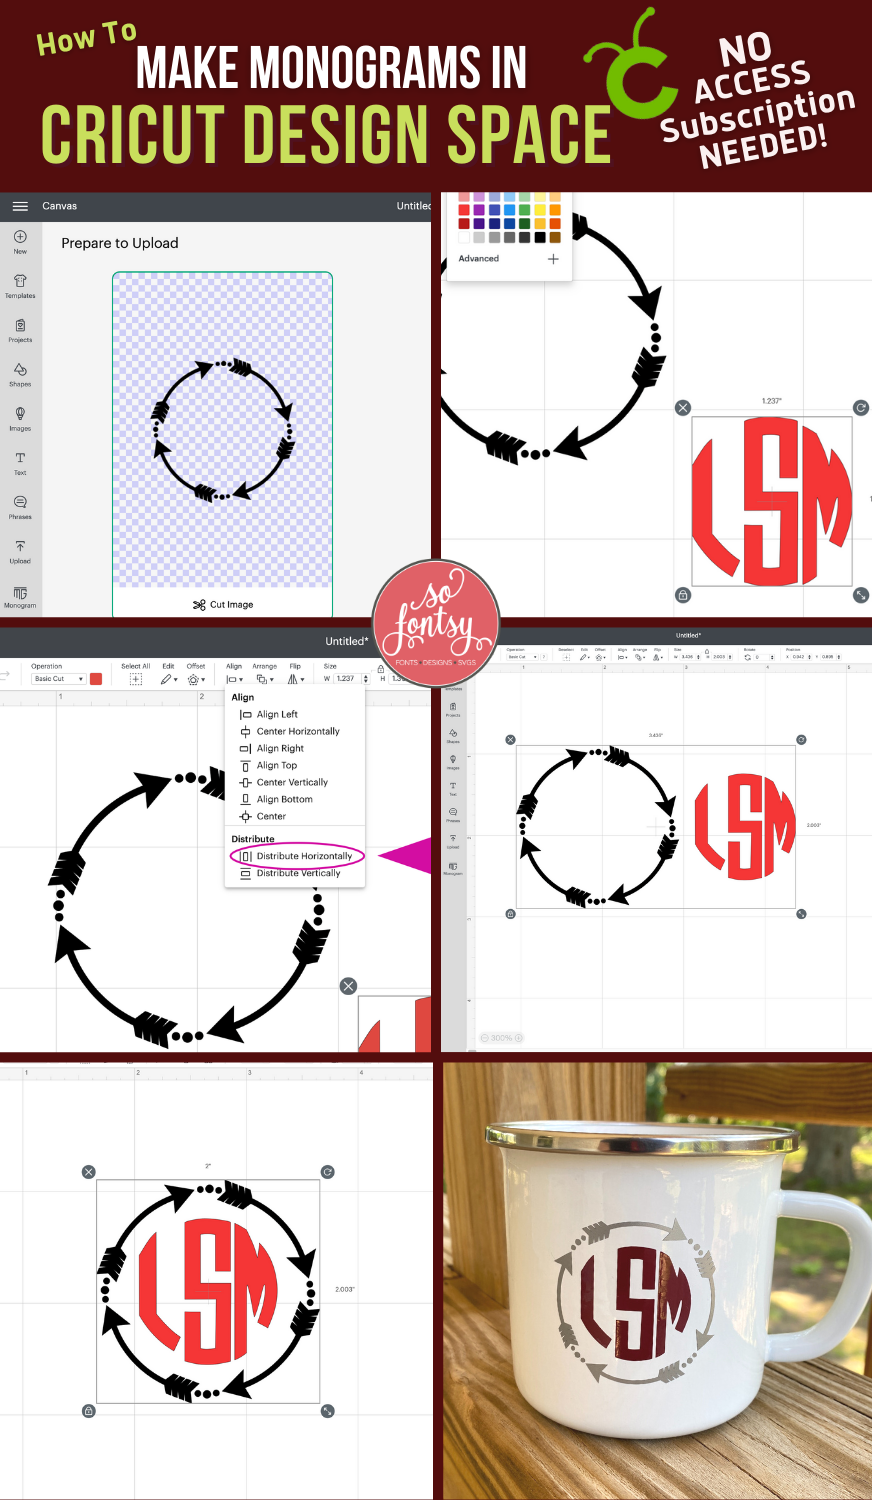
Upload the monogram frame and resize for your project.
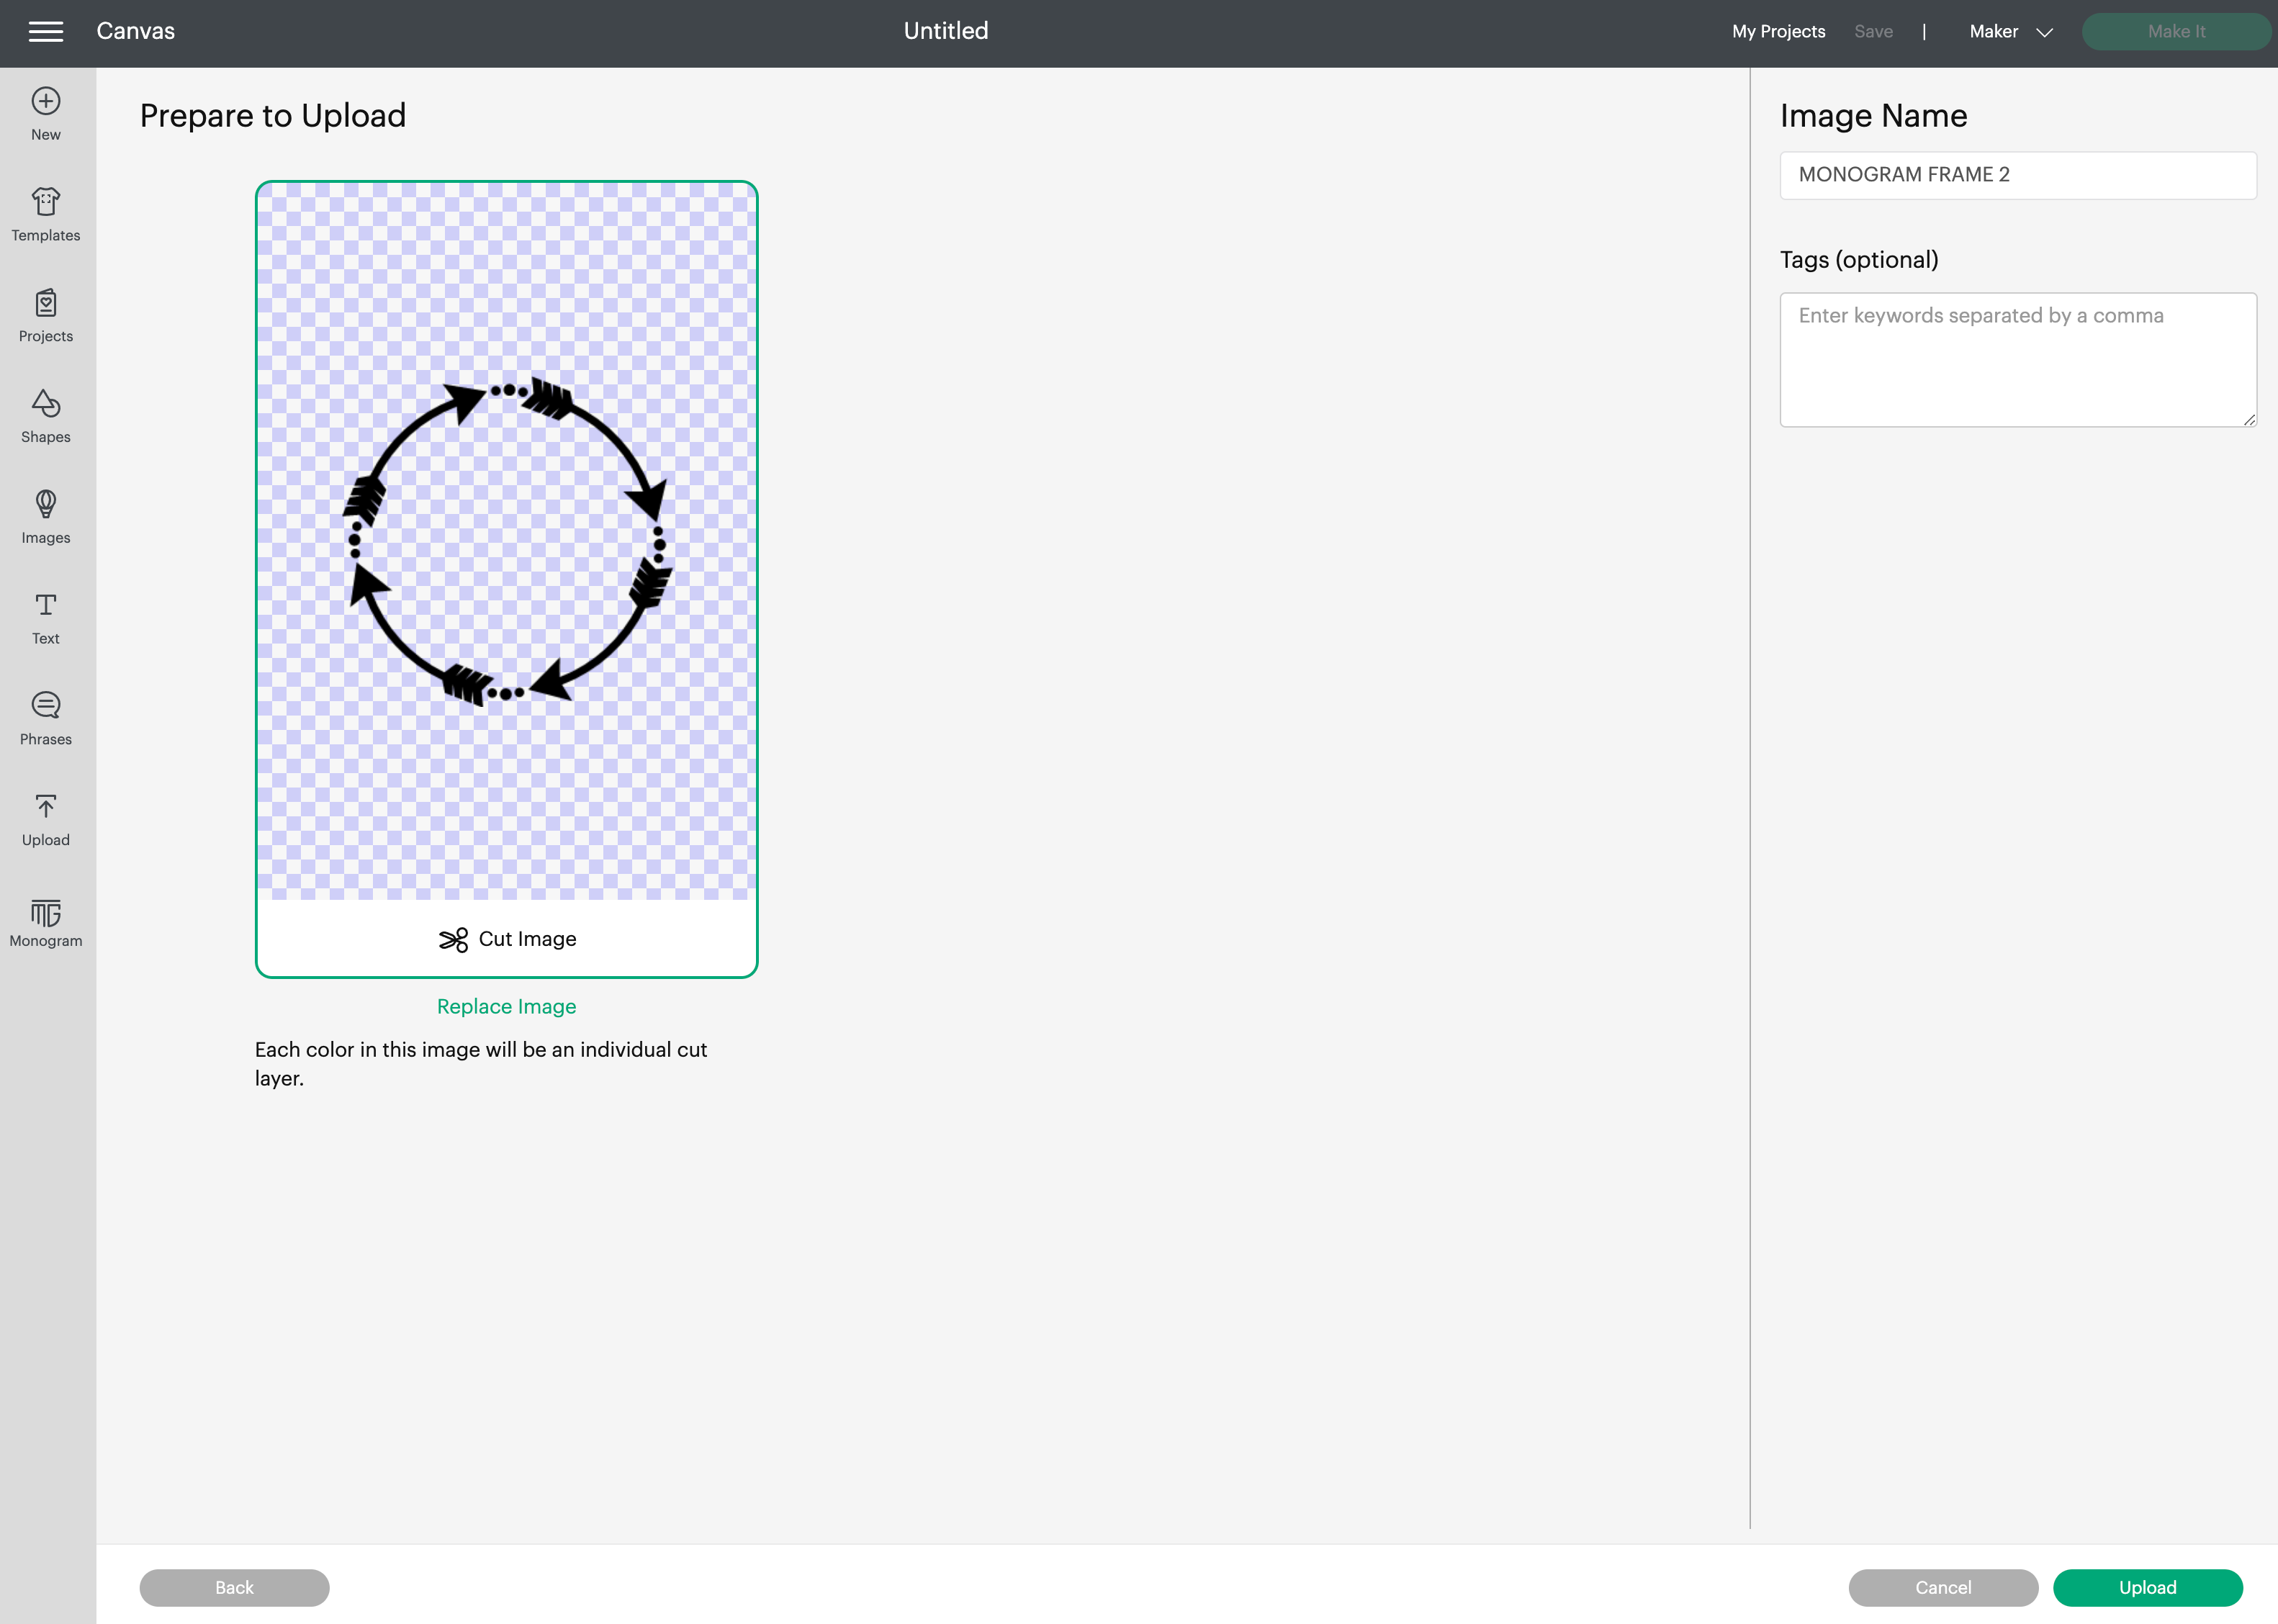
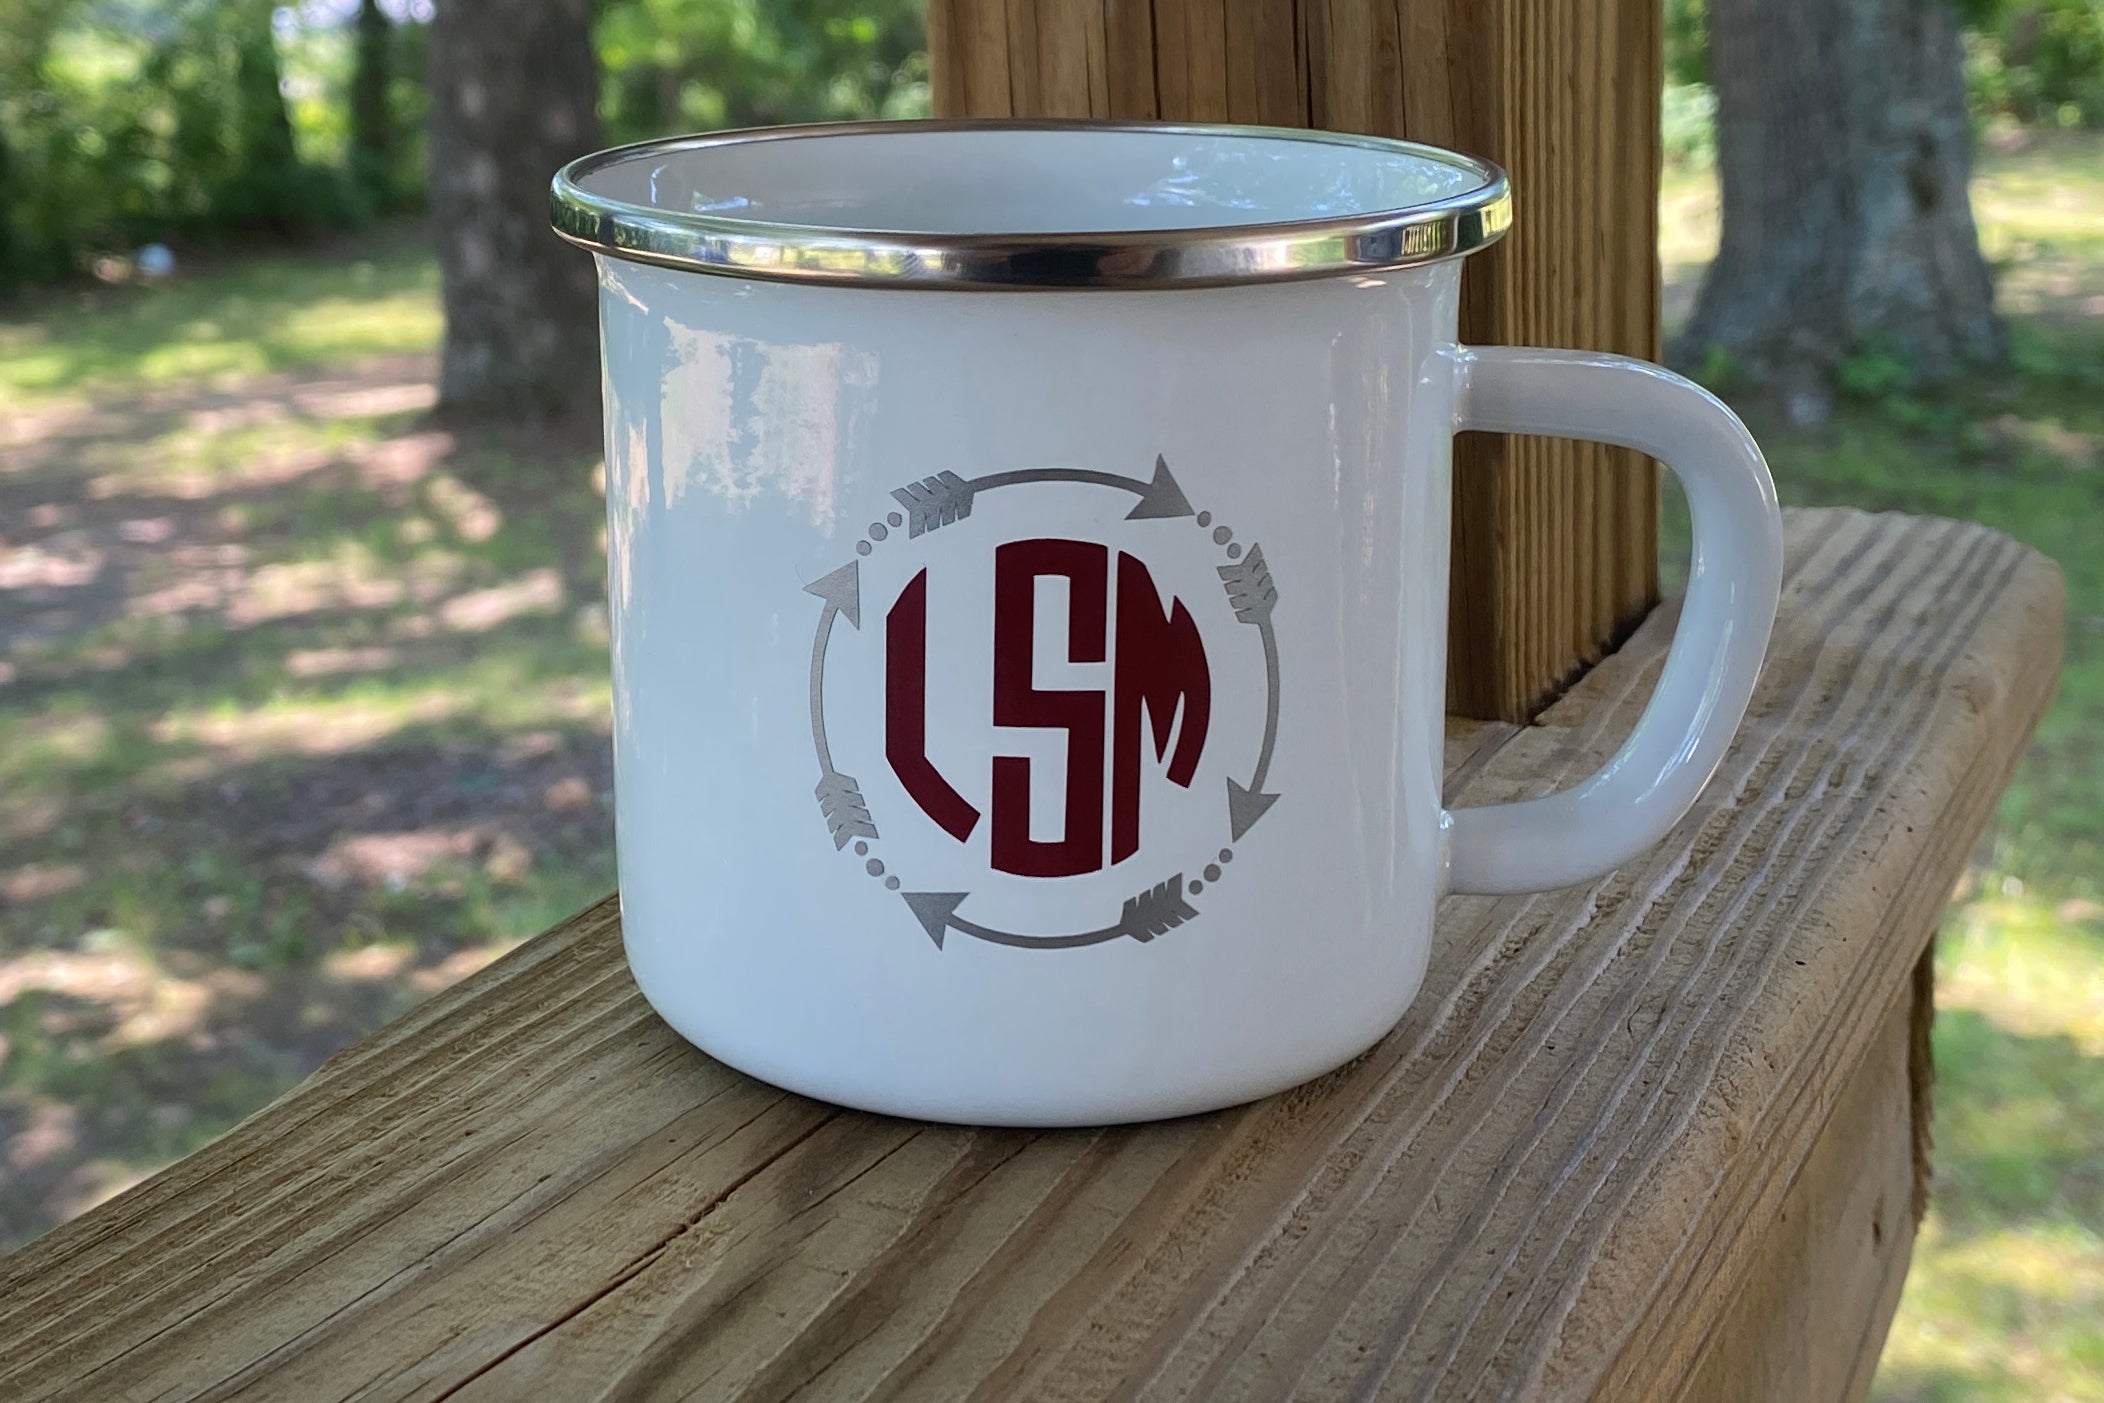
I am using a 2” circle monogram for our campfire mug.
Tip: Be sure to keep the proportions locked when resizing your image.
Upload the Monogram Font letters you will be using for left, middle and right initials. These monogram font letters are conveniently labeled in folders.
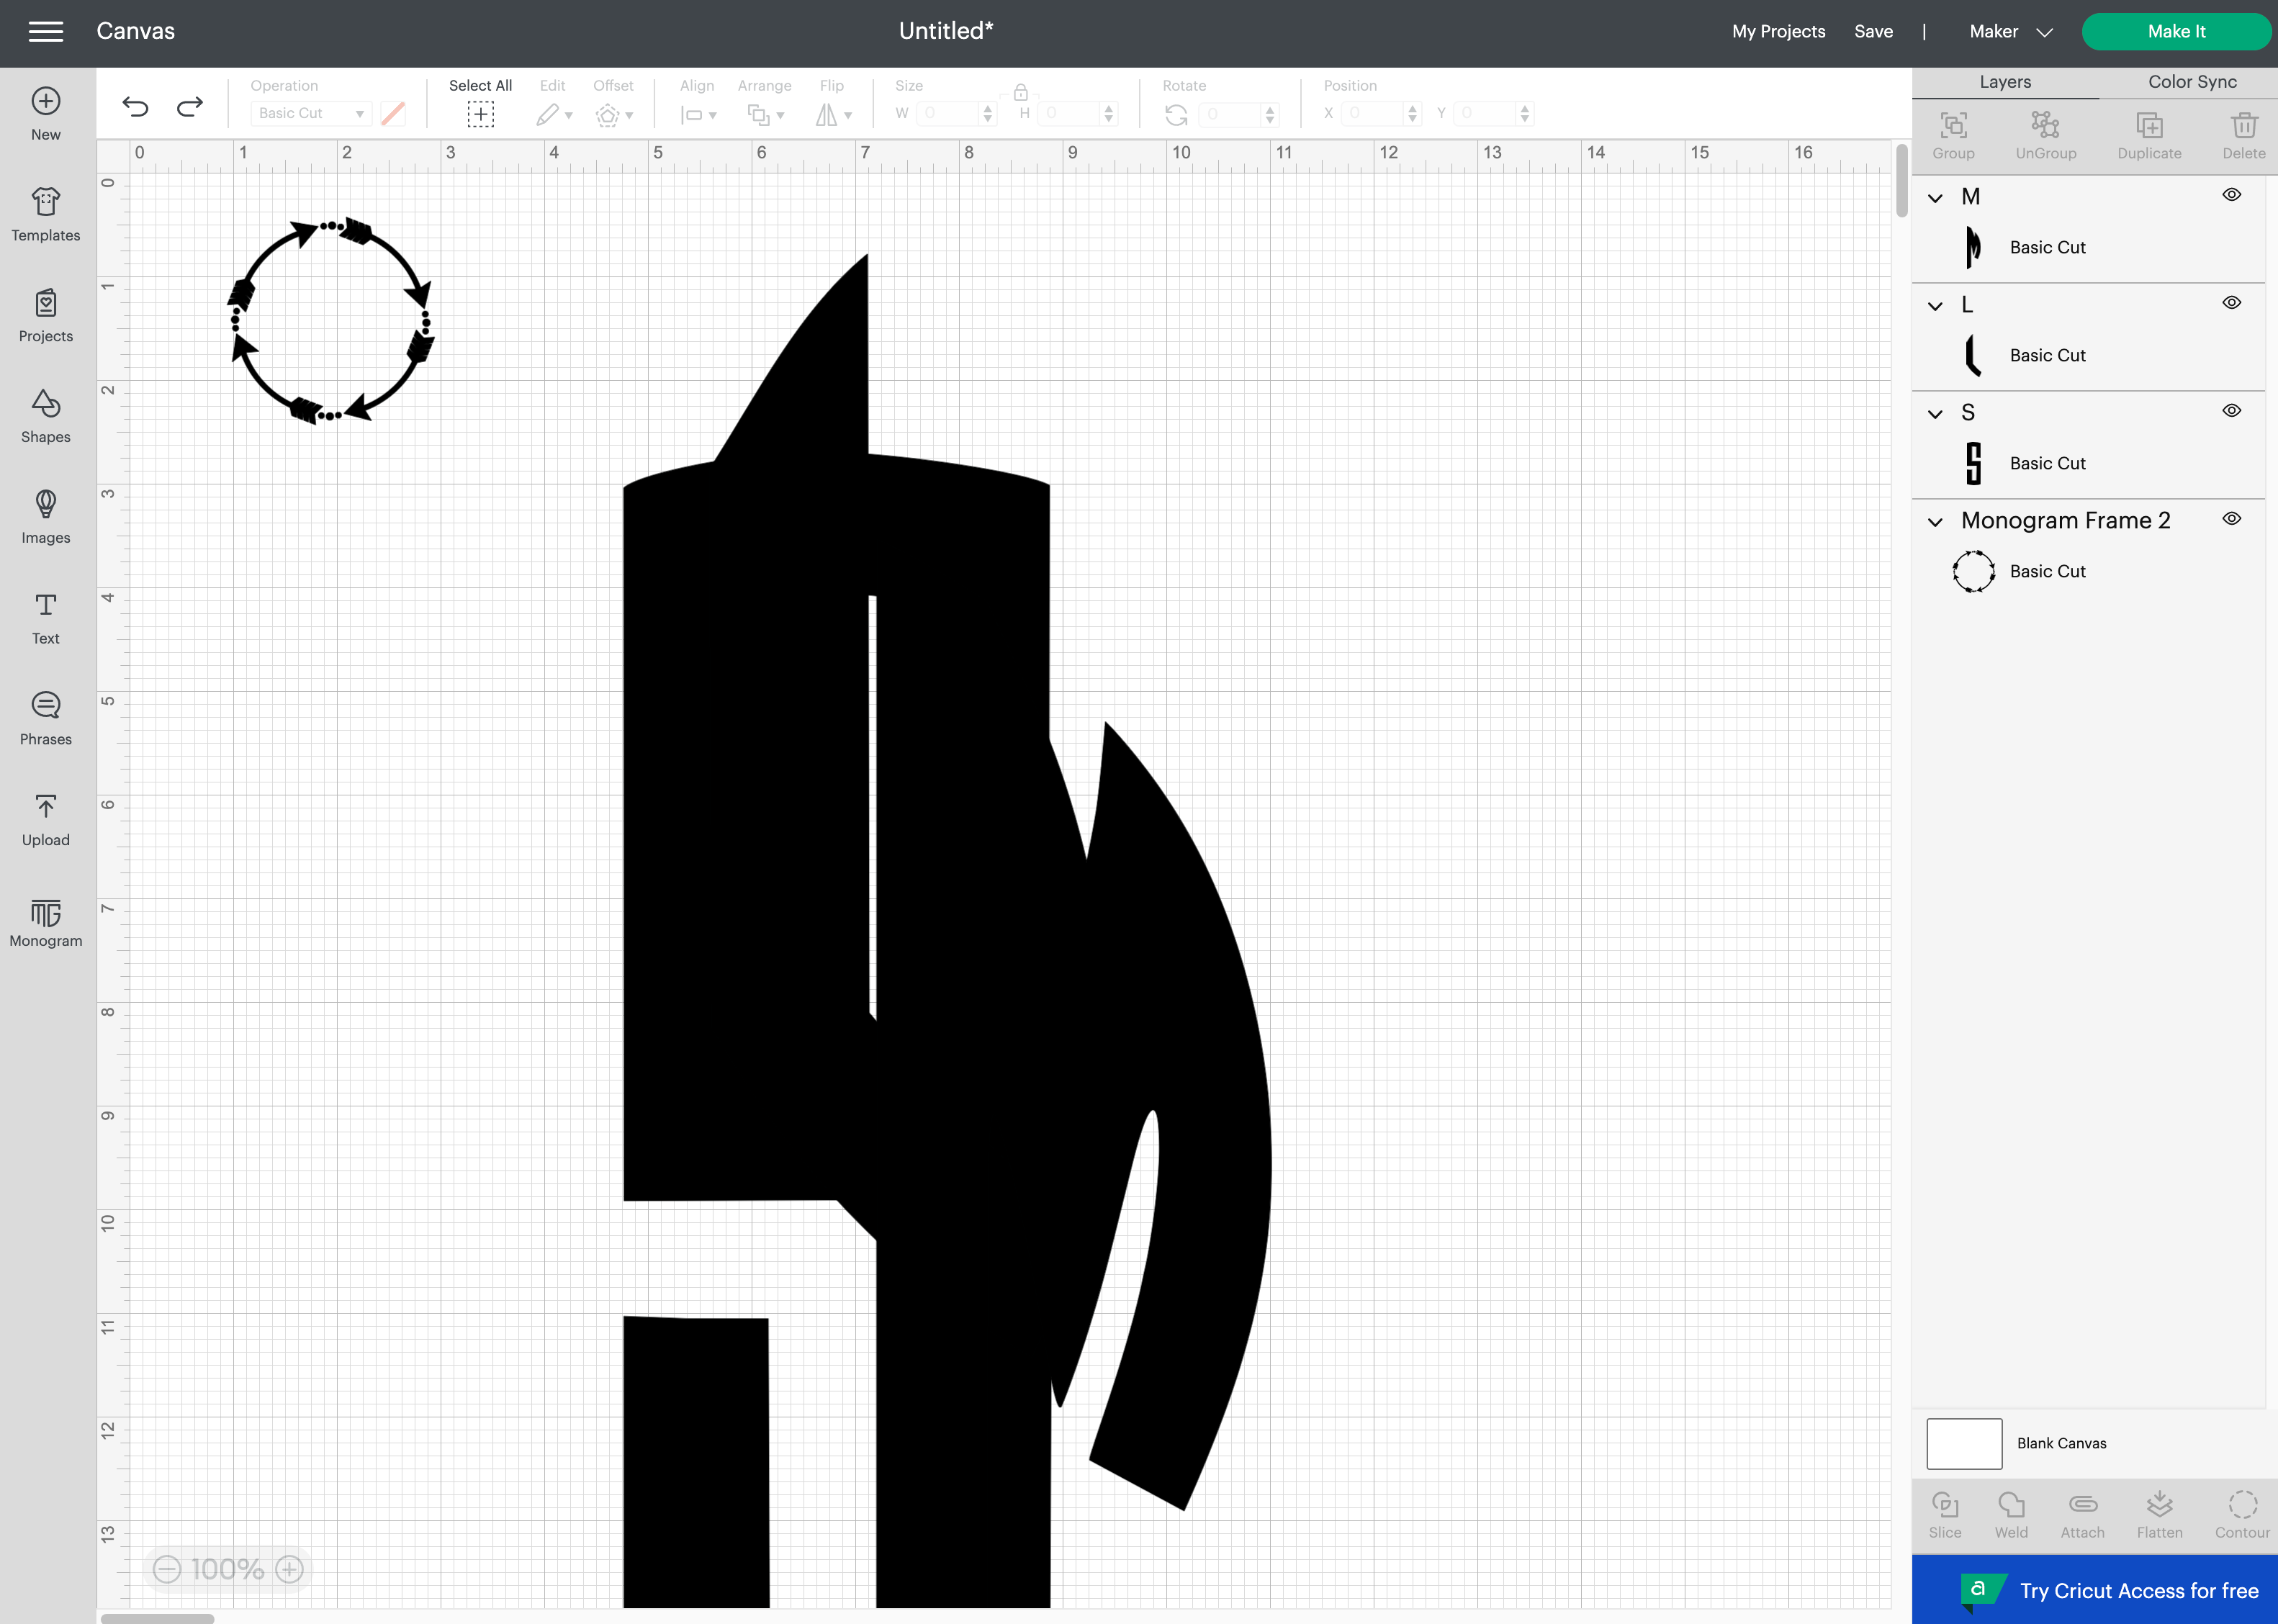
The order of the initials should be First, Last, Middle —> Lisa Marie Smith = L S M
Select all of the letters and resize them together - lock the proportions and resize to 1.5” high
Zoom in to see the layers clearly and align the letters the best you can.
Select all 3 letters and change the color.
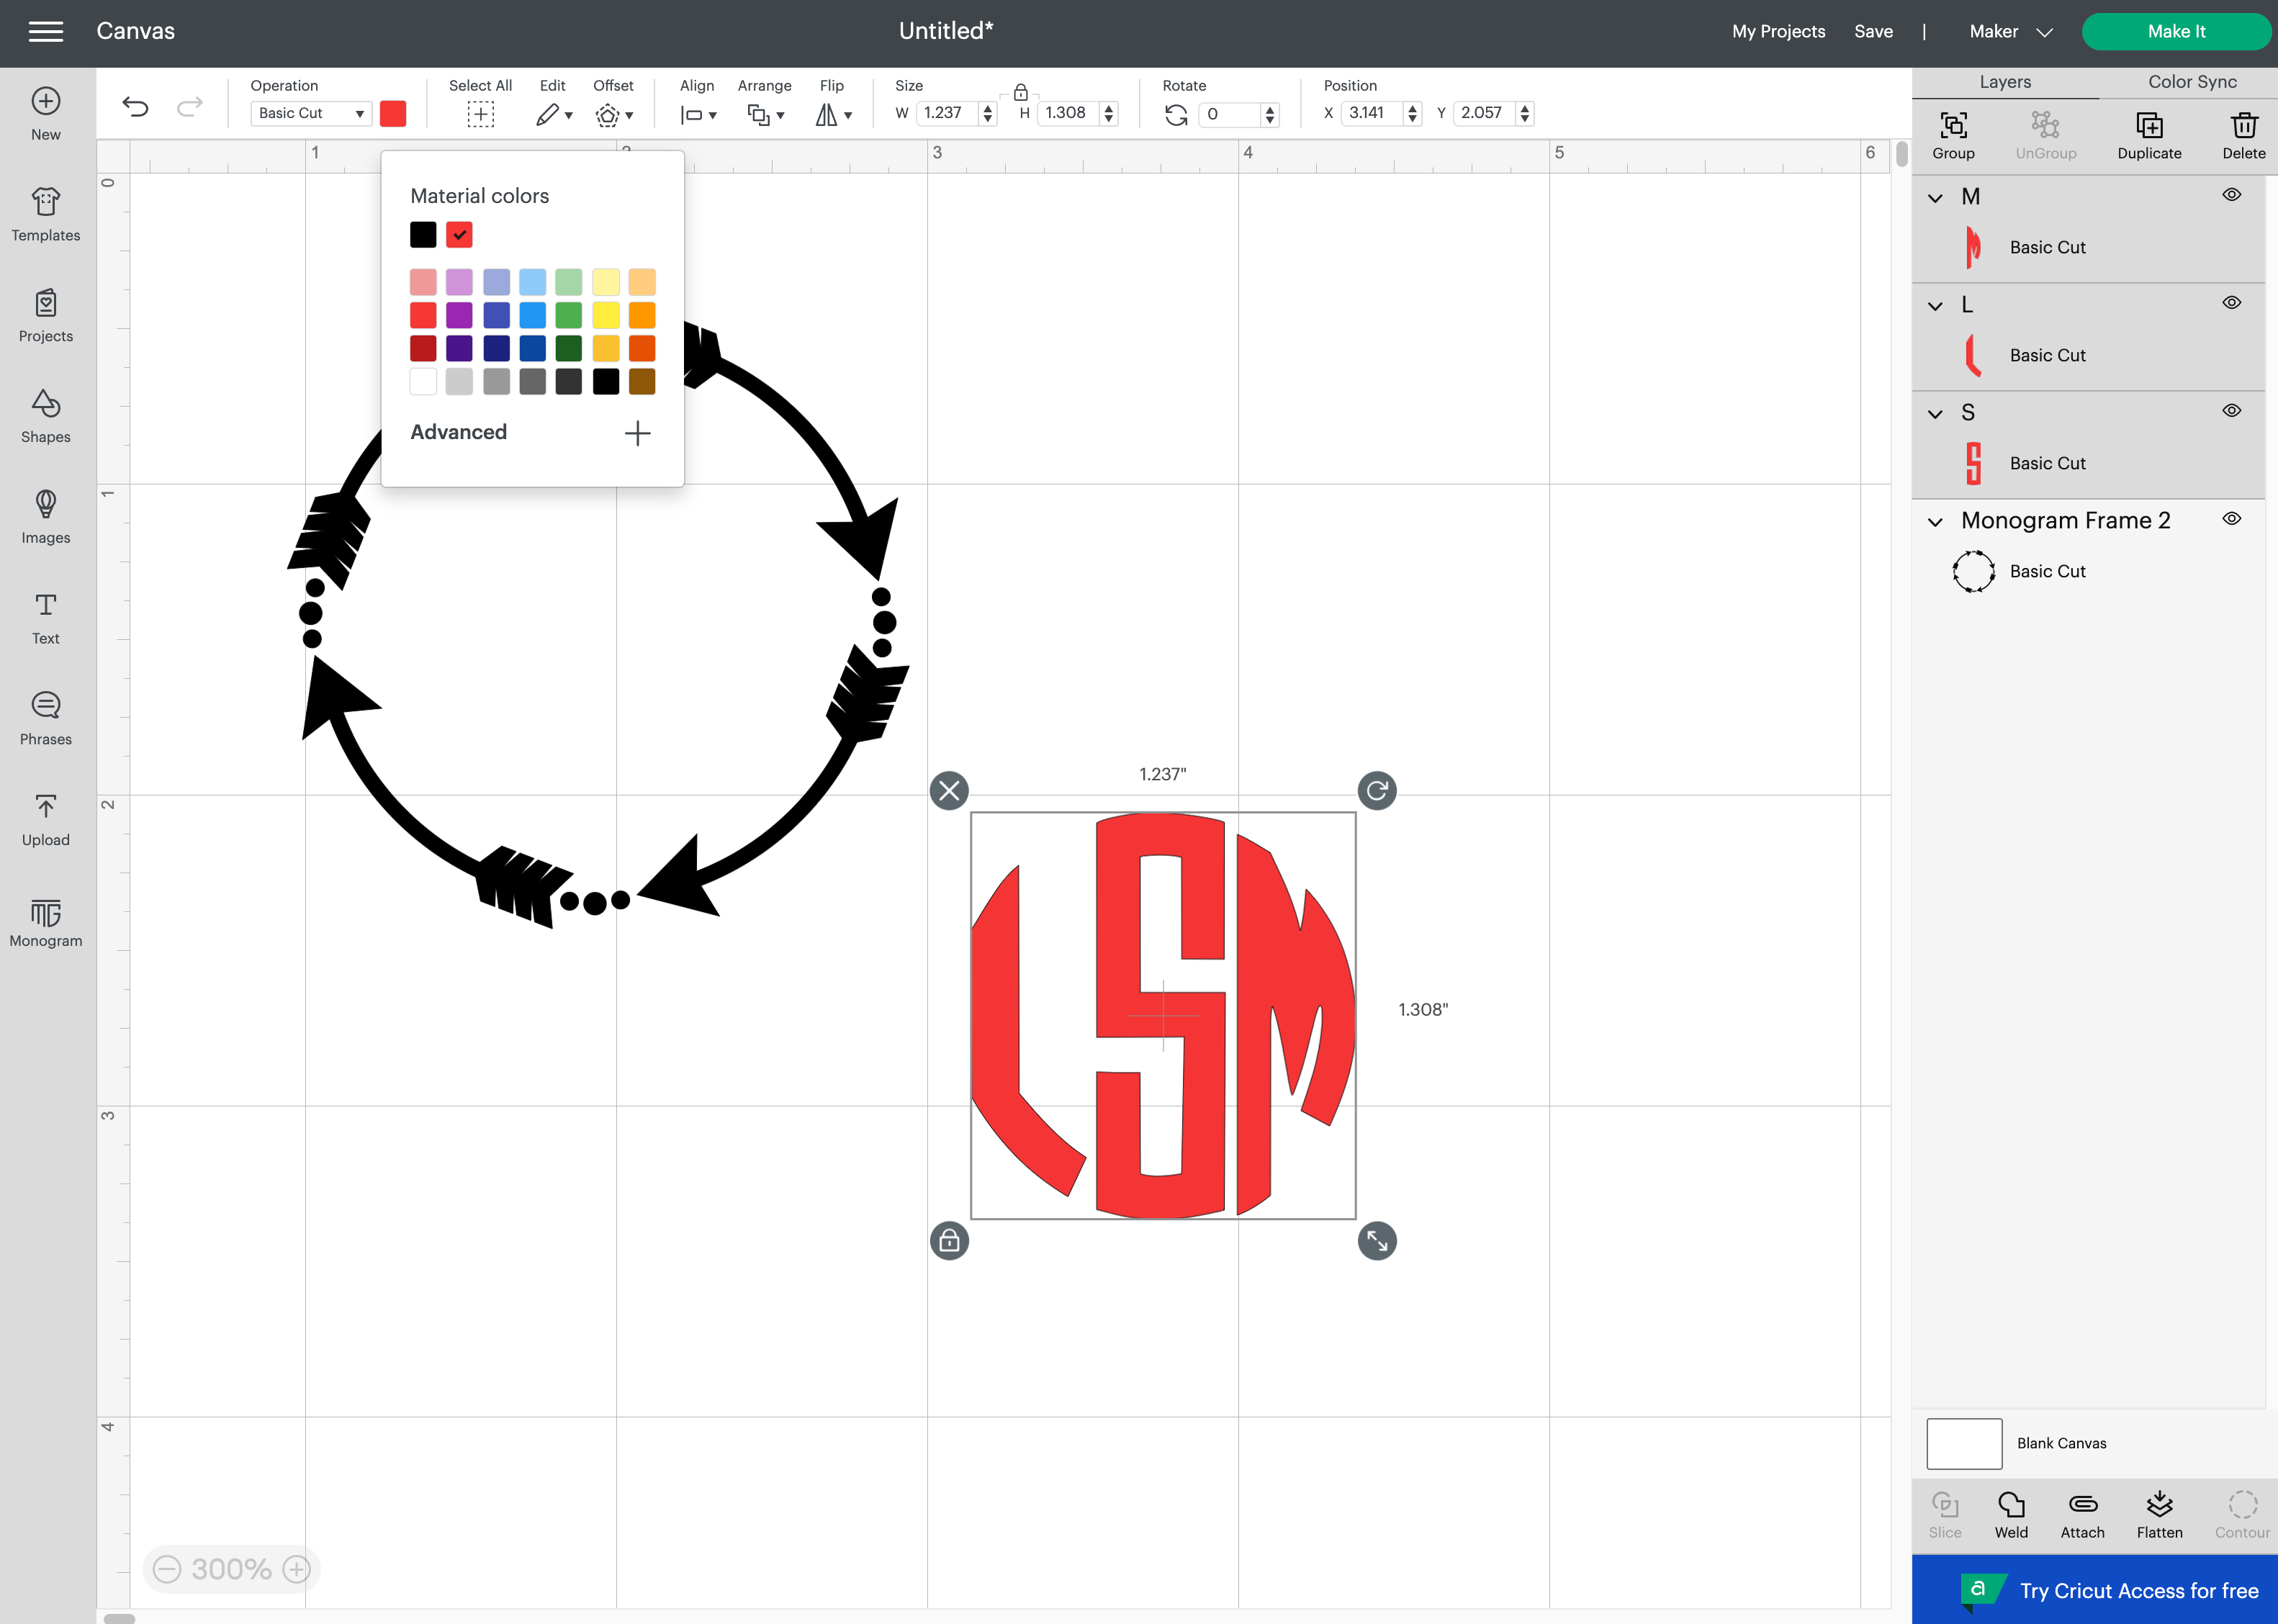
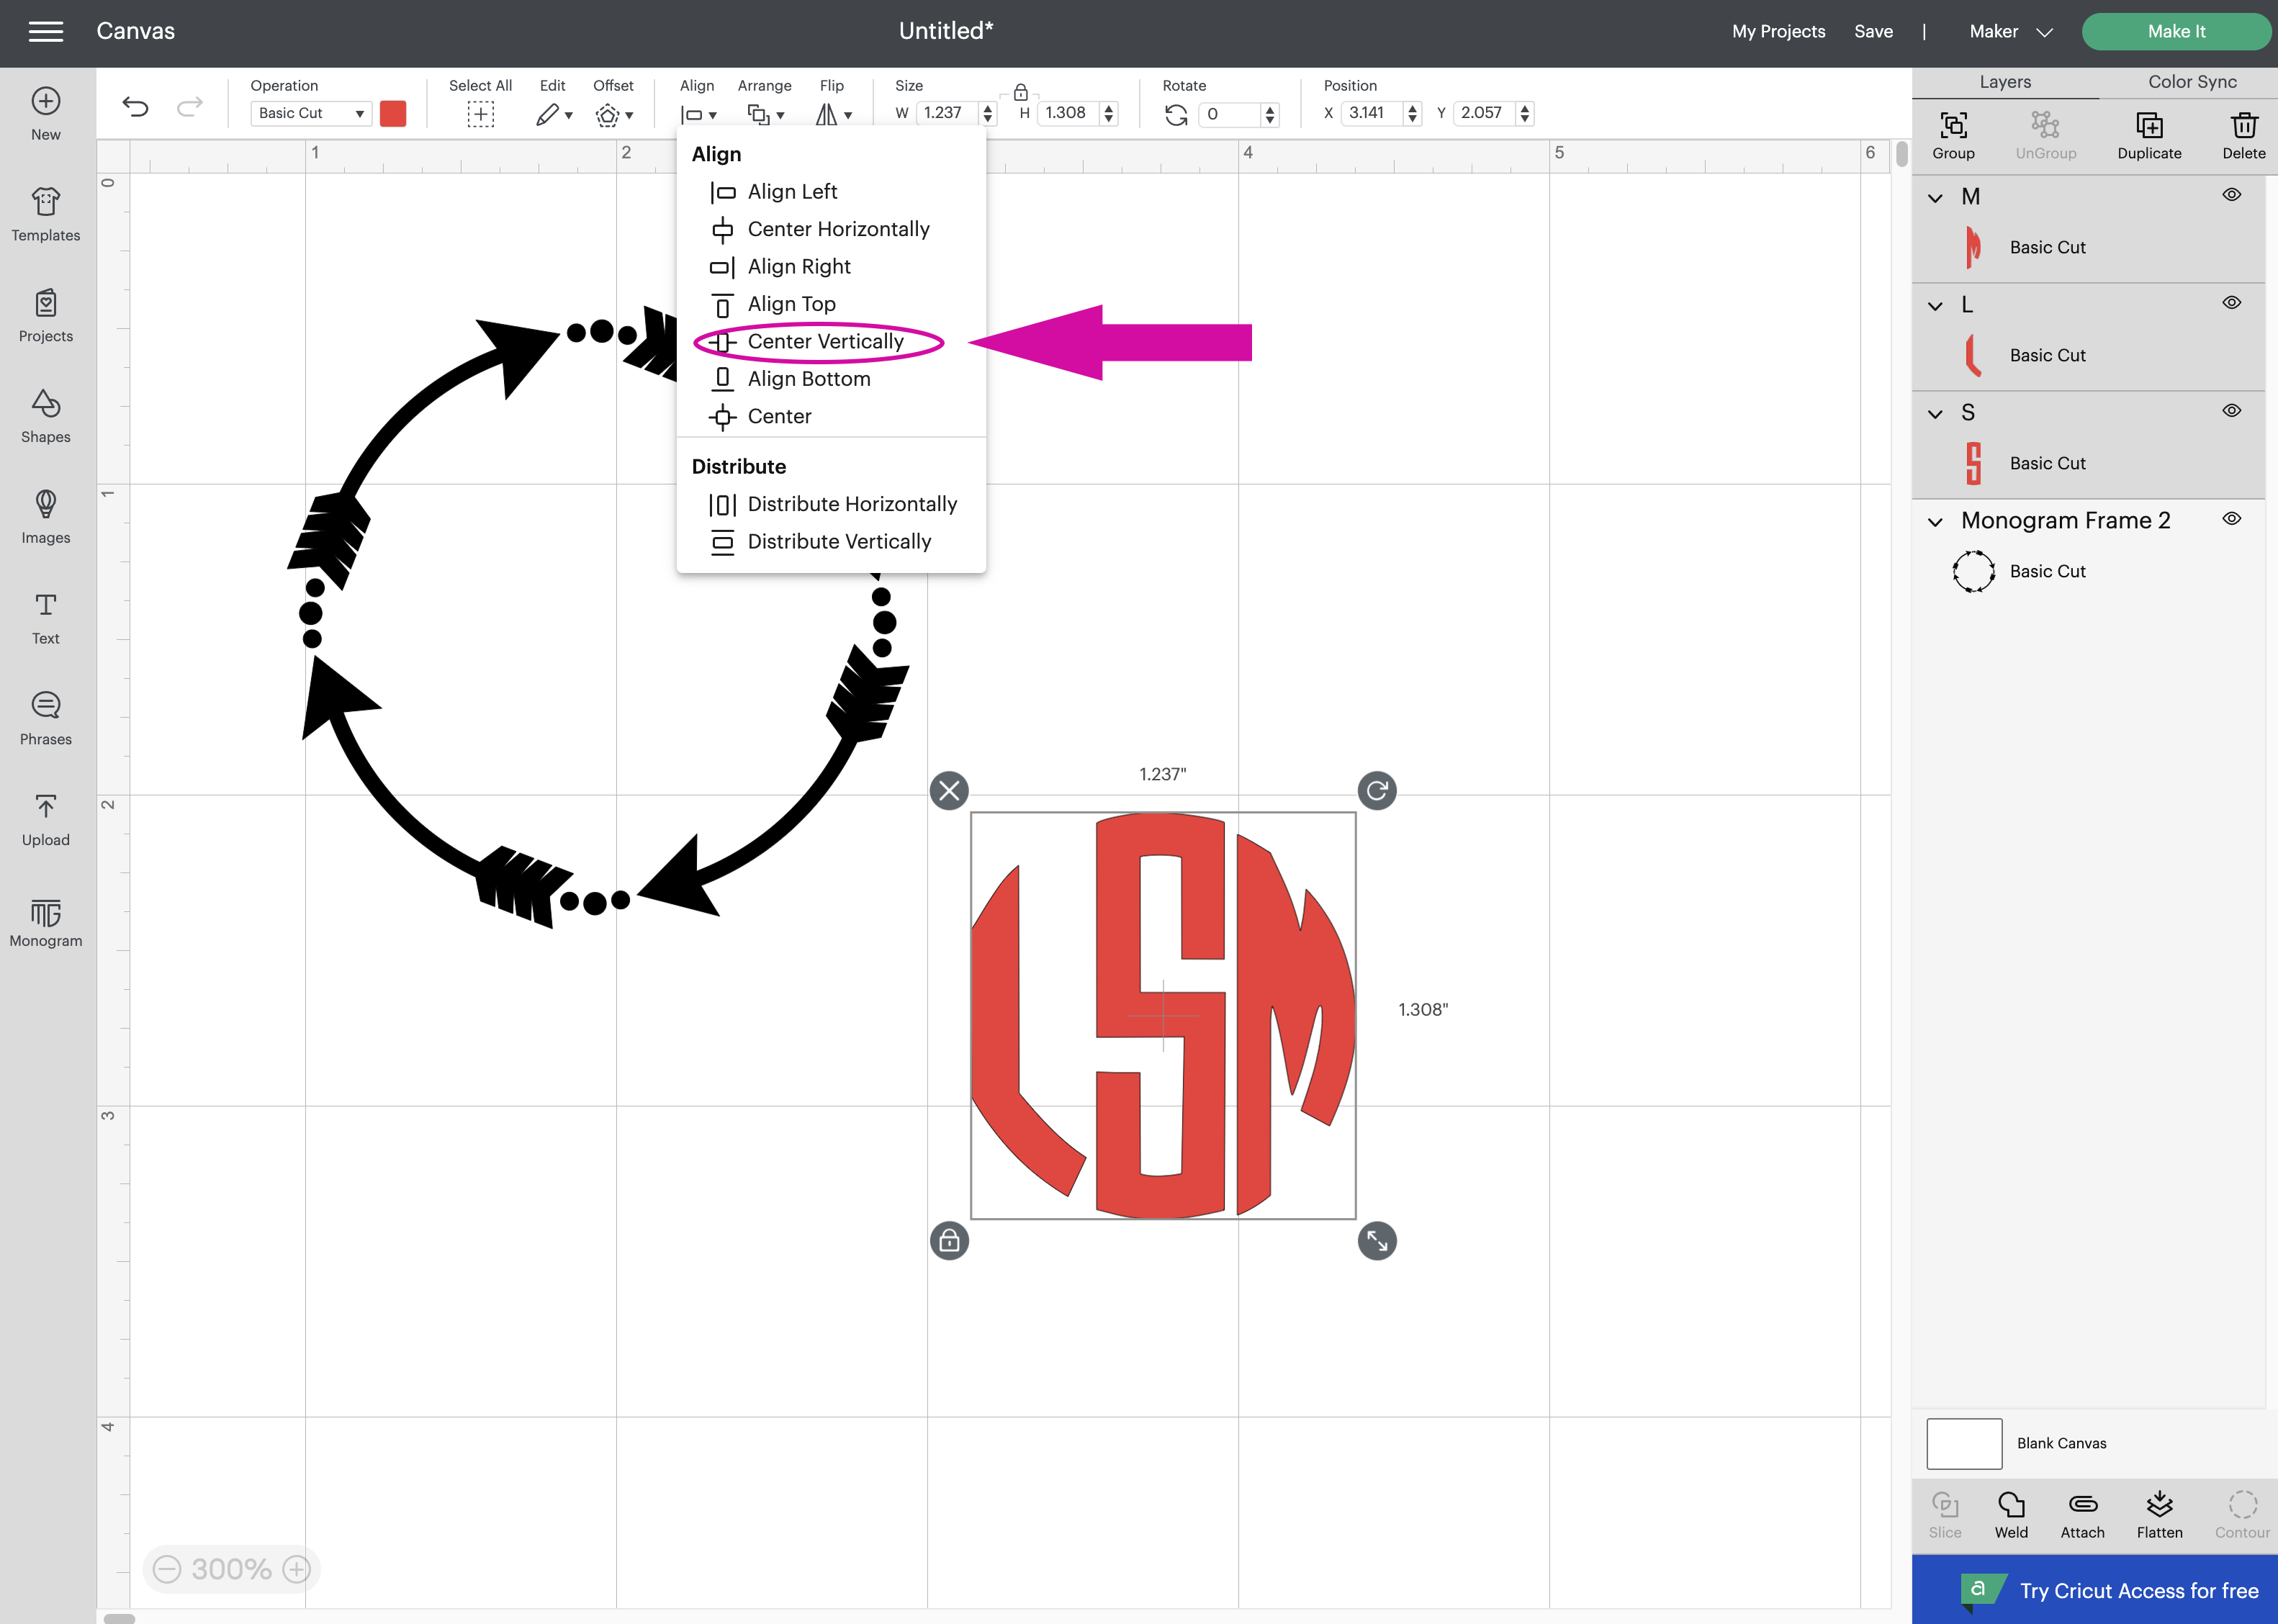
While still selected, click Align > Center Vertically.
Click Align > Distribute Horizontally.
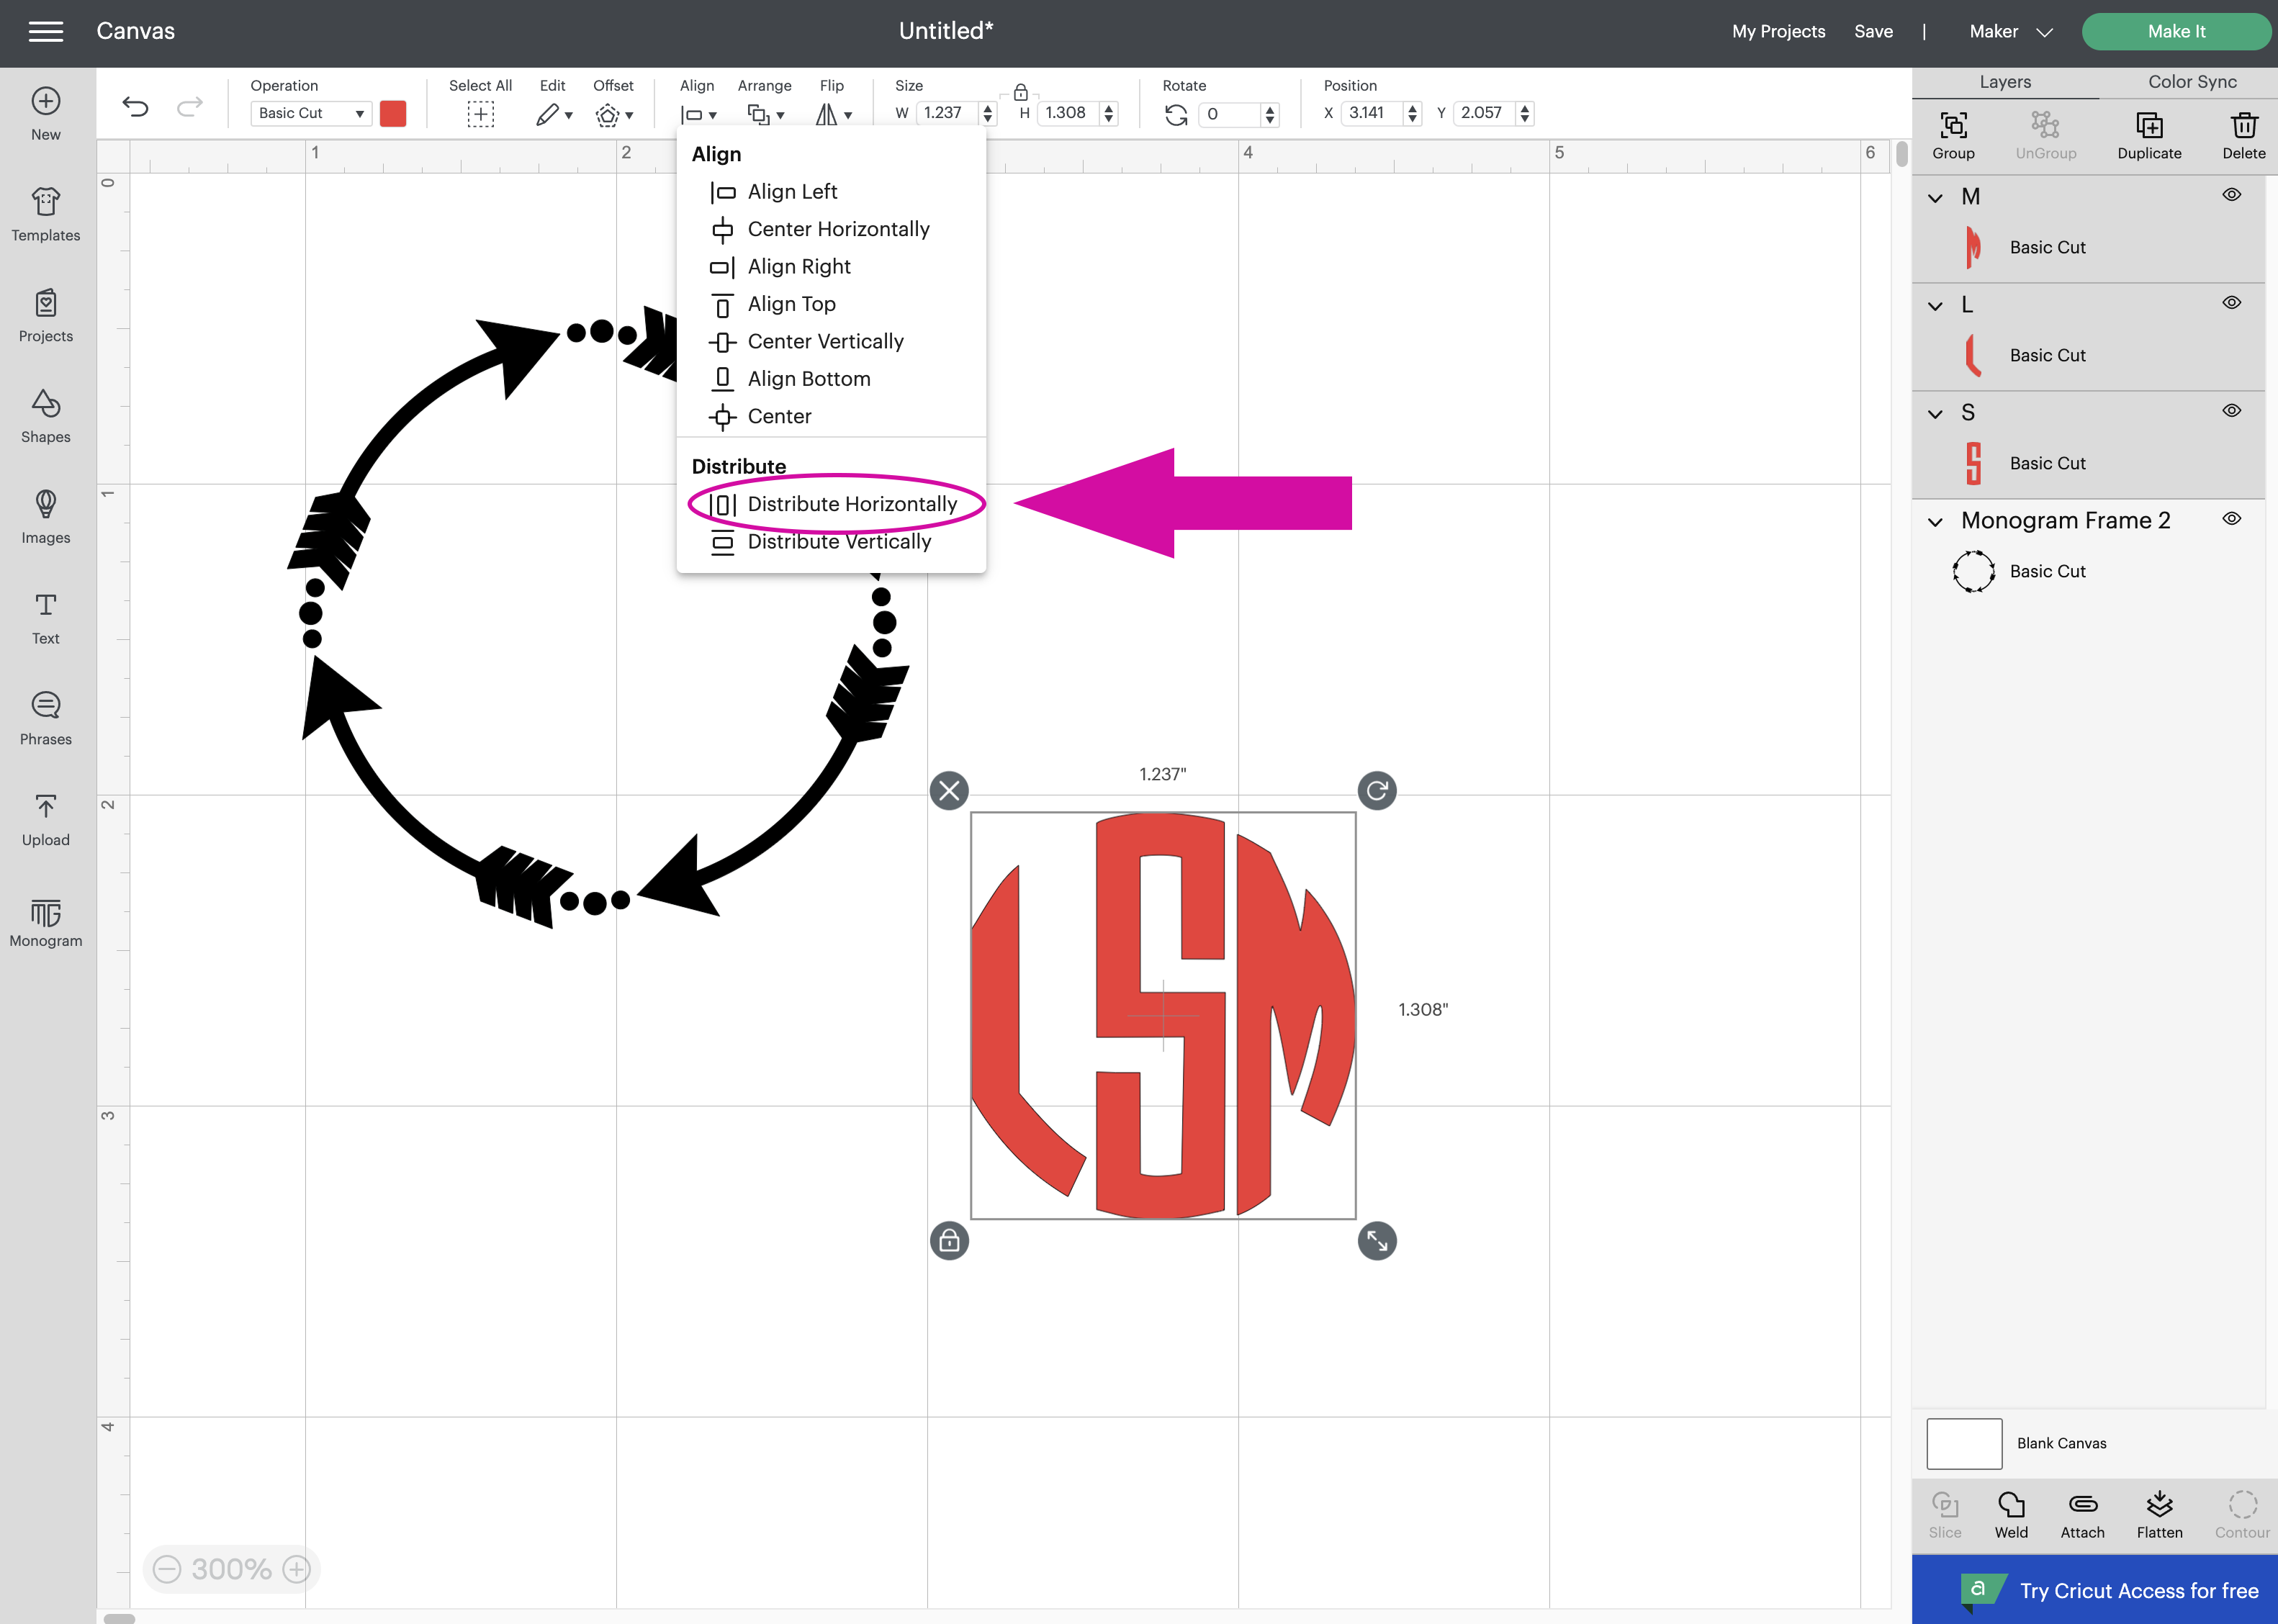
Your letters are now evenly spaced.
Select all 3 letters and click Group:
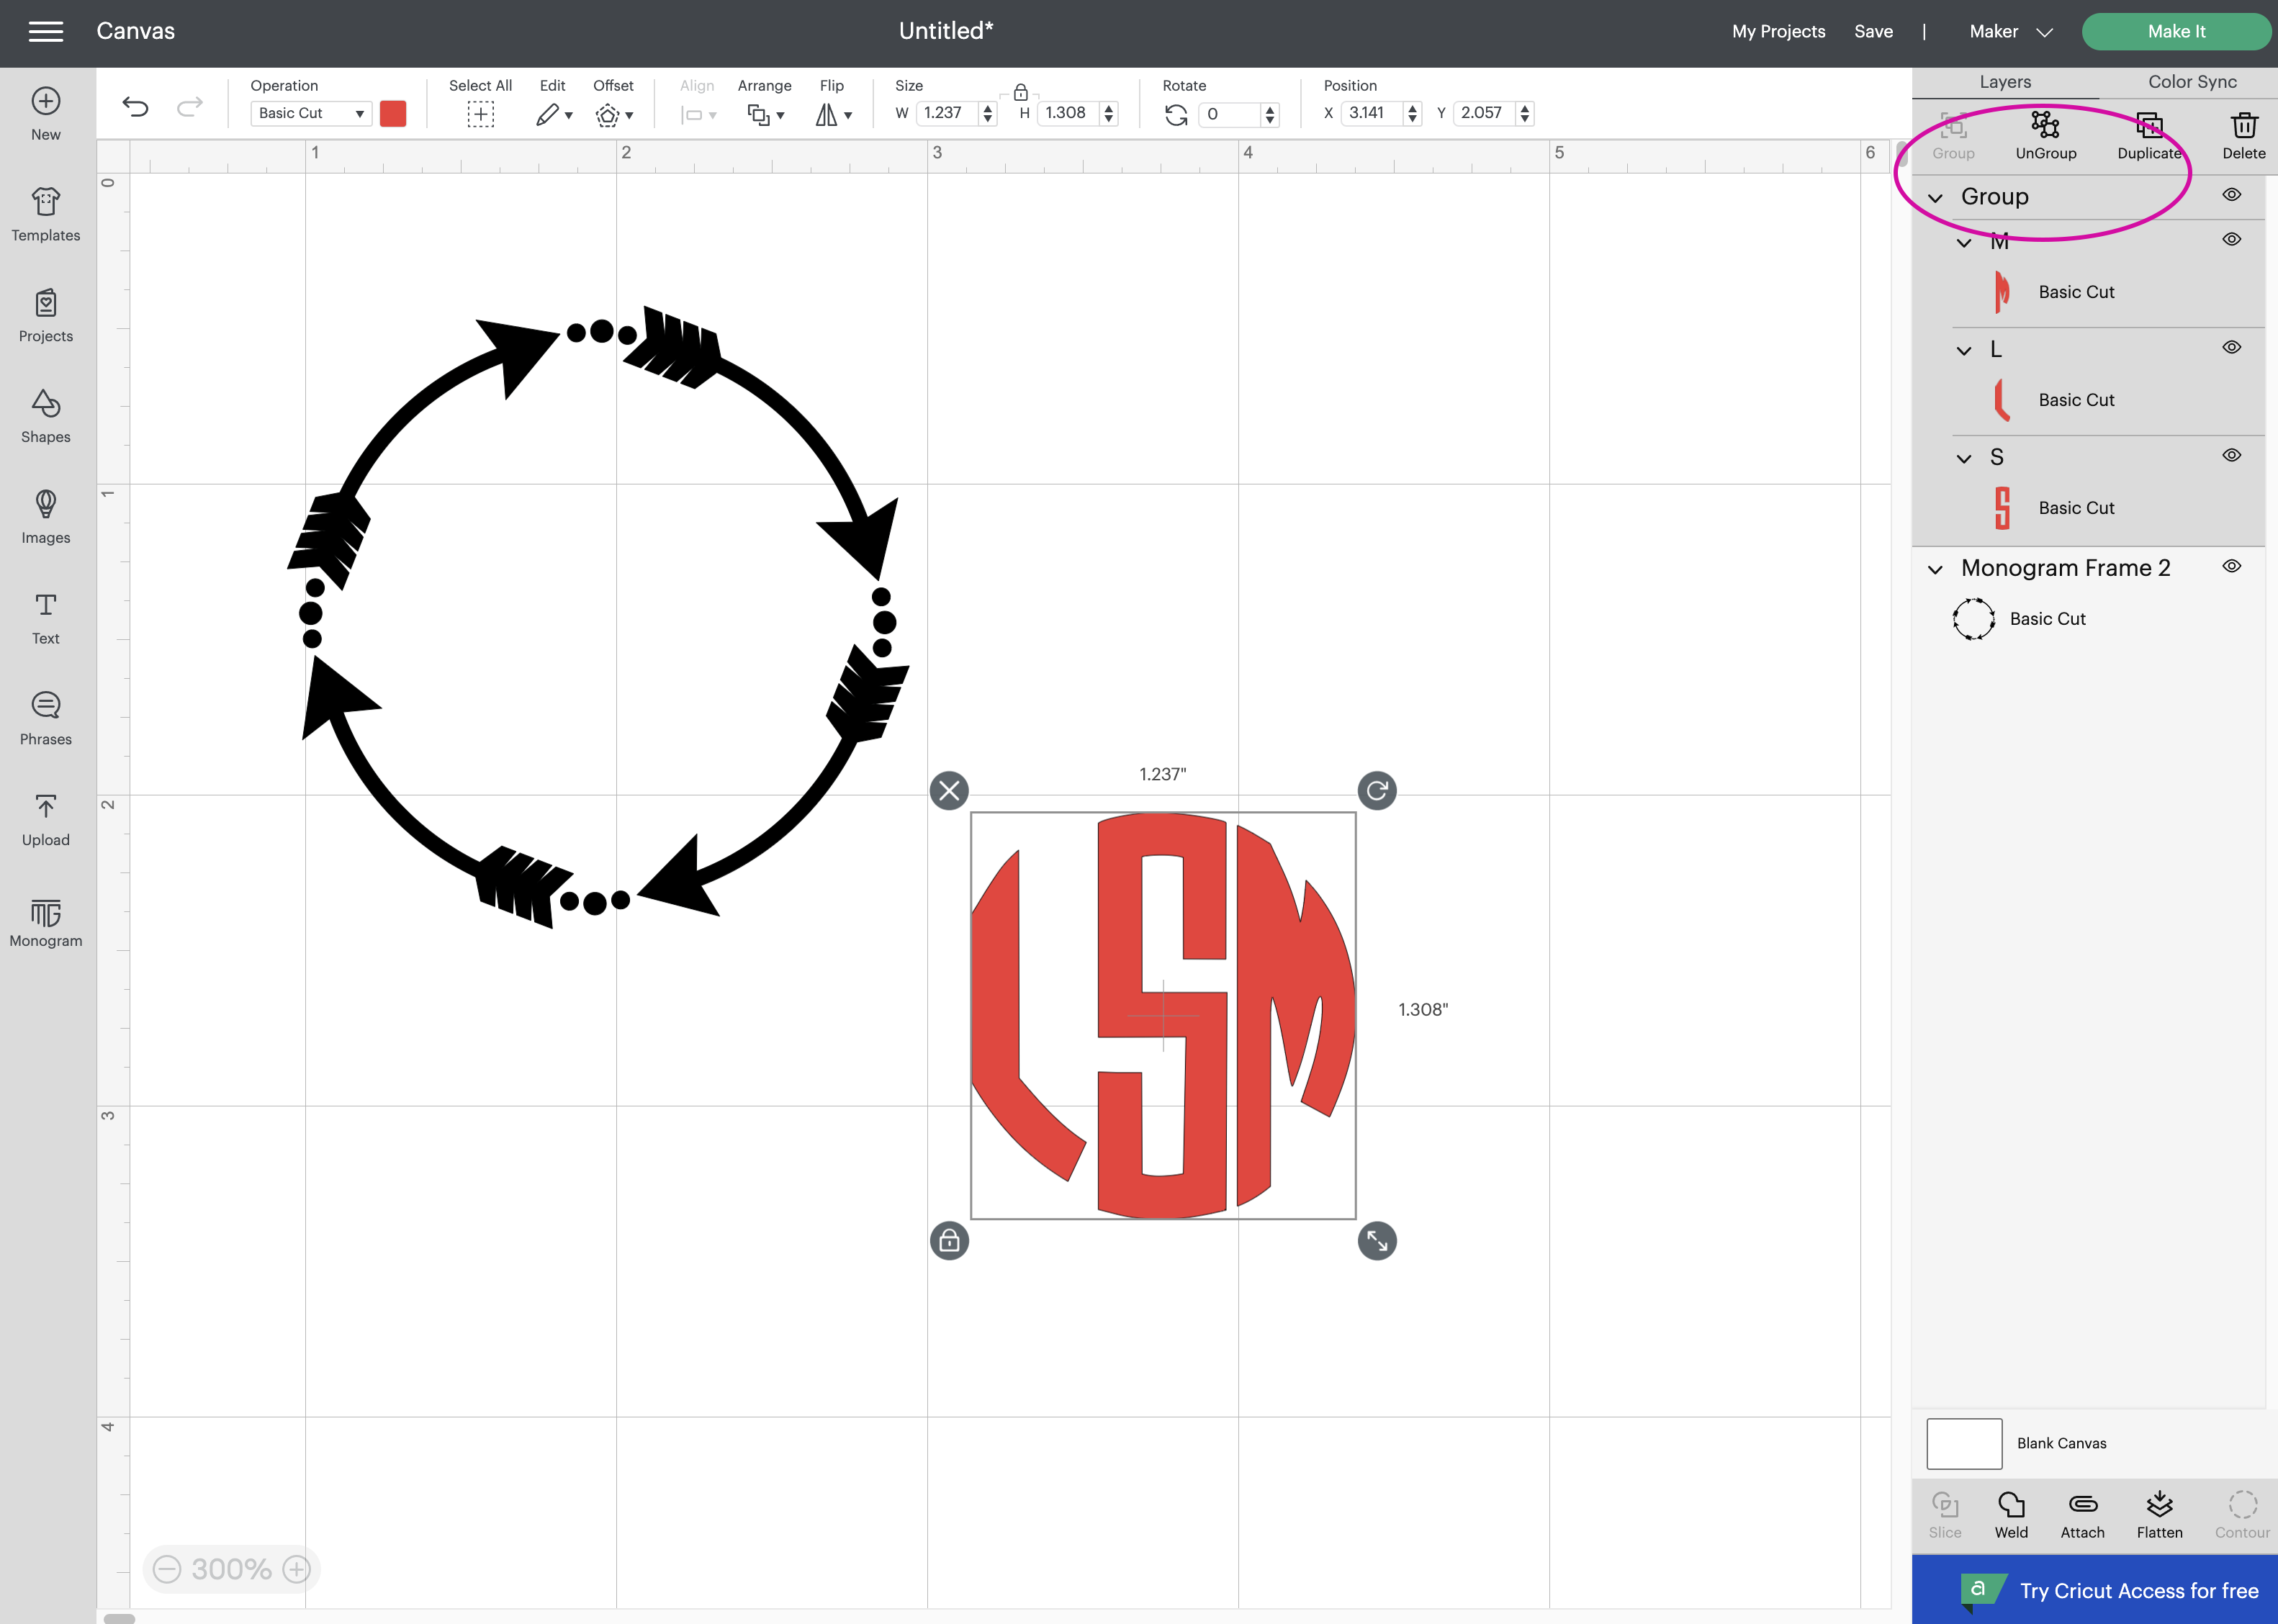
Select the group of letters and the arrow frame and click Align > Center Horizontally.
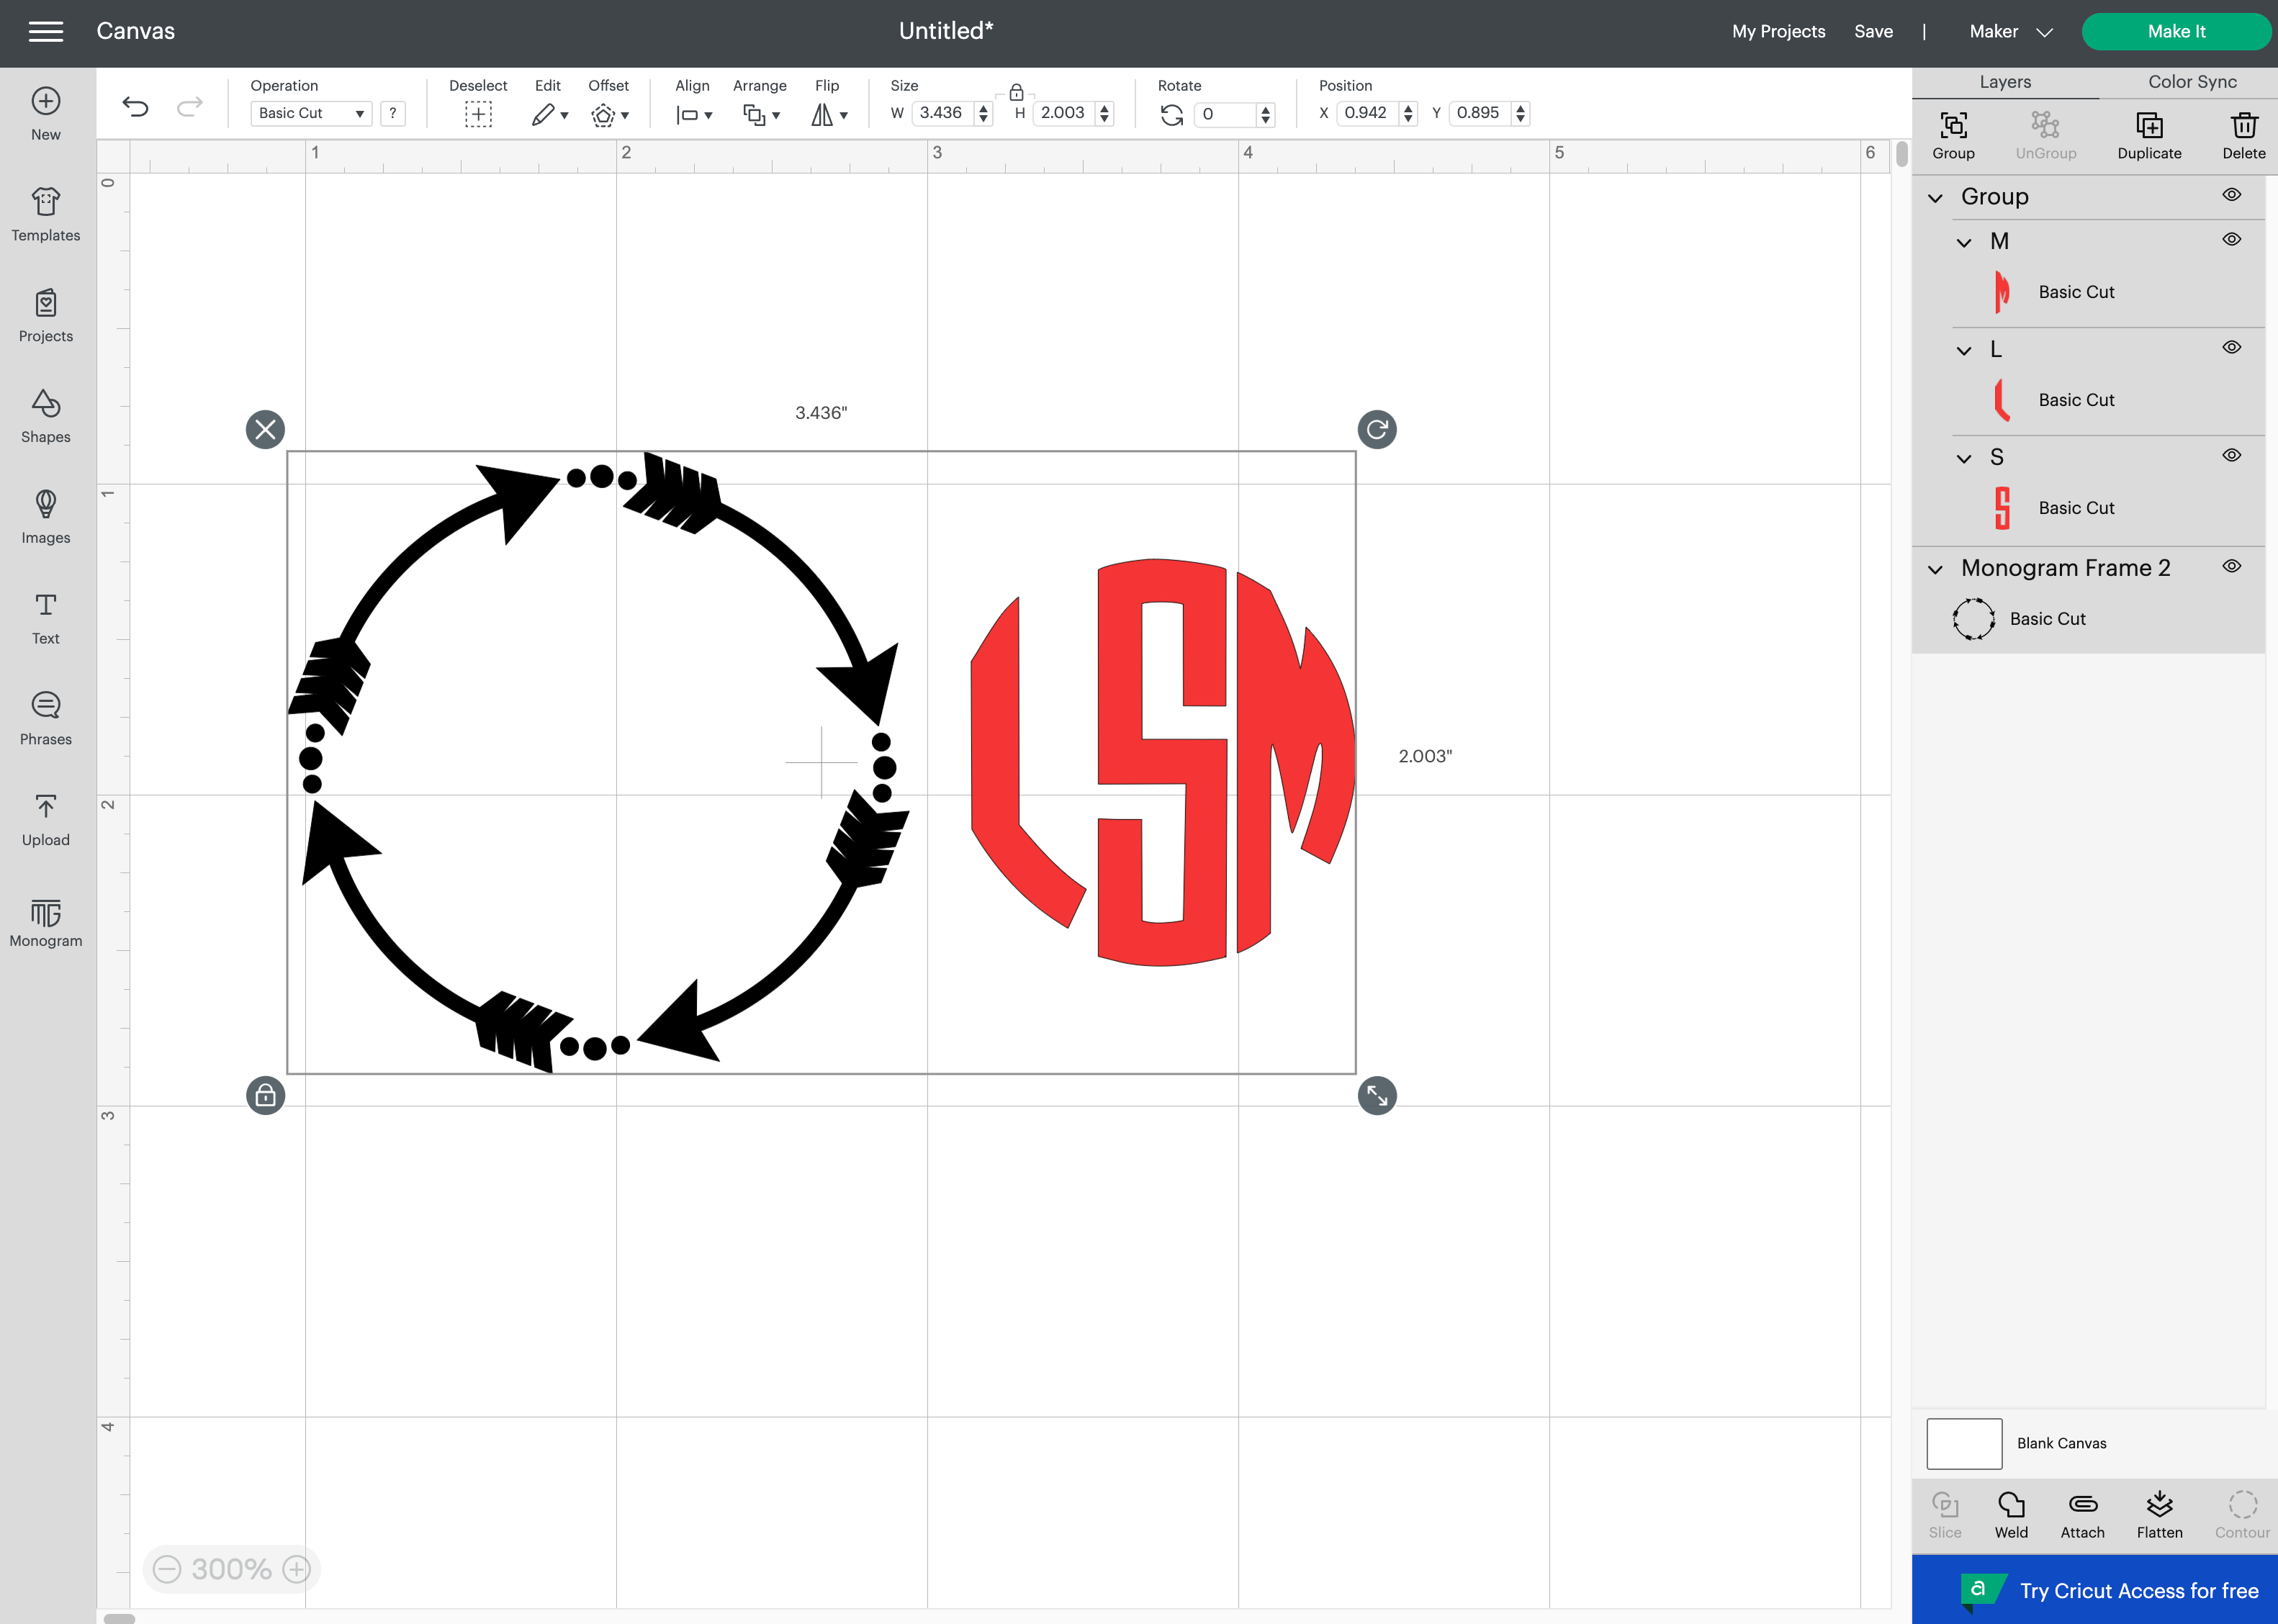
Click Align > Center Vertically.
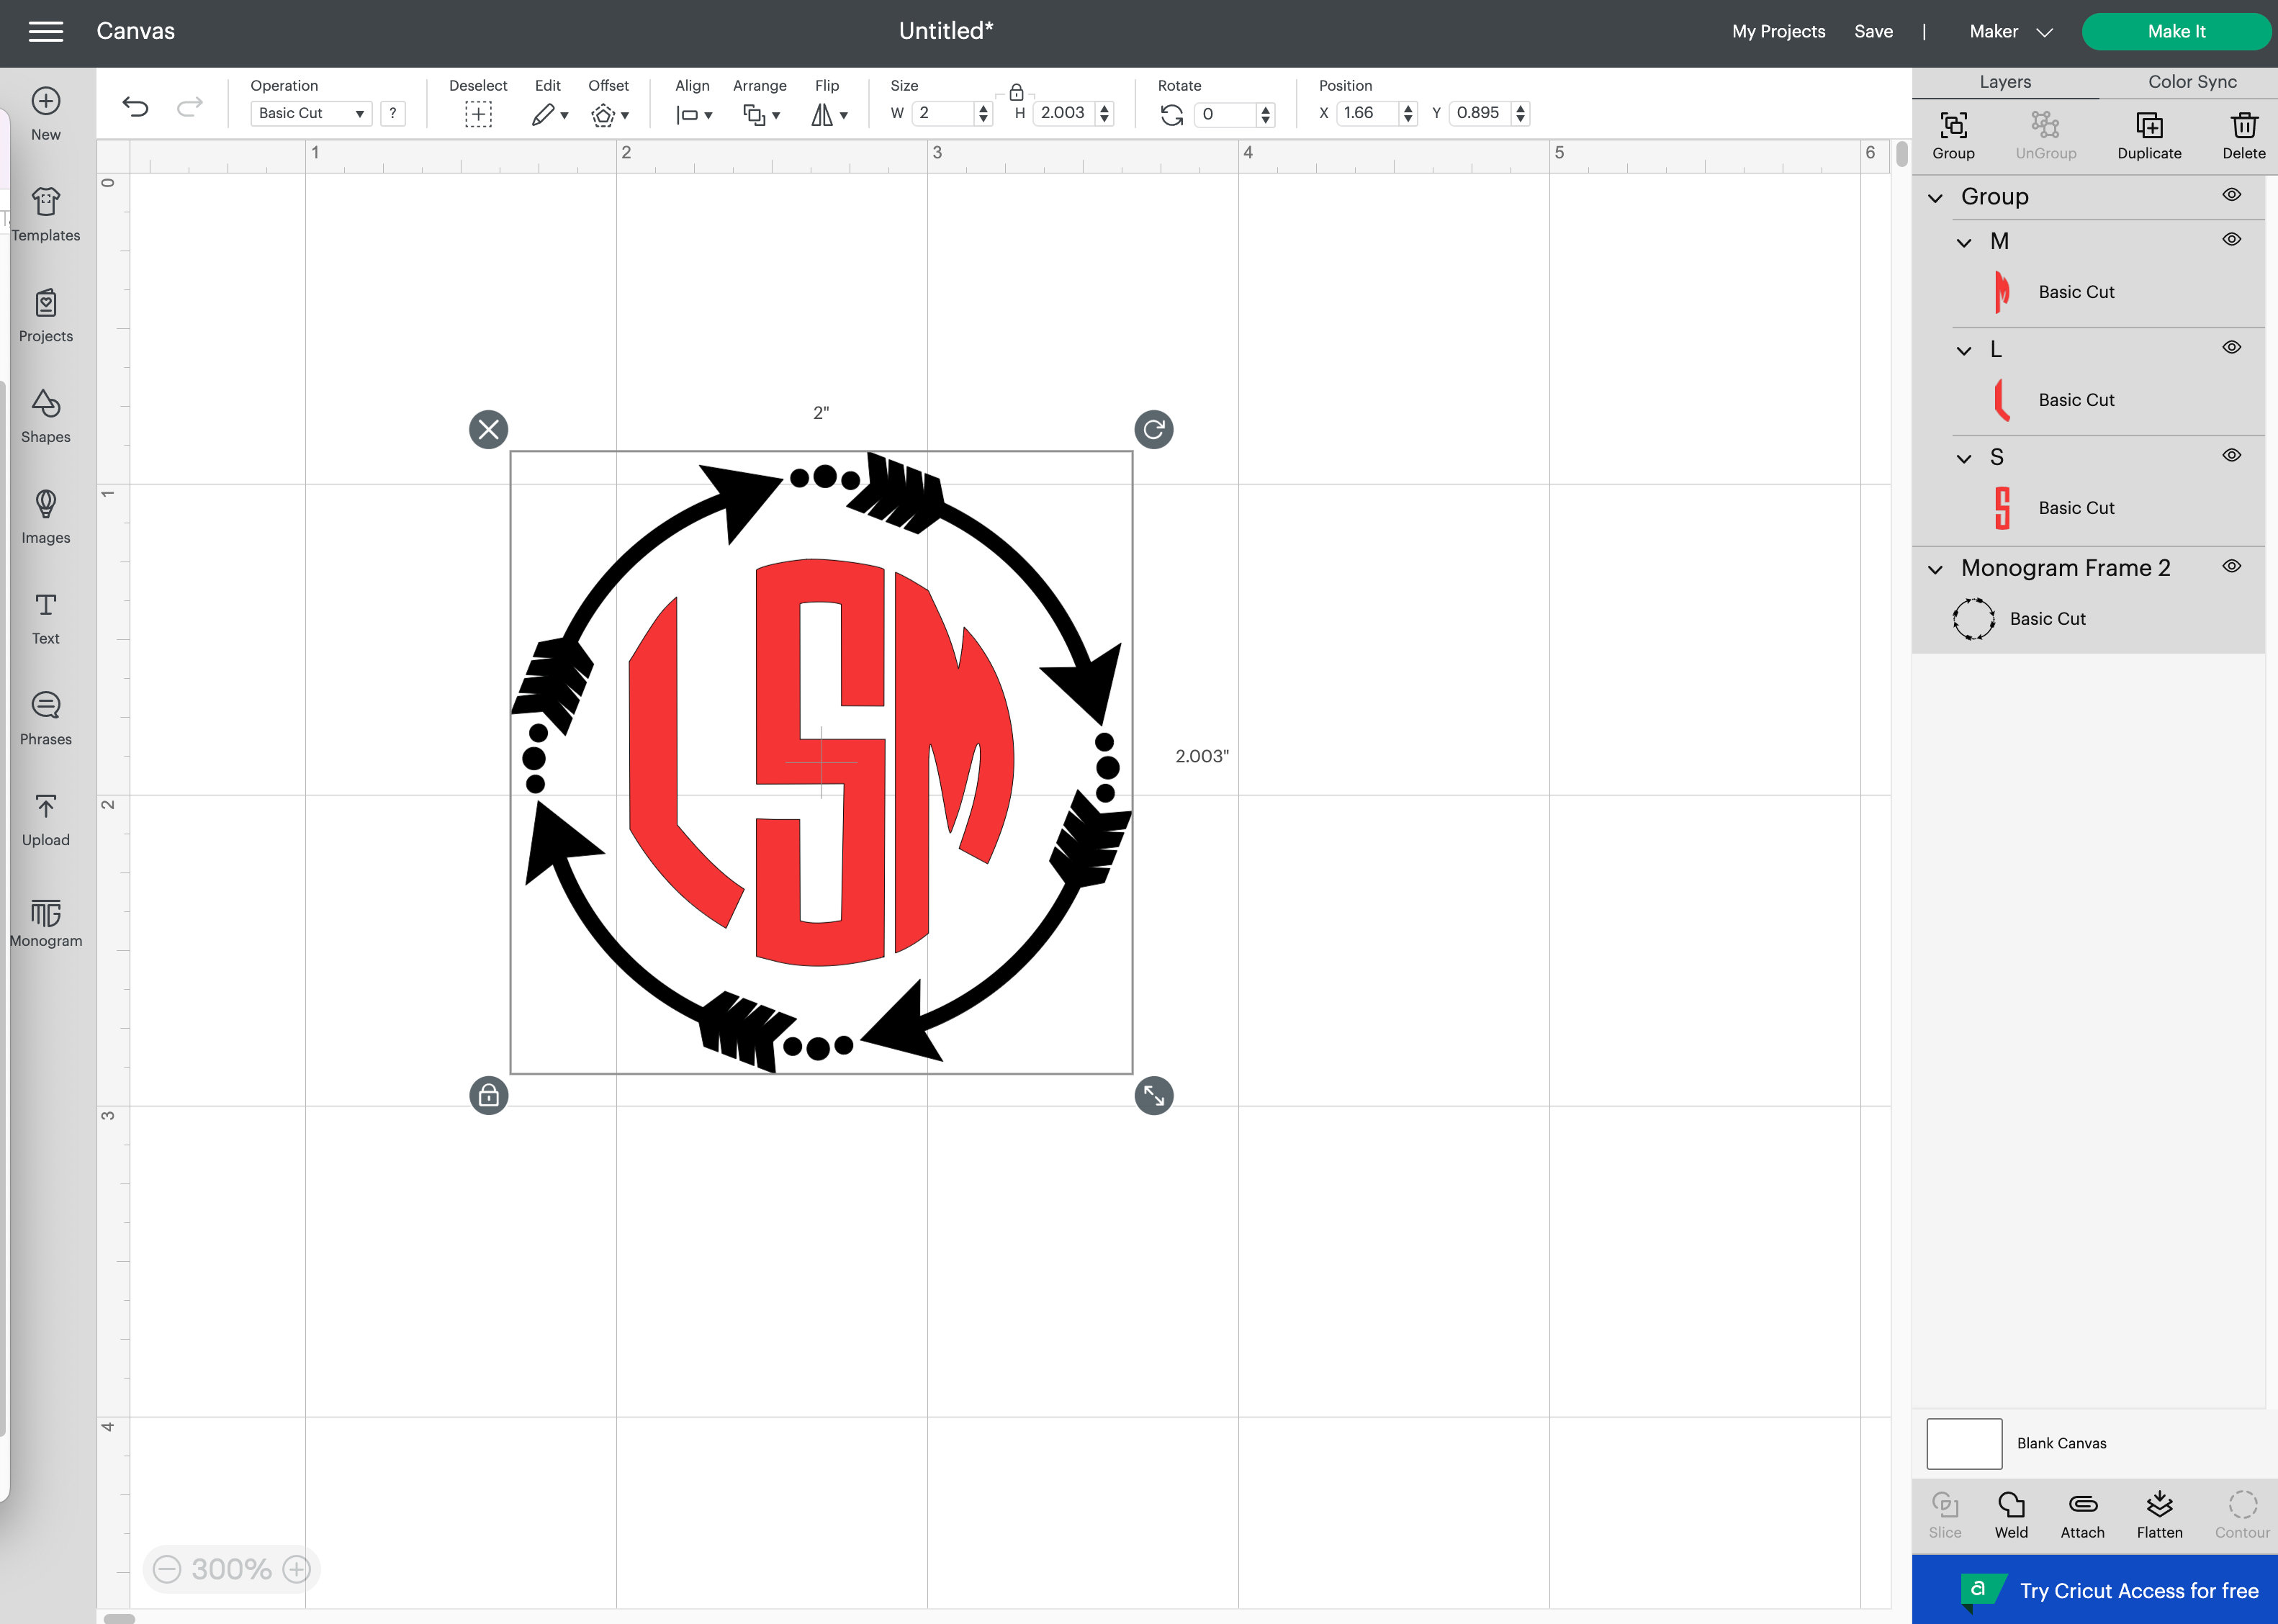
Select the monogram letters group and click > Attach at the bottom right. This will keep your monogram letters in place on your mat!
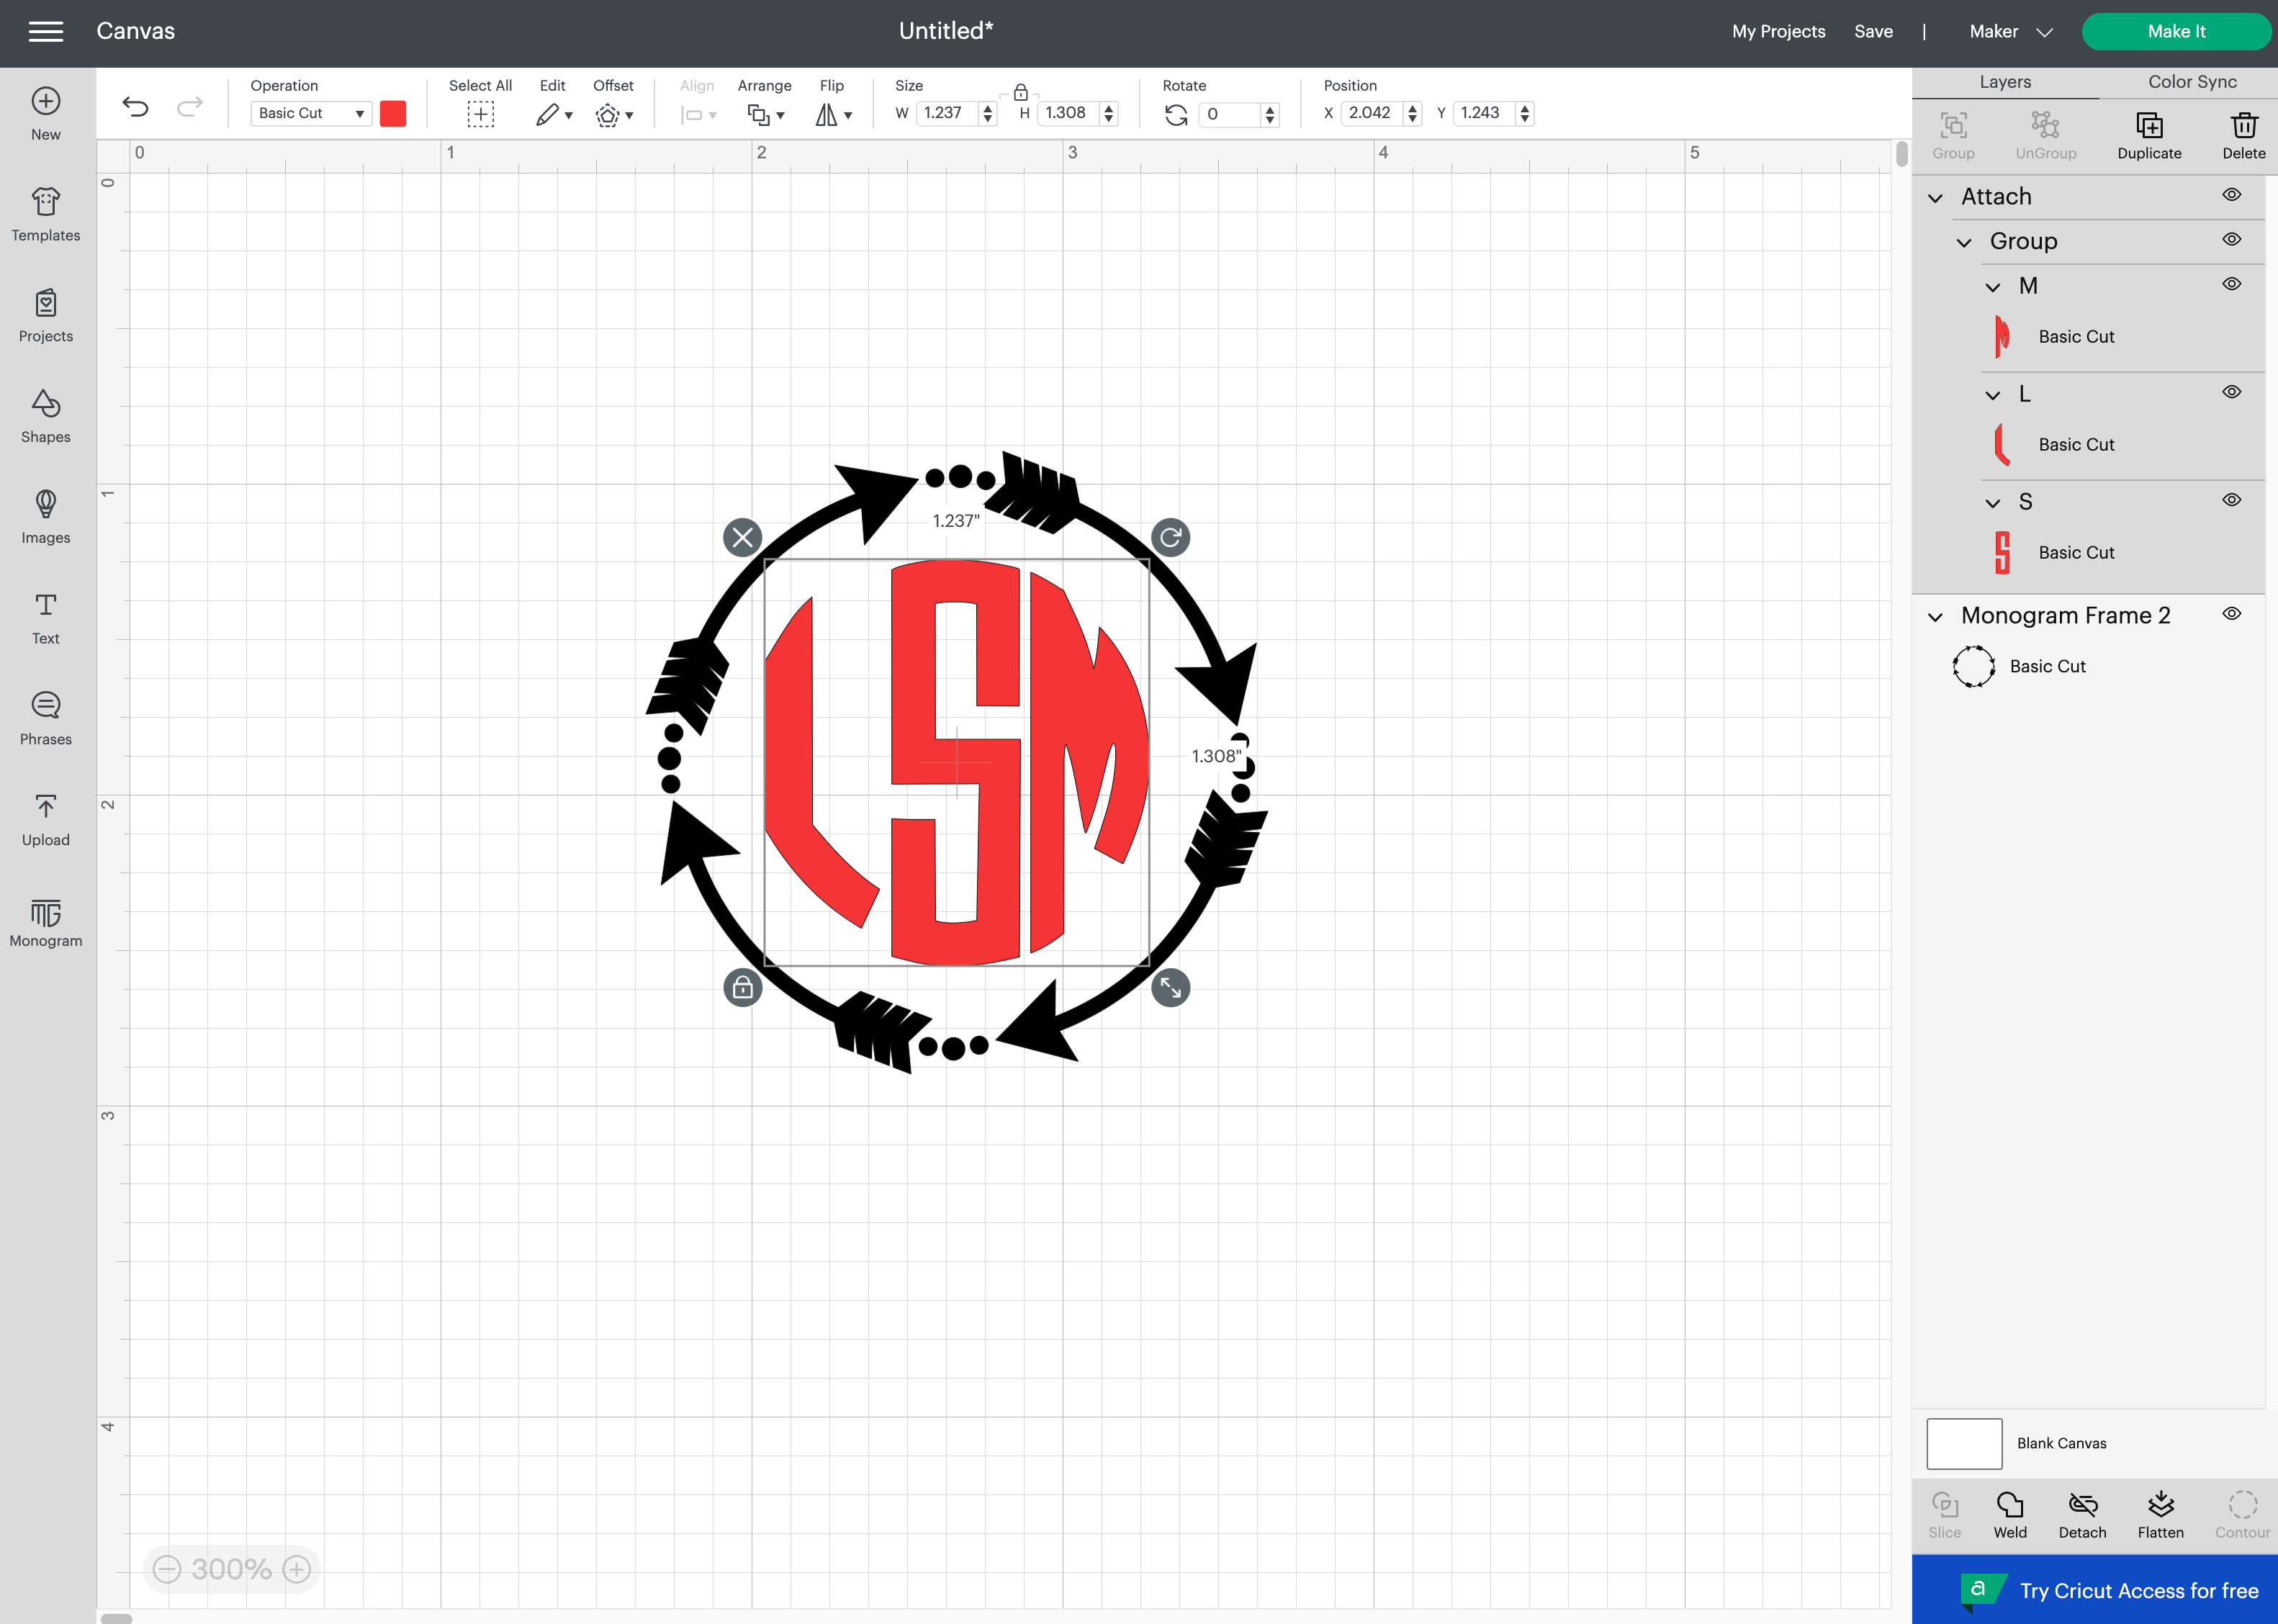
Your monogram is now aligned in the center of your frame and ready to cut.
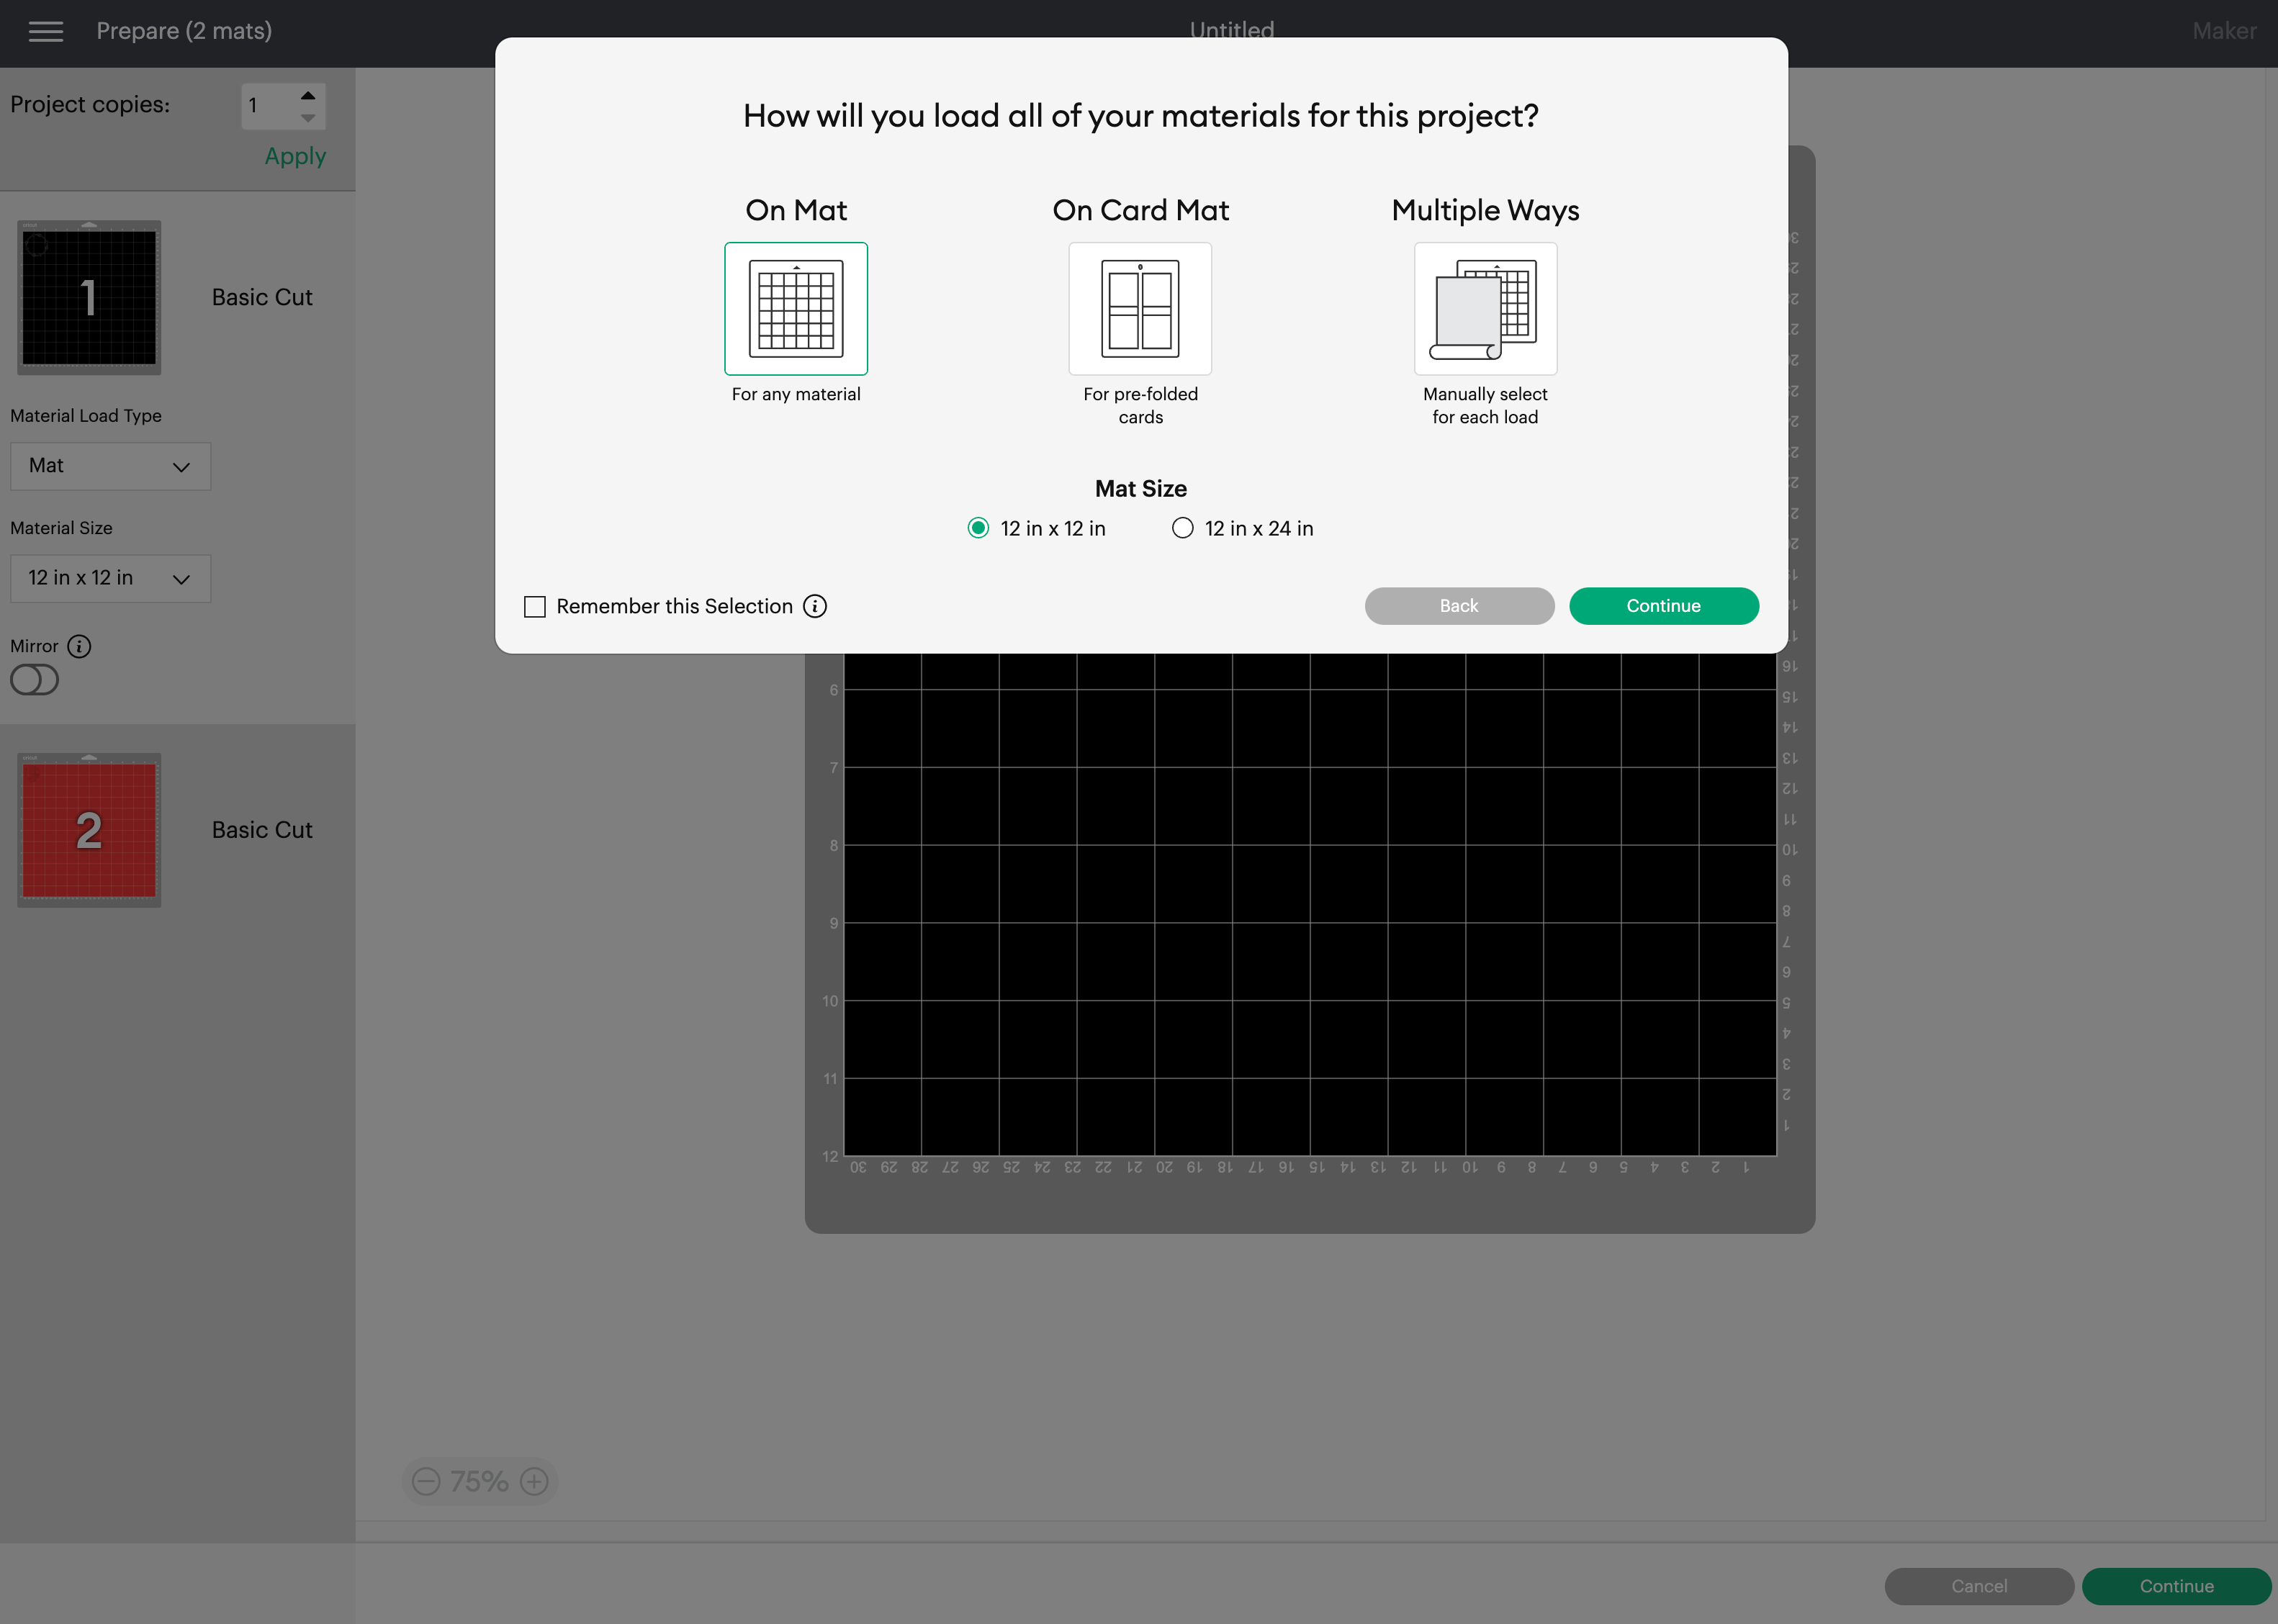
Click Make It and follow thee prompts to choose your mat, materials & send to your Cricut machine.
Monograms can easily be made in Cricut Design Space without a Cricut Access subscription by using these commercial-free, monogram letters and frames from the Mandalas & Monograms Bundle!
PIN it for later:


