How to Laminate Printable Stickers

When you go through the work to print your own stickers, you want to make sure they last for a good long while! In this tutorial, we'll show you how easy it is to laminate and protect your print-at-home stickers.

First, print out a set of designs on sticker paper.

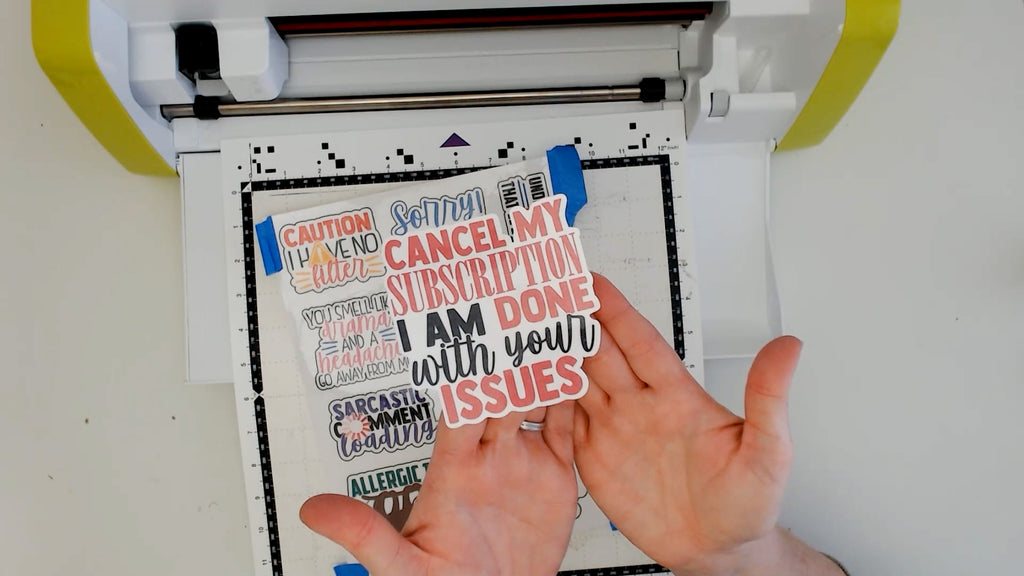
This set of designs comes from the Big Sarcastic Bundle.
Next, apply self-adhesive laminate or even clear sticker paper over the printed stickers after printing, but before cutting.
To get the smoothest application possible, start by exposing just the top 1/2 inch or so of the adhesive side of the laminate or clear sticker paper.
Laminate sheets may have a precut strip in the backing material so it's really easily removable. If not, then just fold back the first half inch of the backing to expose just a little of the adhesive.

Then, use the edge to align it over the edge of the sticker sheet.

Next, take your large burnishing/scraper tool and run it along the sticker paper while peeling back the backing material from the laminate or clear sticker paper.

Using this method, you shouldn't get any lumps or air bubbles. Then, burnish the laminate really well. You can find our favorite red squeegee here.

Next, move on to cutting. Because of the added layer, you may need to adjust the cut settings of your cutting machine to account for the additional thickness from the laminate.
We used the Brother ScanNCut SDX85, with the AutoBlade technology so it automatically adjusts the cut settings to get the perfect cut.
For a full sticker tutorial with your Scan N Cut, check out this blog post:

Have fun with your laminated and protected stickers!

And grab these designs in the Big Sarcastic Bundle!
Watch the project timelapse below:
PIN it for later:


