How to Add Color to Etched Glass

Take your glass etching projects to the next level by adding color! In this tutorial, we'll show you two different ways to add a subtle tint of color to etched wine glasses.

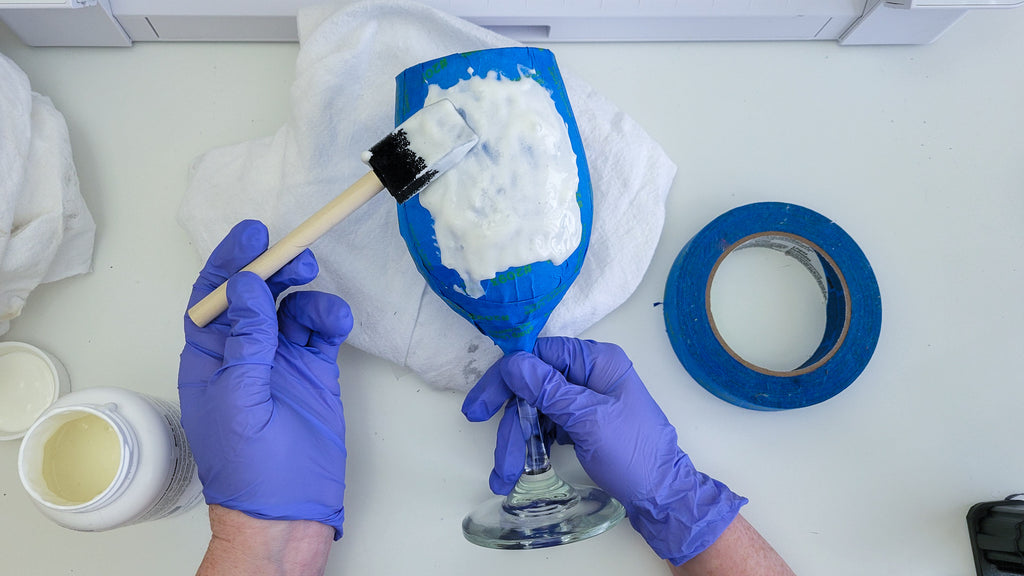
Use a stencil and glass etching cream to etch the design into the wine glass.

You can find the stencil design we used for this project in the Stencil and Sign Design Bundle.
Here's the etched wine glass. Now it's time to add some color!

Method 1: Oil-Based Paint Pen
Use an oil-based Sharpie paint marker (we used gold) to color in the etched areas.

While the paint is still wet, rub it away over the etched area with a paper towel.

The gold paint tints the etched areas and pretty much wipes off the un-etched areas. If you do get paint outside the etched areas, that's okay, we'll show you how to fix that.
Continue this process, working in small areas, until the entire etched area is colored in.

Take a cotton tipped swab dipped in isopropyl alcohol to remove any paint from the un-etched area.

What you'll have is the look of a beautifully gilded etched wine glass.

Method 2: Alcohol Ink
Another way to add color to an etched wine glass, is to use alcohol ink. This technique is really easy and really fast!
Here's what the etching looked like before:

Apply a few drops of alcohol ink into the etched areas.

While the ink is still wet, rub away the ink over the etched area.

The alcohol ink tints the etched areas and didn't leave any ink behind on the un-etched areas. However, if you do happen to end up with ink outside the etched area, you can use a cotton tipped swab dipped in alcohol to remove it.
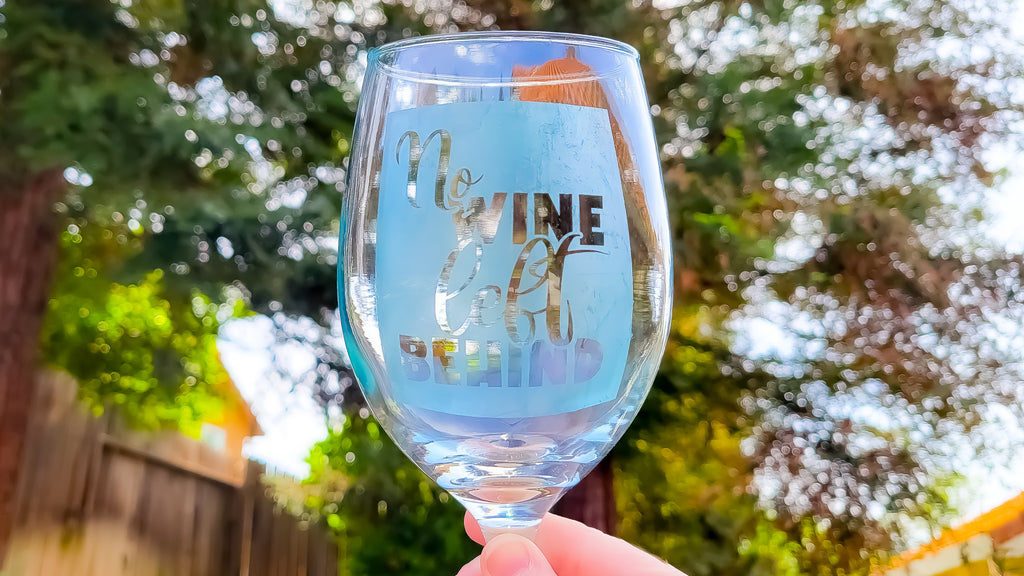
We applied a blue alcohol ink onto this etched wine glass which gave the design a beautiful blue tint.

For a full glass etching tutorial, check out this blog post How to Etch Glass with a Stencil. The wine glasses we used were purchased from the Dollar Store.
Both the designs we etched into these wine glasses come from the Stencil and Sign Design Bundle.
Check out the timelapse project video below:
LOVE it?!? Pin it for later:


