What Vinyl to Use for Wall Decals (and how to apply it!)
Find the design we used in our wall decal project HERE.
Wanting to spruce up your home decor? Look no further than a custom vinyl wall decal! In this tutorial, we'll talk about the best vinyl to use for wall decals and how to apply the decal onto your wall.

First, find a suitable wall decal design and open it in your design software (like Silhouette Studio). Then, resize the design appropriately for your project.

This farmhouse design comes from the Bundle of Bundles 5.0.
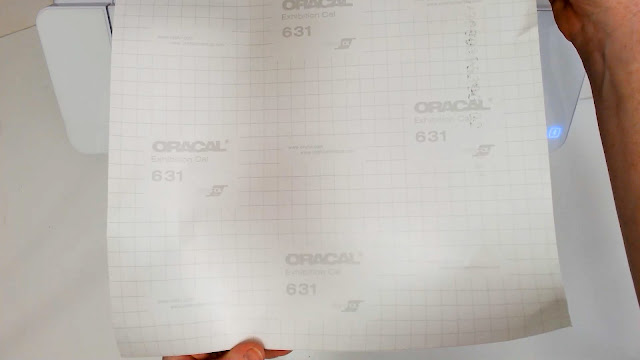
Grab some 631 Oracal vinyl, sometimes referred to as removable vinyl. This vinyl is specifically intended for indoor use like the painted drywall inside your home. Basically, the vinyl isn't supposed to rip the paint off your walls when you remove it to redecorate (like using permanent vinyl would).
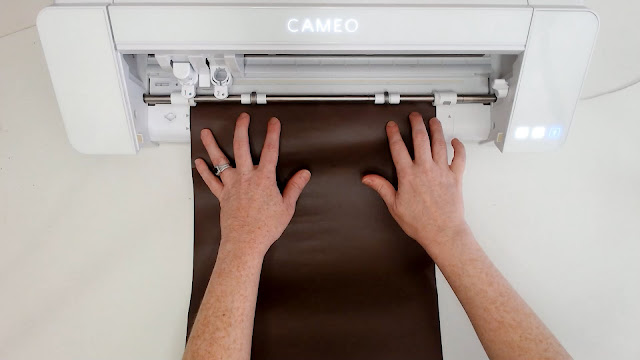
Cut the Farmers Market design out of 631 vinyl with your cutting machine (pictured below is the Silhouette Cameo 4).
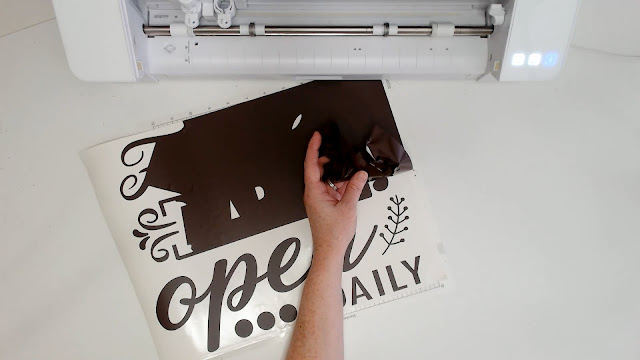
Then, weed out the excess vinyl.
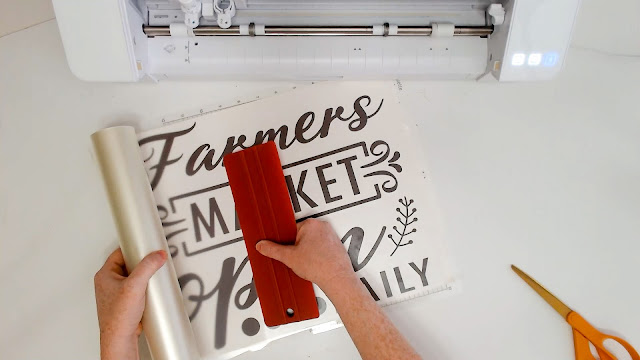
Next, apply a medium-tack transfer tape over the design.
Application
First, wipe down the wall surface so it's nice and clean.
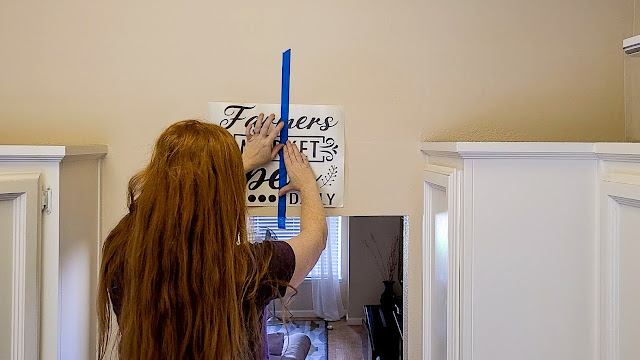
Next, use a piece of blue painter's tape down the middle of the decal to initially place it on the wall.
Use a ruler or tape measure and carpenter's level to get the decal centered and straight.
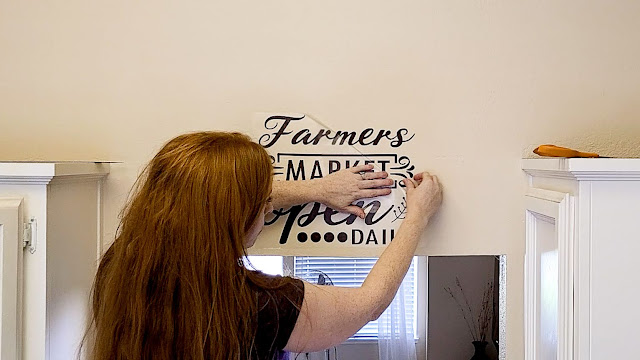
Then, apply the vinyl decal to the wall using the hinge method. Peel up one side of the transfer tape and cut away the vinyl backing. Then, lay the transfer tape back down onto the wall. Then, repeat on the other side of the decal.
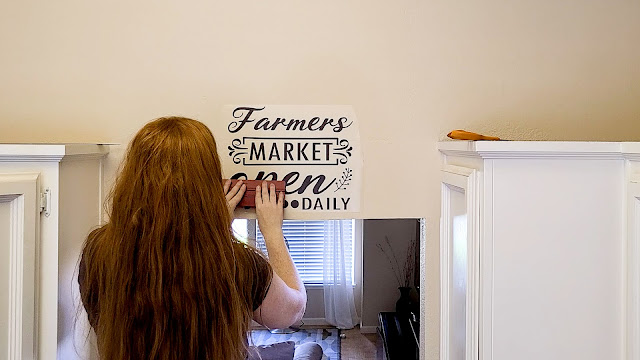
Next, burnish the vinyl to the wall through the transfer tape.
Note: for best application, let the decal stay on the wall with the transfer tape over it for 24 hours. This is recommended on the manufacturer's website. It allows the vinyl more time to adhere to the wall which will make removing the transfer tape much easier!
To remove the transfer tape, do so by slowing rolling it back onto itself. You can cut away the transfer tape you've removed as you remove it, if necessary.
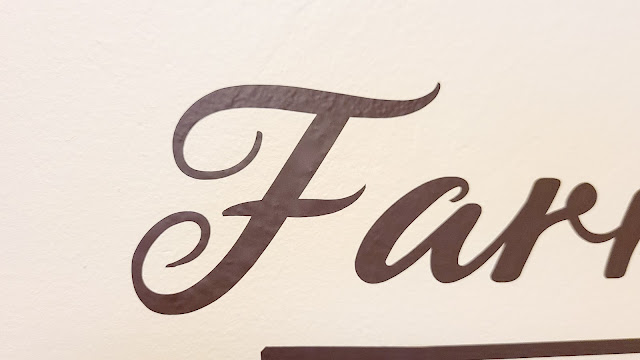
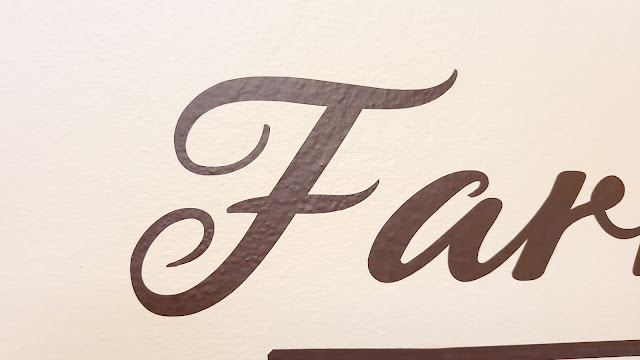
After removing the transfer tape, take your finger and burnish the vinyl into the wall once again. You should be able to see the texture of the wall through the vinyl.
Before burnishing....
After burnishing...
Then, enjoy your custom home decor!
Create your own vinyl wall decal and grab the design used in this project in the Bundle of Bundles 5.0.
Watch the timelapse tutorial below:
Pin it for later!


