
Clean Paint Lines on Wood Signs Using Stencils Every Time with This Trick
Bundle promotions in this blog post have expired - find the design we used HERE

This tutorial will show you how to get clean paint lines on wood signs using vinyl stencils, every time, with this genius trick!
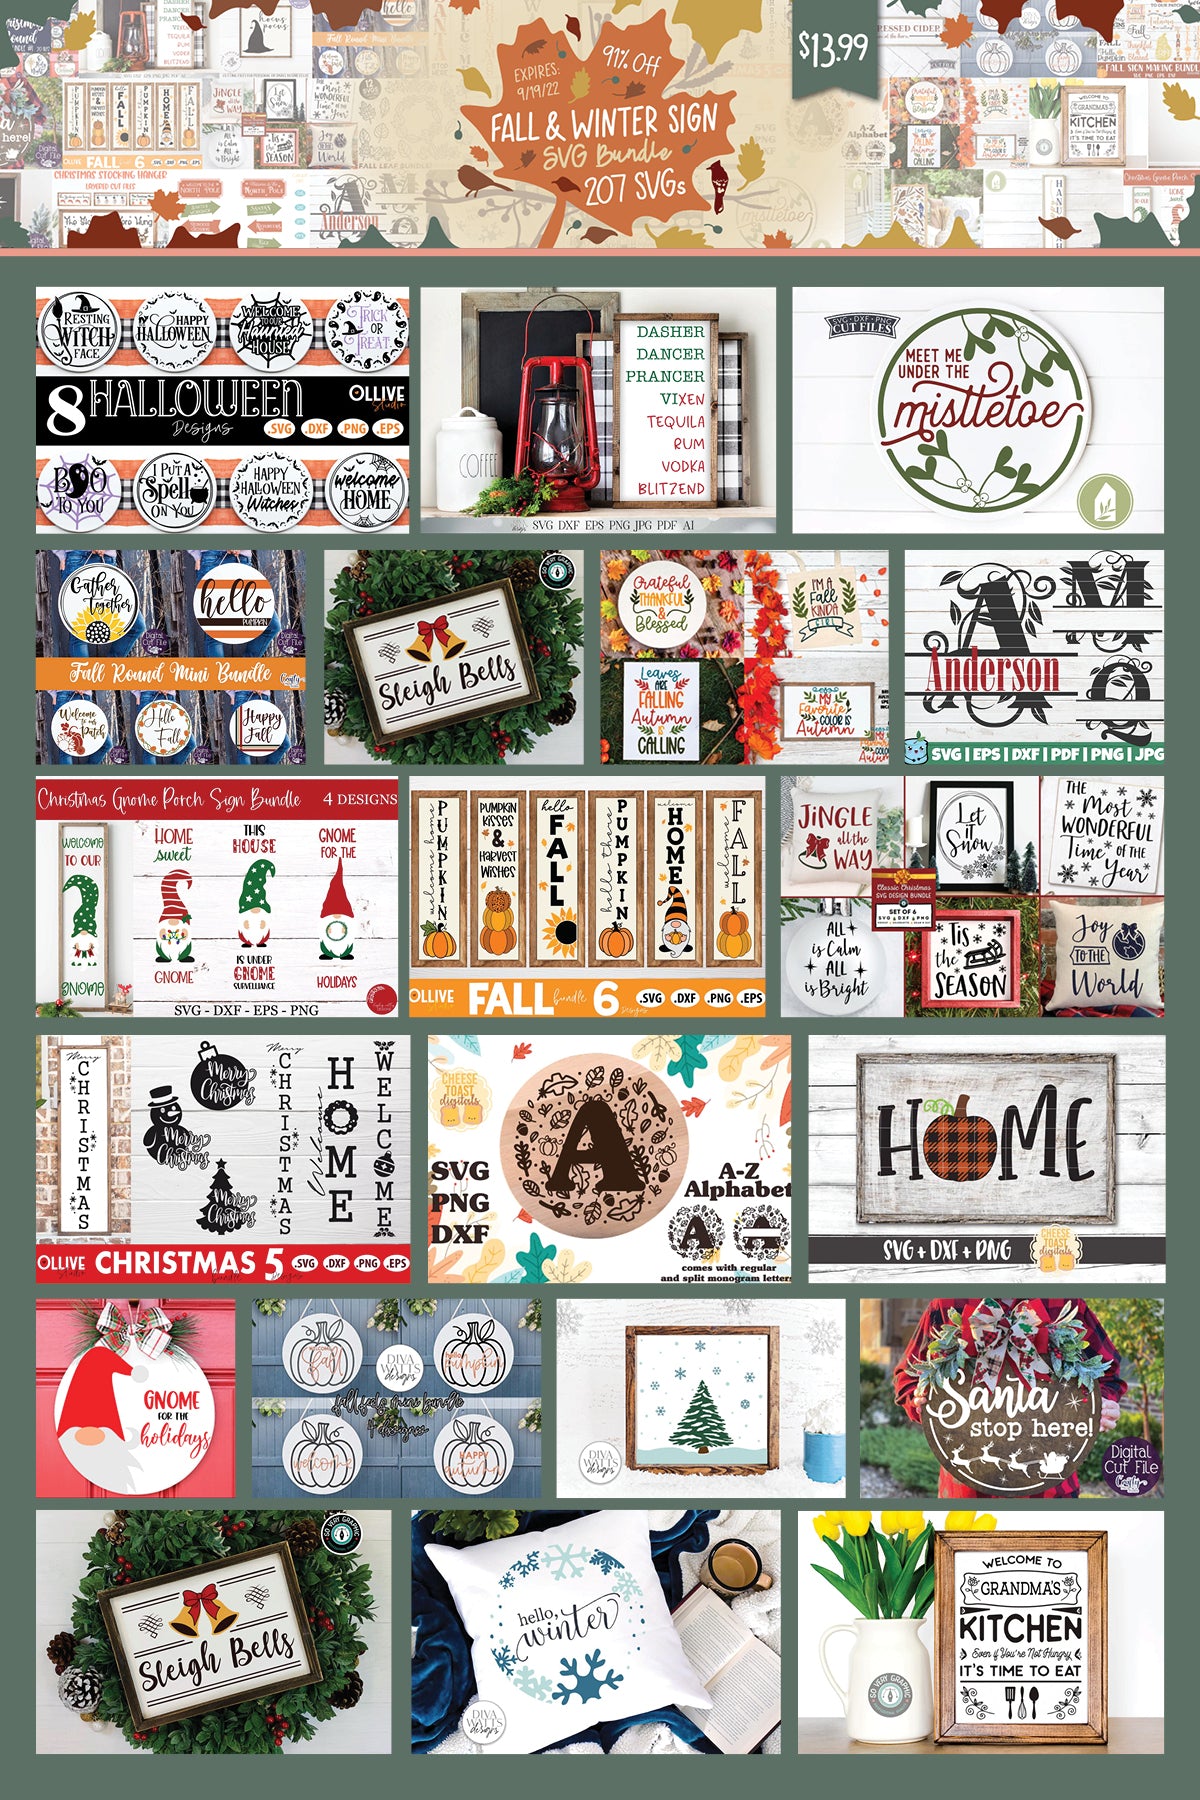
You can find the Hello Pumpkin SVG design that we used for our project in the Fall & Winter Sign SVG Bundle.

Choose a Stencil
Cut your own stencil using a Cricut, Silhouette or ScanNCut cutting machine. We use Oramask 813 stencil material.
If this is your first sign, try selecting a design that is big and bold, without lots of intricate shapes or small design areas

Sand the wood
You will get cleaner, crisper paint lines on smooth, sanded wood.
We used an electric hand sander to sand the wood until it's super smooth.

Paint the Base Color
Use long, smooth strokes in the direction of the wood grain to paint the base color of the sign. Let dry.
Paint another coat for full, even coverage and let dry completely.

Once it's dry take a very high grit sandpaper (like 400) over the wood sign lightly. This will smooth out any tiny bumps in the paint and remove any dust that may have stuck to the paint while it was wet.
Remove any remaining wood dust by gently wiping the sign with a clean cloth.

Apply Your Stencil
Apply the stencil to your wood sign. Make sure to burnish the stencil material really, really well onto the wood. You can find our favorite red burnishing tool here.
Use your finger to press the stencil material onto the wood, instead of just rubbing it across back and forth.

THE Trick to Clean Paint Lines!
Once your stencil is applied to your wood sign, grab the base paint you used for your sign and apply that again to your sign.
Use a light touch and paint the stencil the same color as your base paint color. Focus on the edges of the stencil. We used a paint dabber.

Let this paint layer dry.
You have created a seal between the stencil and the wood sign which will help stop any additional layers of paint from bleeding!

Take the paint color for the design and paint the stencil. You can use the paint daubers again for easy application.
Let dry.

You're now ready to remove the stencil!
Remove it in the opposite direction of the wood grain.

And just look at that! Super crisp paint lines and no paint bleed!

Grab this design from the Fall and Winter Sign SVG Bundle.
Watch the project tutorial below:
PIN it for larer:


