How to Use Weeding Boxes When Cutting Vinyl with the Brother ScanNCut
If you're cutting vinyl, especially adhesive vinyl, weeding boxes are your best friend! In this tutorial, we'll explain what they are, why you need them, and how to add them to your designs with your Brother ScanNCut. There are two ways to add weeding boxes with the ScanNCut - manually and automatically. This tutorial will cover both.

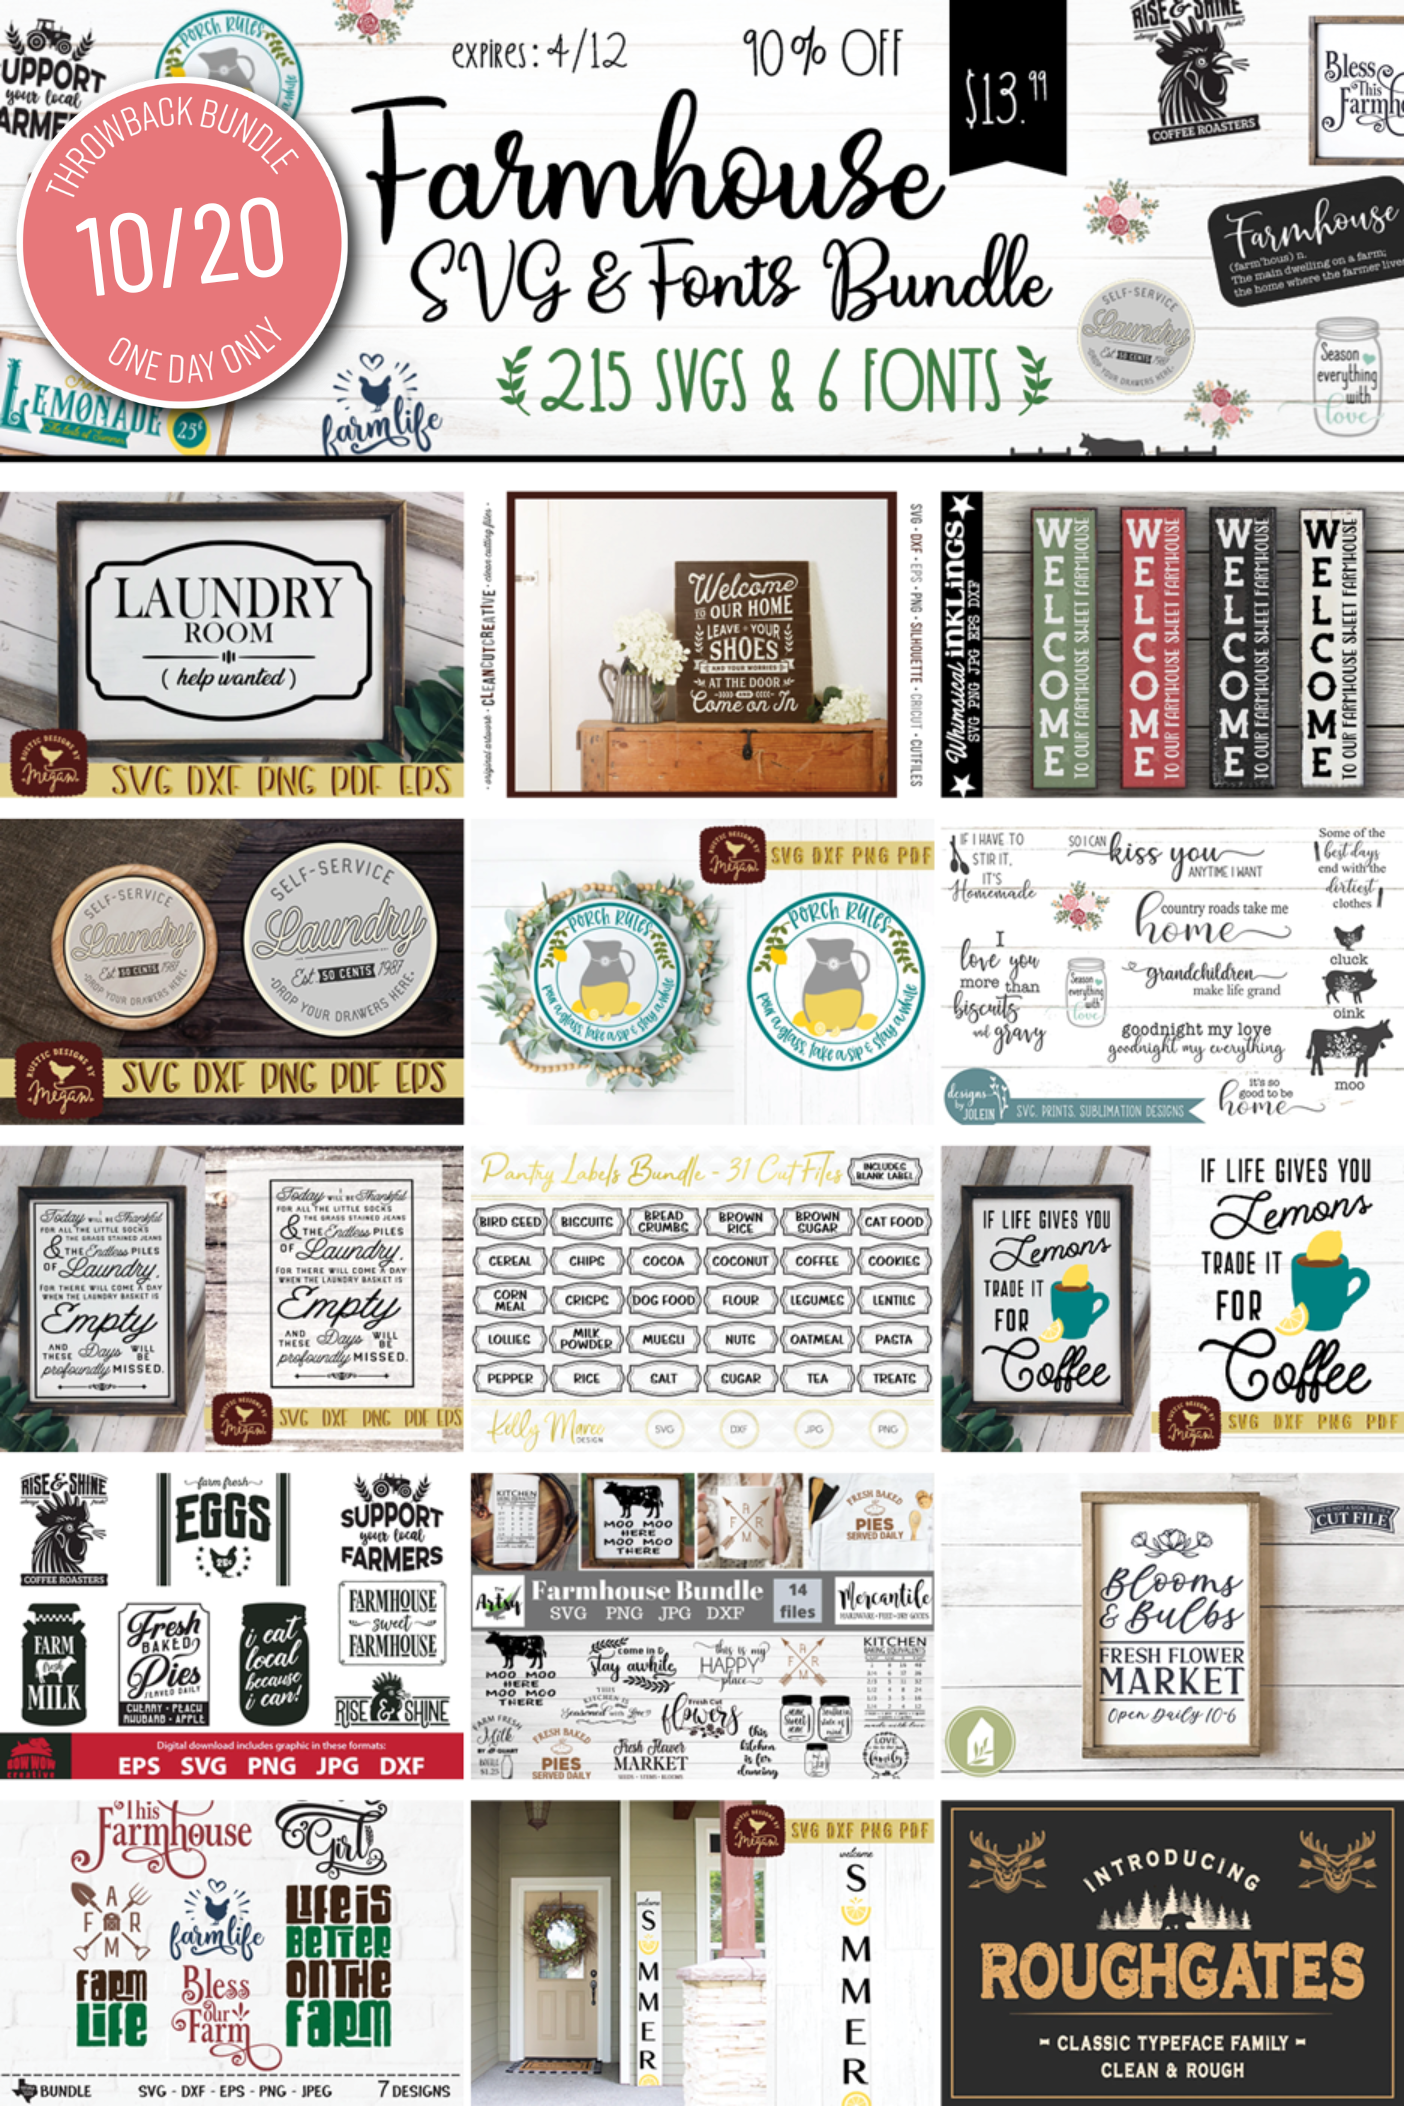
You can find the design we used in the Farmhouse SVG & Fonts Bundle:

What are weeding boxes and why should you use them?
Weeding boxes, sometimes referred to as weeding lines, are added boxes or lines around elements of the design or text. Your ScanNCut reads these as cut lines and thus, cuts these boxes and/or lines around the design as well as the design itself.

Weeding boxes are especially useful for text designs, or designs with multiple, small elements that are separated from one another. Take this kitchen baking equivalents signs from the Farmhouse svg bundle. There are many small, separate cuts which makes weeding in one pass (without losing any pieces) virtually impossible.

Weeding boxes make weeding so much easier because it allows you to work in small sections of the larger design. You have so much more control, and thus, achieve better results.
Adding Weeding Boxes Manually
In CanvasWorkspace (the PC software or web application), open the Shapes menu, and click the Square or Rectangle to add this shape to your workspace.

Once added, move, and resize it around one of the elements of the design. In the picture below, I've changed the box color to red so you can see it better. Make sure that the square or rectangle does not overlap any part of the design.

Tip: To easily move shapes, click and drag the small blue square in the middle of the shape.

Tip: To resize shapes, click and drag the outside anchors to the desired size.

Continue adding squares/rectangles around the elements of the design. You can add as many or as little as you like. Just make sure the lines of the boxes do not overlap with any of the lines of the design.
For a design like the kitchen baking equivalents sign, there are many elements in which to place weeding boxes around.

Doing so may seem like a tedious task, but the more weeding boxes you add now, the easier weeding the cut vinyl will be later.
Taking the time to add weeding boxes around your design, means you'll save time and perhaps save vinyl because you'll be less likely to mess up the weeding and have to cut the design again.

Adding Weeding Boxes Automatically (Vinyl AutoBlade)
Your ScanNCut can add weeding boxes to your design automatically if you have purchased and activated the ScanNCut DX Vinyl AutoBlade Kit. You can automatically add weeding boxes through the PC software download of CanvasWorkspace or directly on your ScanNCut DX machine.
CanvasWorkspace (PC software download)
In CanvasWorkspace (the PC software version downloaded onto your computer), select the objects around which you wish to add weeding boxes/lines.
Then, open the Edit Panel and click the Weeding Box button. This button is only available after you have activated the Vinyl AutoBlade activation card that comes in the kit.

You have several styles of weeding boxes to choose from. Click the down arrow to reveal these options. I've found the Optimize the Weeding Lines option very effective and use that most, if not all, of the time.

You can also adjust the spacing of the weeding lines from the selected objects. 0.04 inches is the smallest measurement, and I also found this quite effective.
Click OK. Weeding boxes/lines are then added to your design. You can access them in the Layers panel, where you can make edits or delete individual lines or boxes.

Then, send your design to your ScanNCut for cutting like you normally would. For more information on how to do that, check out this blog post about how to transfer designs from CanvasWorkspace to your ScanNCut machine.
ScanNCut DX Machine
Your ScanNCut DX machine can also automatically add weeding boxes/lines to your design. Open the design on your machine. For more information on how to open designs on your ScanNCut machine, check out this blog post How to Open So Fontsy SVGs with your Brother ScanNCut.
Make any edits to the design as desired, then proceed to the cut screen. Next, tap the wrench icon to access more settings.

Tap the single down arrow on the right side of the screen to access the Weeding Box options. Select ON, then set the desired Weeding Box Spacing. Then tap OK.

If you get this next screen, tap OK and go back to the edit screen. Move the design away from the edge of the mat.

Then, follow the same steps as before to add weeding boxes.
Note: If the design is grouped together, a weeding box may be placed around the entire group of objects. (See below - this design was exported from CanvasWorkspace will all elements grouped together).

In the picture below, the all the elements of the designs were ungrouped before sending it to the ScanNCut machine. Now, more weeding boxes have been added.

Cutting and Weeding
Send the design (with the weeding boxes/lines) to cut on your ScanNCut machine. Use the DX's Half Cut feature so the AutoBlade will only cut through the vinyl and not all the way through the backing as well.

After cutting, unload mat and begin weeding with your weeding tool of choice. You may find it beneficial to weed with the vinyl still on your cutting mat.
Lastly, remove all the weeding boxes around each part of the design. And you should find that weeding goes much faster and is much more effective!

Grab the kitchen baking equivalents svg design in the Farmhouse SVG & Font Bundle: