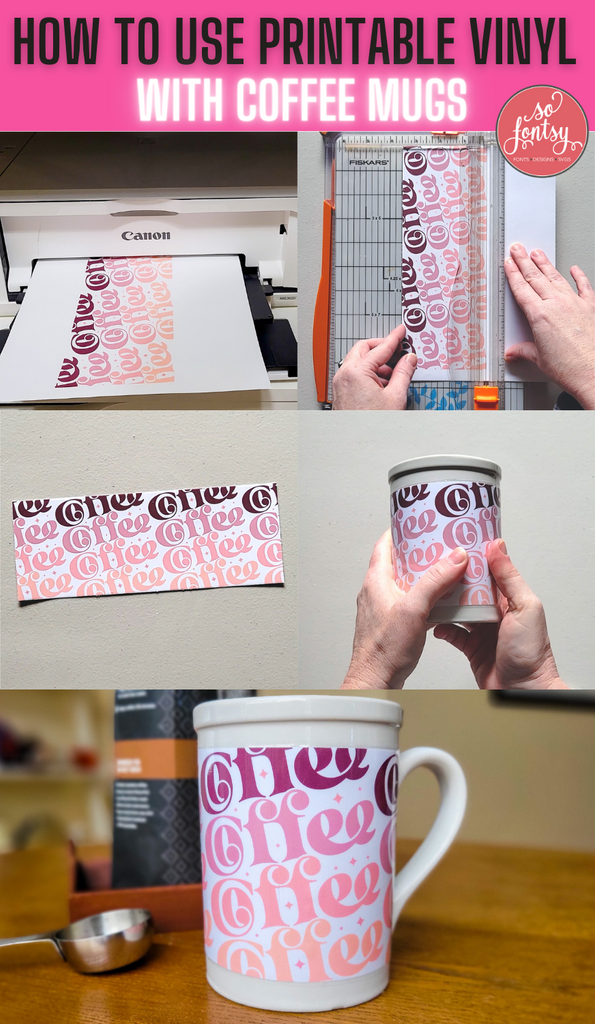
How to Use Printable Vinyl with Coffee Mugs
Printable vinyl is such a versatile product, and is great to use customizing coffee mugs. In this blog post, we'll show you how to create a DIY coffee mug using printable vinyl.

Open design software like Silhouette Studio or Cricut Design Space. Then, open the desired mug SVG design. Because you'll be printing this design, it can be as colorful and detailed as you want. We repeated this Coffee SVG design several times to create our own pattern.

You can find the mug design we're using for this project in the Big Beverage Quotes SVG + Font Bundle.
Place the printable vinyl in your inkjet printer then print the mug design onto it. Our favorite is Oracal because you can get vibrant colors and details with ease.

Use scissors or paper trimmer to trim around the mug design.

Next, apply a piece of UV laminating film over the printable vinyl. The film protects the ink from smearing. Use a burnishing tool to apply the UV laminating film very smoothly. Apply the film in very much the same way you'd apply transfer tape over a vinyl decal.

Then, use scissors or a paper trimmer to trim the UV laminating film that's applied over printable vinyl.

Lastly, apply the printable vinyl around a coffee mug using the hinge method. Be sure to burnish really well. Then, wait 24 hours before use and hand wash only.

The sky's the limit when it comes to using printable vinyl with coffee mugs!

Try using printable vinyl to create a DIY coffee mug for yourself.

Find the mug SVG design we used, plus lots more, in the Big Beverage Quotes SVG + Font Bundle.


