Back to Tutorials


How to Use Mesh Stencils for Wood Burning
Bundle promotions in this blog post have expired - find the design we used HERE

Did you know you can use DIY mesh stencils for wood burning wood signs?!
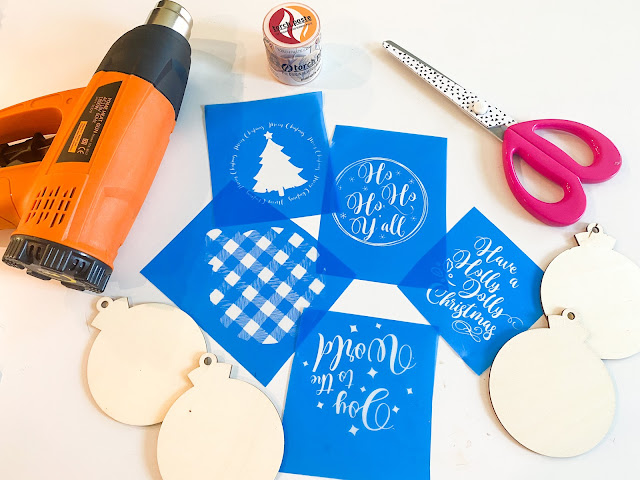
In this tutorial we'll show you how to make your own custom mesh stencils for wood burning signs! The key is combining Ikonart and torch paste gel!
If you're not familiar with how to make reusable silkscreen stencils at home, then you'll want to first review this Ikonart stencils for beginners tutorial so you understand the basics:
Once your mesh stencils are ready, it's time to start wood burning!

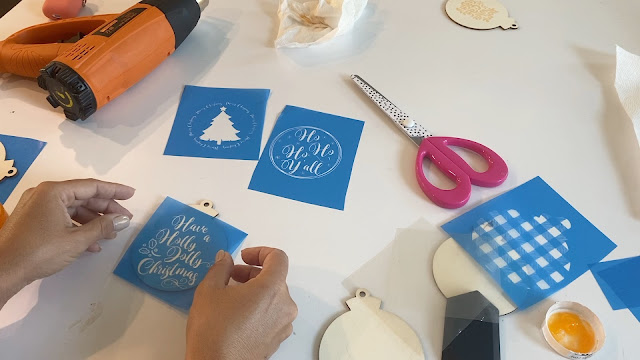
Place the stencil on the piece of wood and press it down really well so it sticks. You don't want any areas where torch paste can get under.

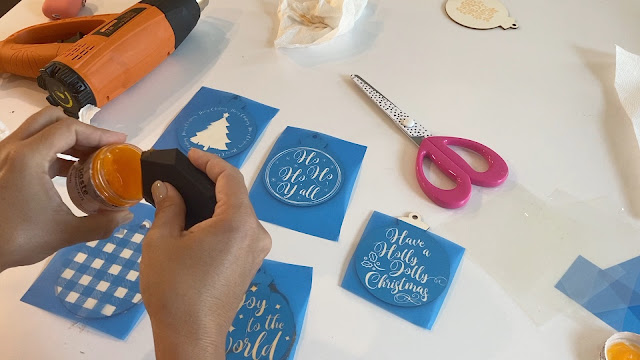
Use a silicone scraper to scrape a thin layer of torch paste across the entire stencil. Remove any excess wood burning paste. You can actually put it back into the jar to avoid any waste.

Leave the stencil on the piece of wood for about 2 minutes to let the torch paste gel set slightly then remove the stencil by peeling away from one corner in a diagonal motion.

Wash out your mesh stencil so you can use it again for another wood sign!
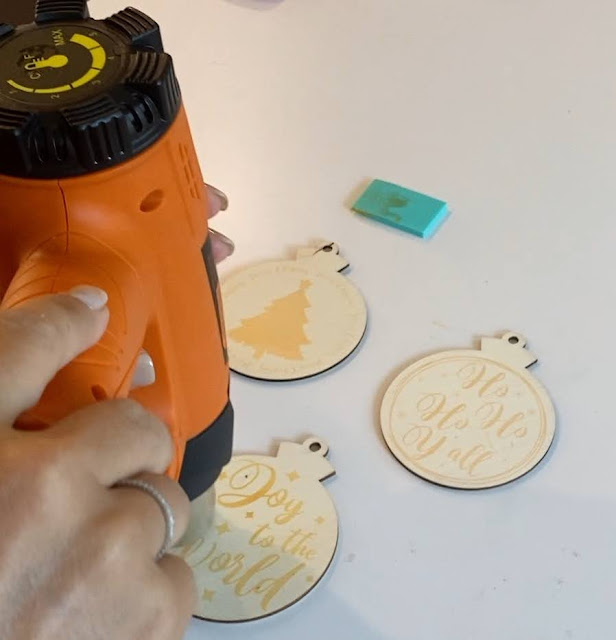
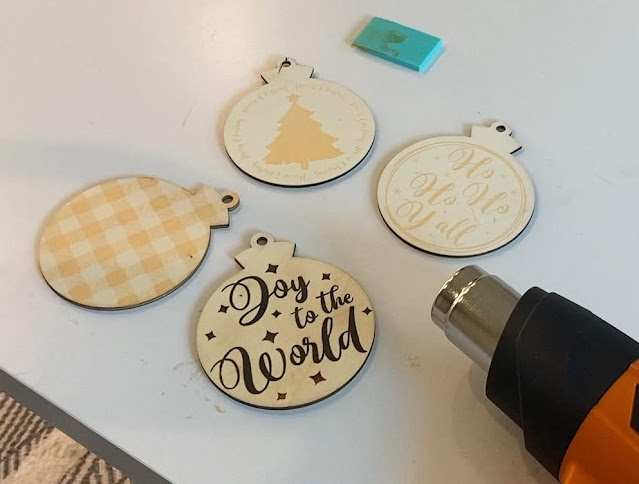
Use a heat gun on high heat and in constant motion to apply heat over the entire area where there is torch paste gel.

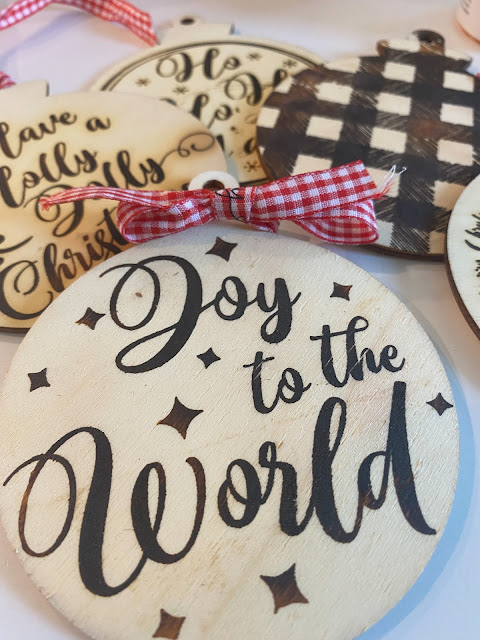
You'll see the areas where the torch paste gel was applied through the mesh stencil will begin to gradually darken and burn the wood!

Didn't these turn out cute?!

To make a set of your own mesh stencils for wood burning grab the September SVG and Font Bundle before it expires!!


