
How to use Photo Mug Templates for Sublimation

In this tutorial, we'll show you how to add your own photos to a photo mug template.
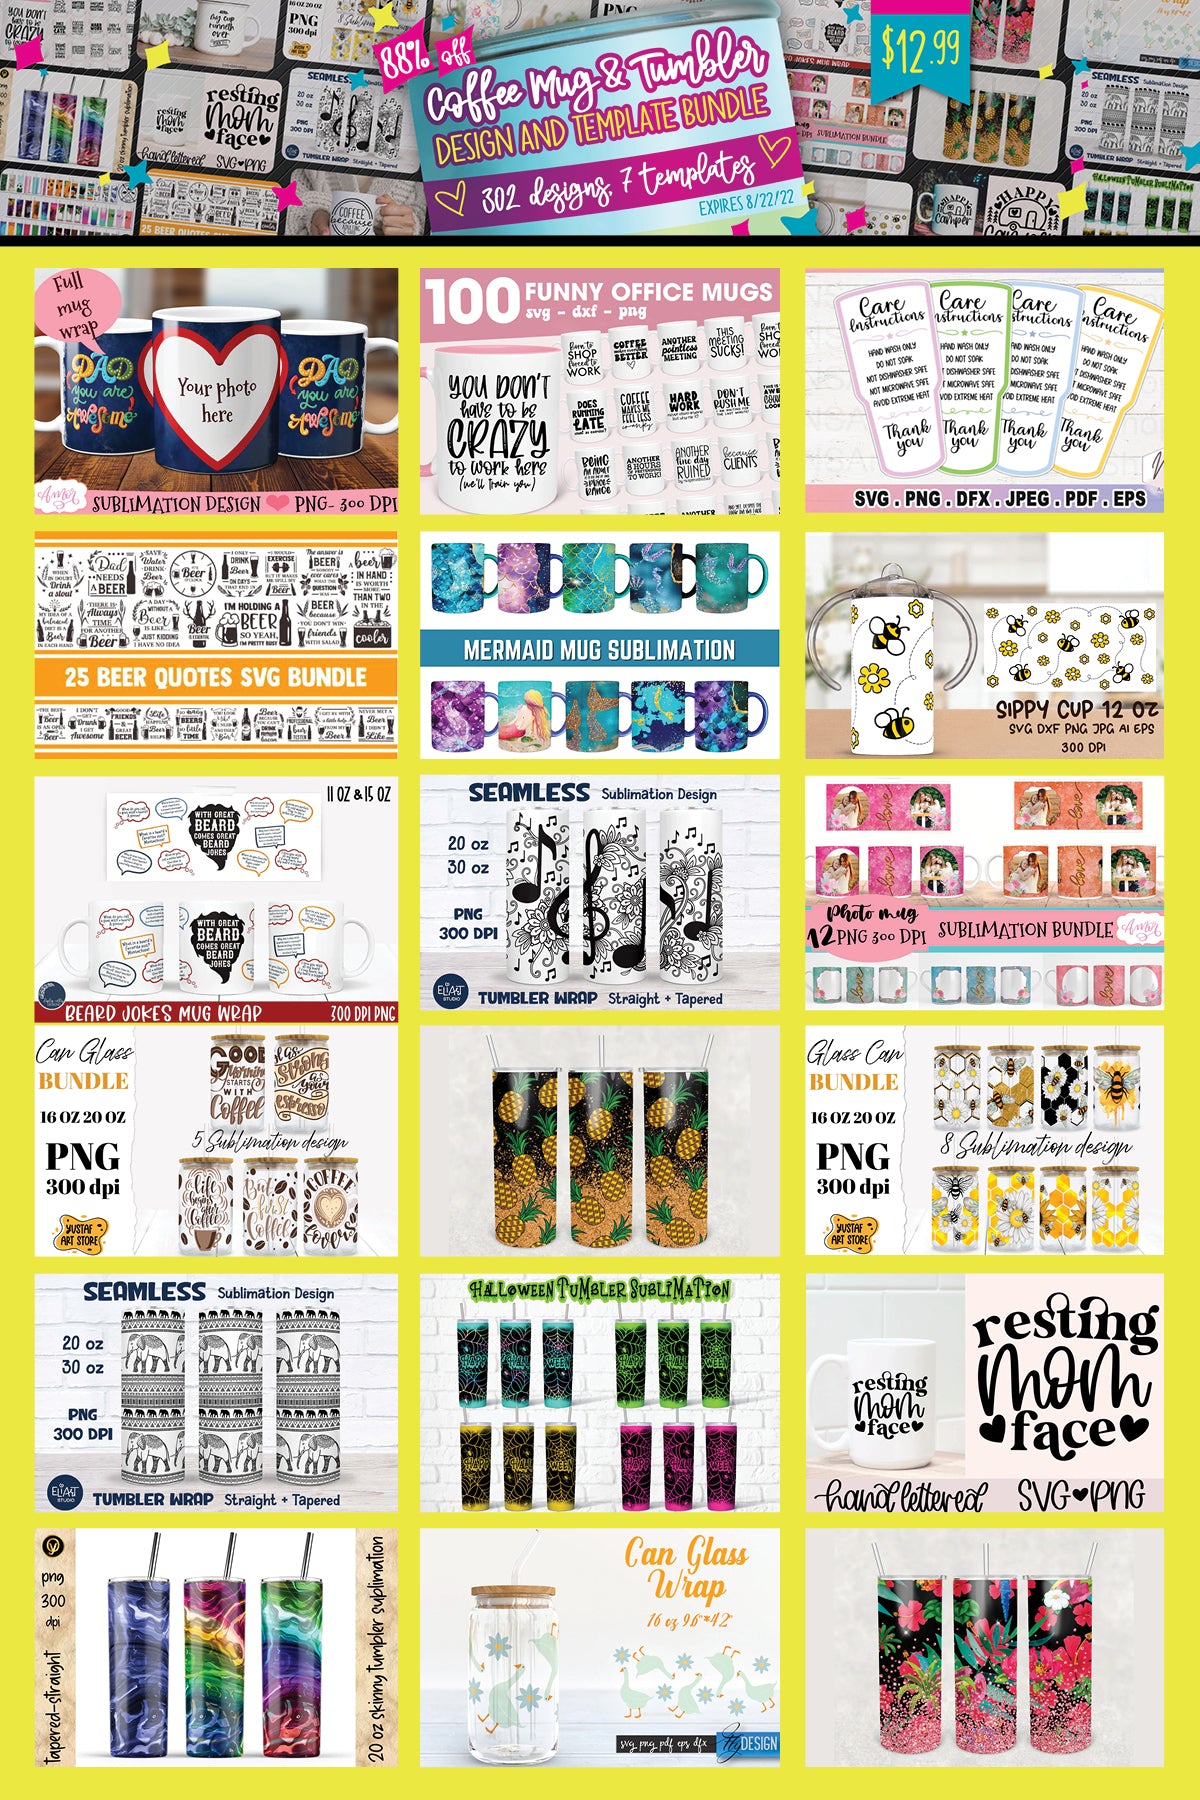
You can find the blank photo mug template that we used for our project, in the Coffee Mug & Tumbler Design Bundle.

Open Silhouette Studio and set the appropriate page size you'll be printing on.

Go to File >> Merge.

Find the photo mug template saved on your computer.

Add it to the open workspace.
Resize it to fit your mug. You can do this by selecting the design, then typing the desired width of the template. Make sure the Lock icon is engaged then hit enter and the height will adjust automatically.

Right click over the design and select Release Compound Path from the drop-down menu.

Click on the largest part of the design and drag it down underneath the other elements of the design that were previously part of the compound path. These are the shape of the photos.

Note: there are two parts to each of the photo shapes.
First, select both then right-click and select Make Compound Path. Do this for the other photo shape as well.

Change the fill color of the shapes to "No Fill".

Go to File >> Merge add the desired photo to this workspace. You may need to resize the photograph smaller if it opens really large.

Select one of the photo shapes and click the Bring to Front button.

Click and drag it over the photo and position it where you want on the photo. Note: resize the photo only so that the photo shape is positioned exactly where you want it over the photo but don't resize the photo shape. Make sure the photo completely fills the photo shape.
If it's hard to see the thin outline of the photo shape, you can change the line color of the photo shape to something darker and make the line weight thicker.

When you have the photo shape positioned where you want it, select both and open the Modify panel and click Crop.

The photo is then cropped to the exact shape of the photo mug template.

Click and drag the photo and position it on the photo mug template.

Do the same for the other photo shape.

Mirror your design and print it out with your sublimation printer.

Securely attach the sublimation transfer to the mug with heat resistant tape.

Press with a mug press.

After the mug has cooled, remove transfer...

... and look at that super special, custom mug!

Note: make sure to press along the short edges of the mug transfer. On the first must I did, I didn't press well enough in those areas, and the image looked a little faded near the edges.

But on the second mug I did, I made sure to press those edges well, and it turned out beautifully! We used Cricut brand mugs for this project.


You can find this photo mug template and more in the Coffee Mug and Tumbler Design and Template Bundle.
Watch the software tutorial below:
PIN it for later:


