How to Use 3D Puff Heat Transfer Vinyl

Learn how to use 3D puff heat transfer vinyl to give your HTV projects a really cool, puffy texture!

You can find the svg designs we used for these projects in the April 2022 SVG Design & Font Bundle.
Here's the 3D puff heat transfer vinyl I used for this project. It came in a pack of several different colors.

Always read manufacturer's instructions prior to using any new product.
When cutting a new material for the first time, perform several small test cuts using different cut settings on your cutting machine.
Before starting the project, I did several "test presses" of 3D puff htv on an old t shirt. This allowed me to not only find the ideal pressing time, but also see the color of the finished product.


I found the glitter HTV settings on my cutting machine worked perfectly, but always perform your own test cut prior to doing your project.
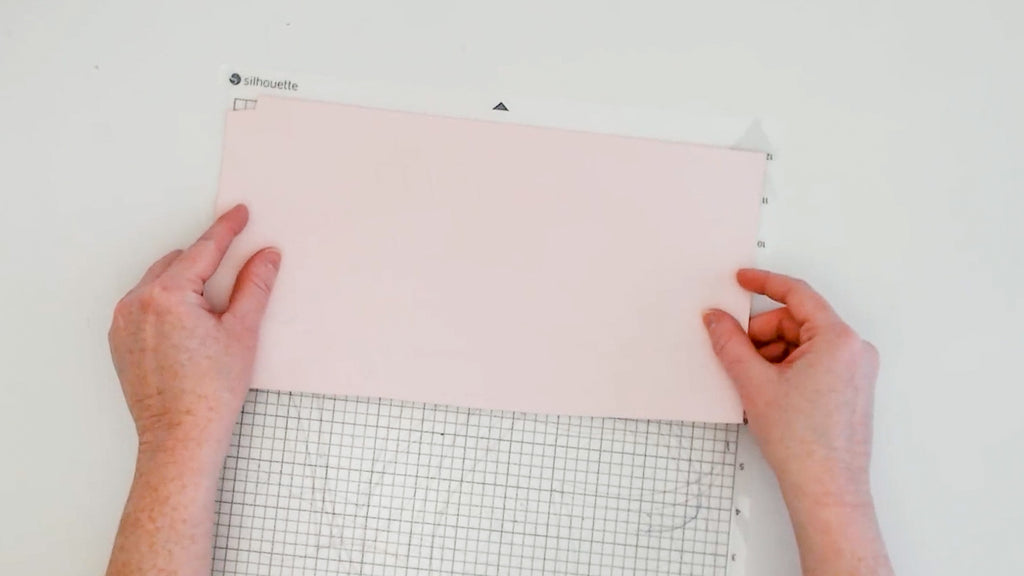
Cut with the HTV's carrier sheet side down on your cutting mat.

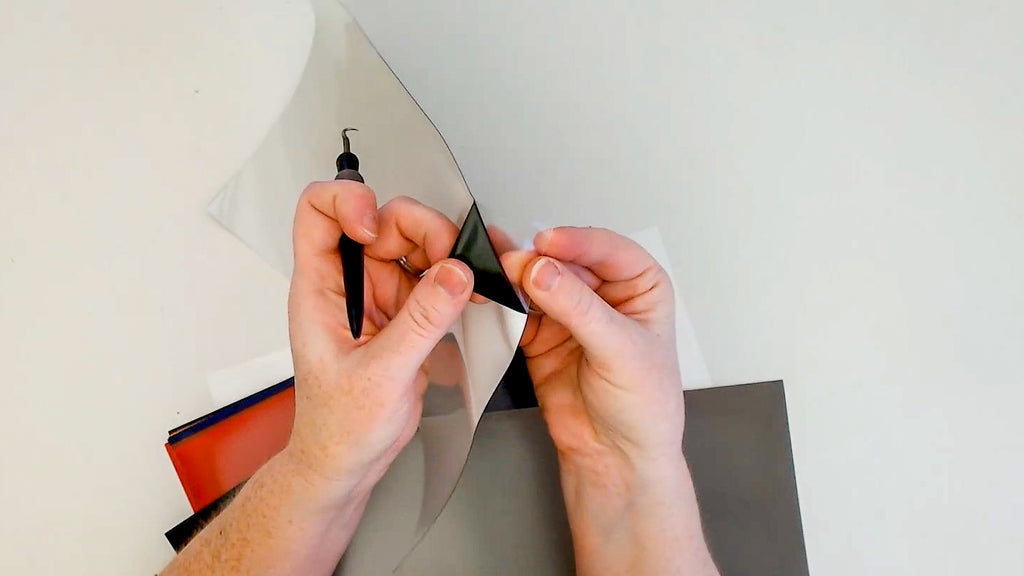
If you don't know what side the carrier sheet is, use a weeding tool to peel back a corner of the material. The clear/frosted side is the carrier sheet, and the other is the HTV.

Remember to mirror the design before cutting. Then, weed out the excess HTV.

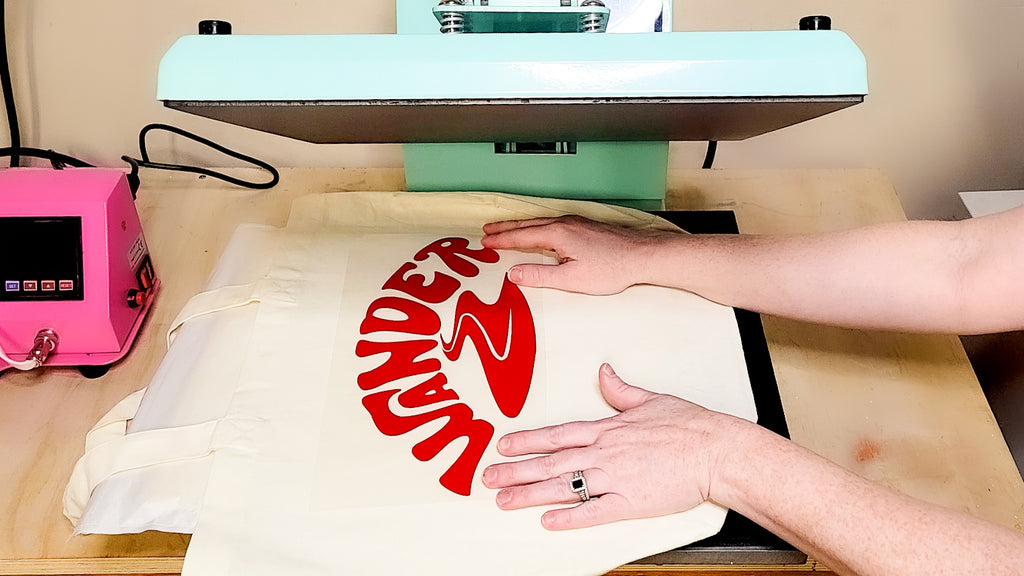
Warm your heat press to 320 degrees Fahrenheit. Using a pressing pillow is optional.
Perform a 3 second pre-press to flatten the surface and remove excess moisture from the fabric.

Place the weeded HTV transfer onto the surface with the HTV side down.

Cover with a cover sheet or a piece of parchment paper. Then press for 12-18 seconds.

You may remove the carrier sheet warm or cold.

The HTV puffs up after pressing and creates a really cool texture.

Here it looks super cute as the ice cream on this T shirt. The other parts of the design are Siser Easyweed HTV.

Find the Ice Cream & Wander SVG designs we used for these projects in April 2022 SVG and Font Bundle.
Watch the project video below:
PIN it for later:


