How to Paint with Layered Stencils

Take your stencil painting skills to the next level with multi-layered stencils! In this tutorial, we'll show you how to paint with layered stencils.
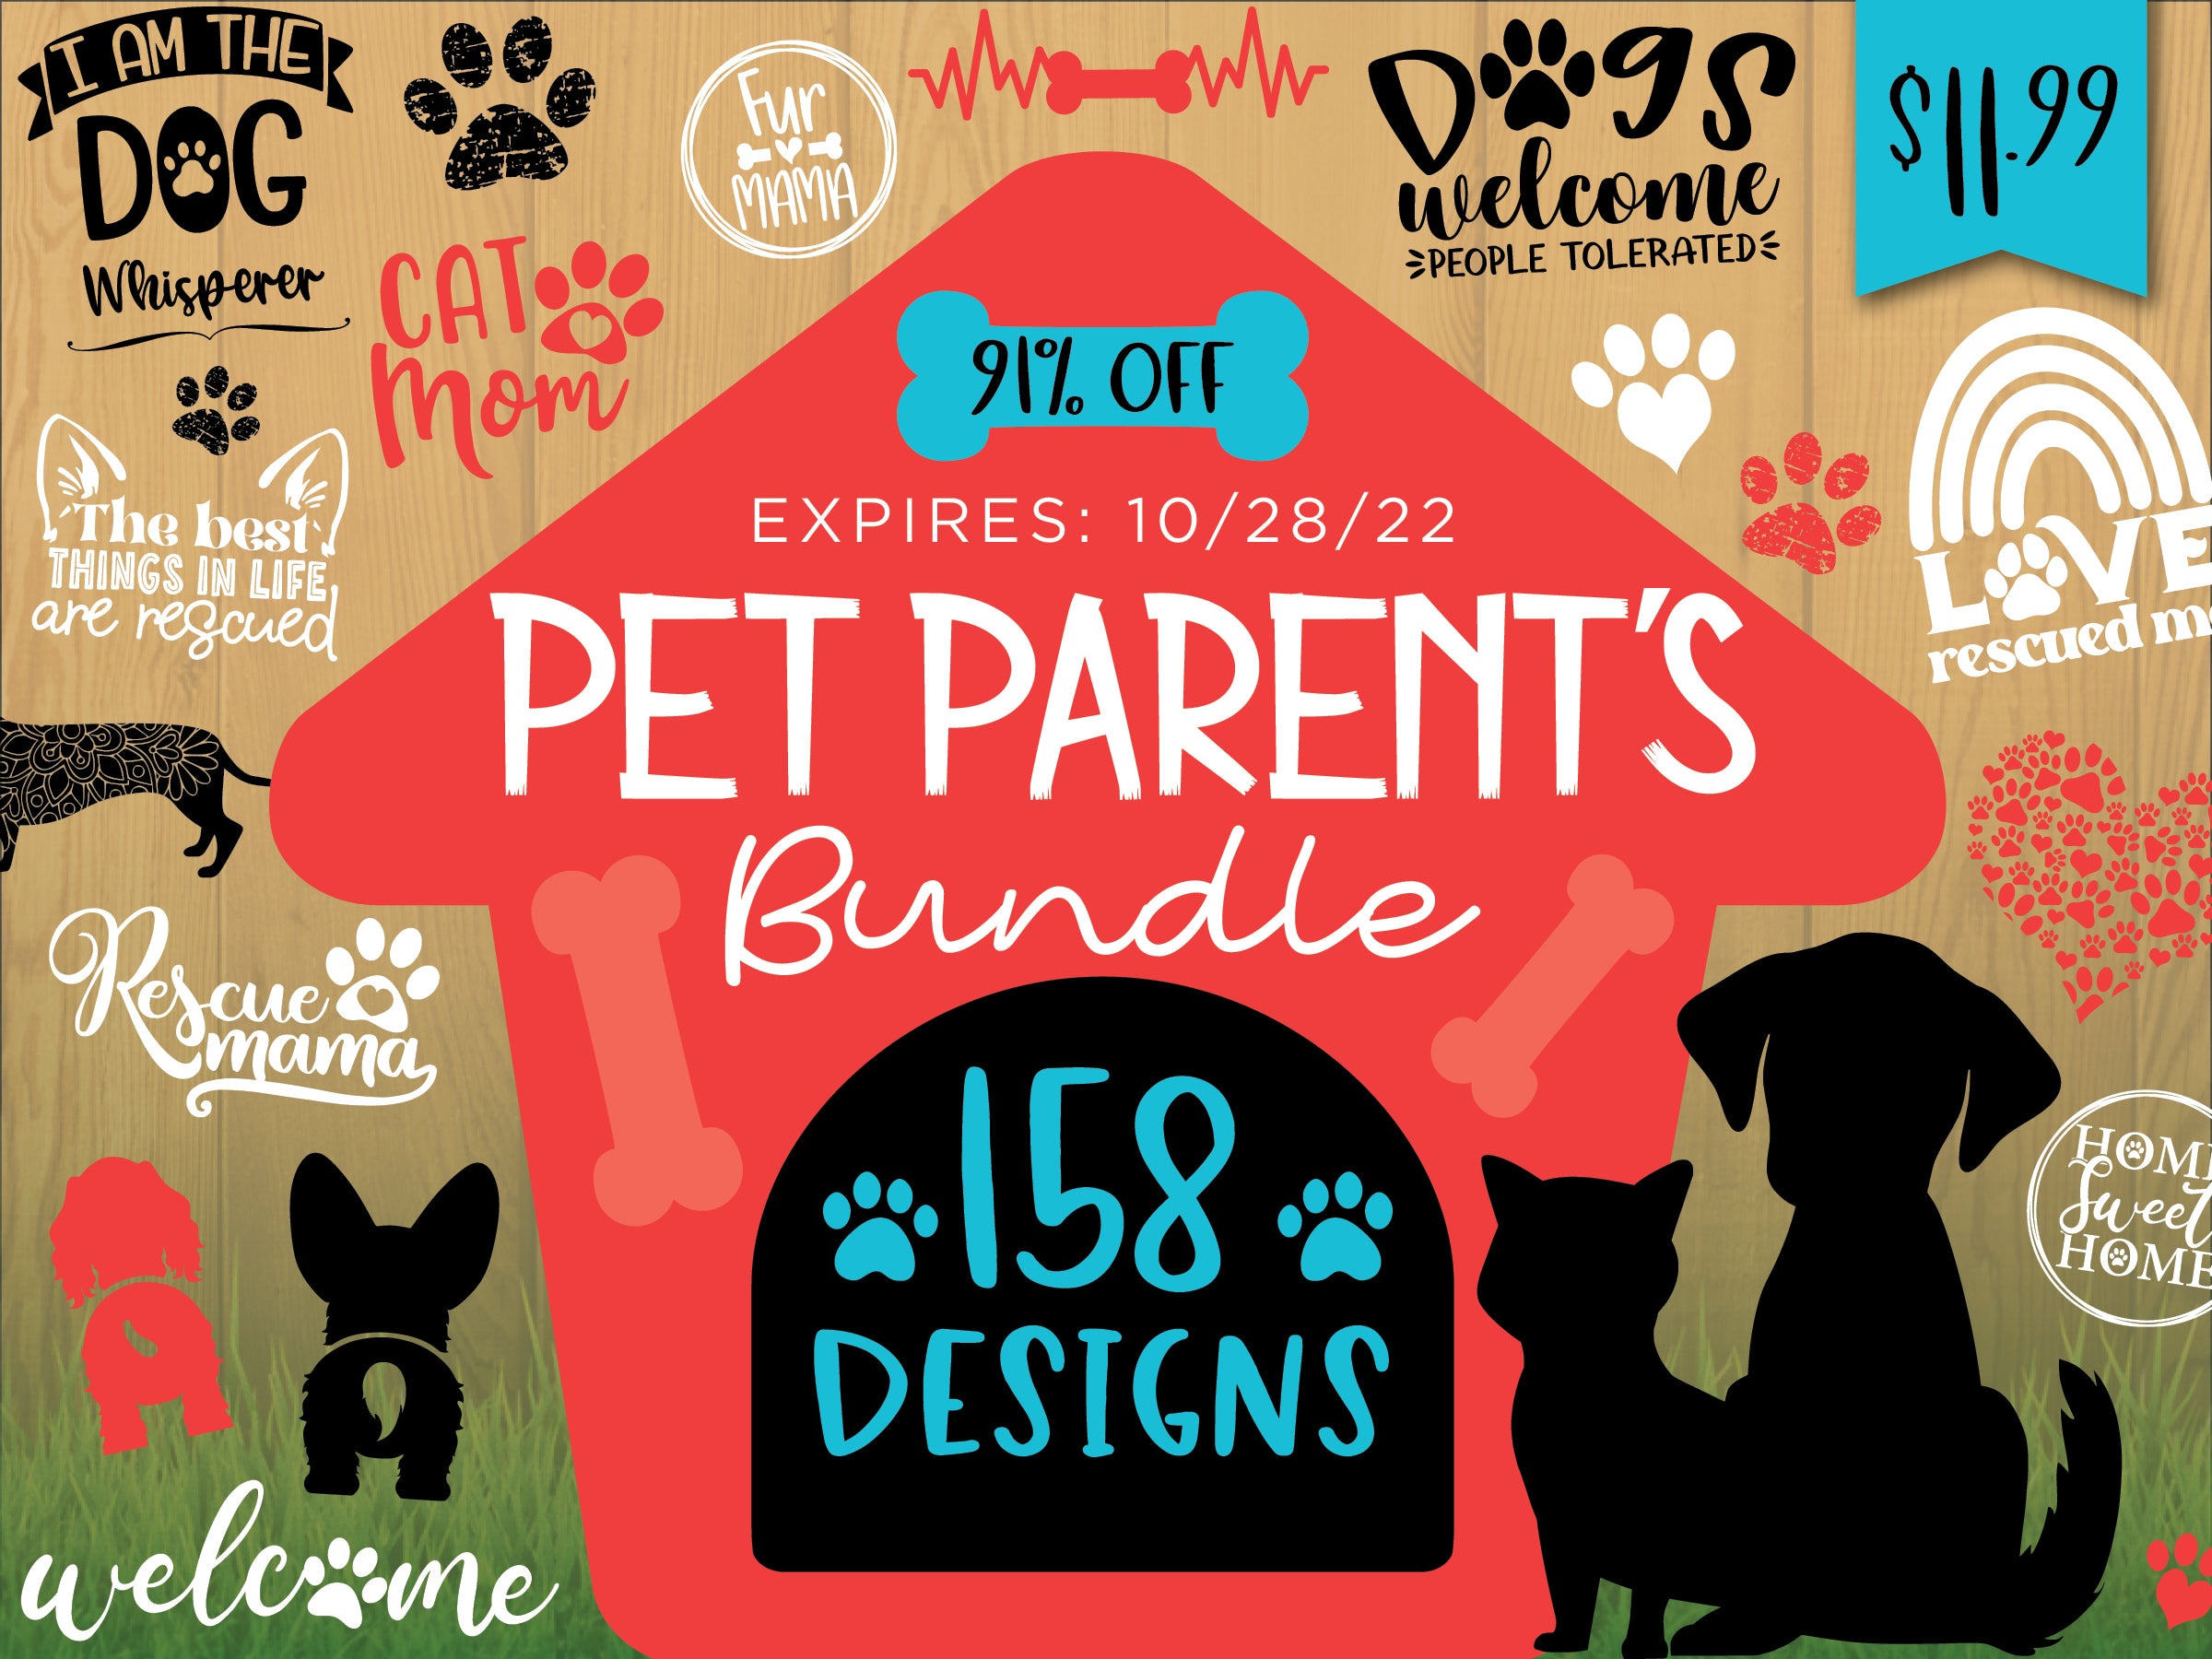
We're using this layered leopard patterned paw print svg design from the Pet Parent's Bundle.
Open the design in Silhouette Studio (or your design program):

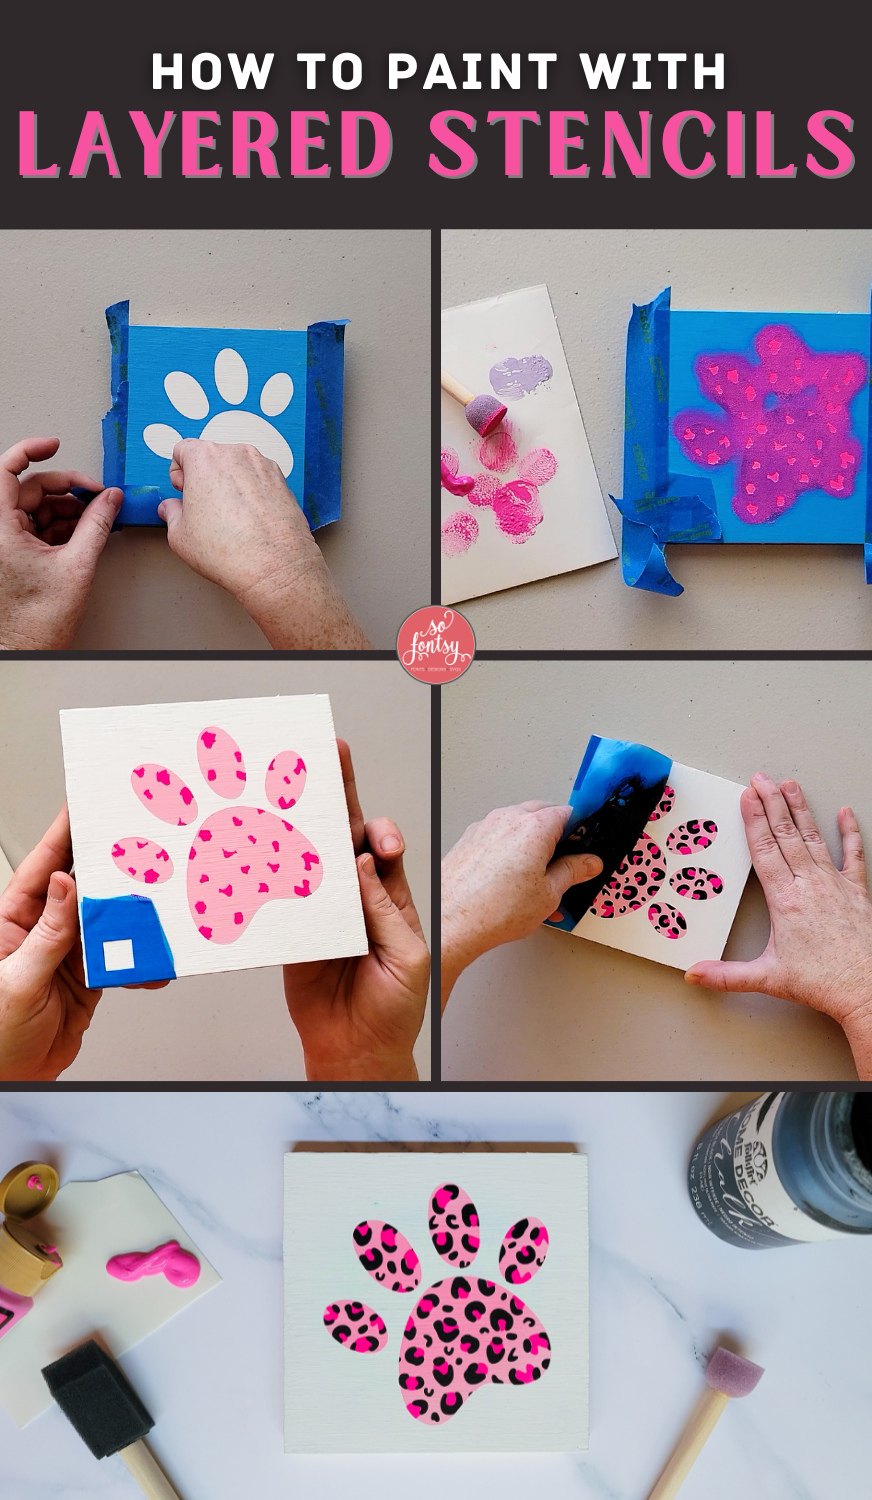
The leopard patterned paw print design has three parts to it which each become their own stencil layer.

We turned the paw print design into a stencil and added registration marks.
You can read more here on layering vinyl with registration marks.

Cut and weed your stencils (with the registration marks).
We are using Oramask 813 stencil material.

Use transfer tape to transfer the first stencil layer to the desired surface. Be sure to burnish the stencil down really, really well.

Take a piece of blue painter's tape and place it over the registration mark. This is so you don't accidentally get paint in that area. You can also use the tape to mask off any areas that you don't want to get paint on.

We used a light pink matte acrylic paint to paint the first layer of our stencil.

Let the paint dry.
Remove the stencil from around the design, but keep the registration mark on the surface (don't remove it completely!)
Remove the blue painter's tape.

Use transfer tape to place the second stencil on the painted design.
Line up the registration mark to place the stencil correctly.

Burnish well and remove the transfer tape.

Place blue painter's tape over the registration mark again.
Paint the second stencil.

Let the paint dry.
Remove the second stencil, but not completely - keep the registration mark!

Transfer the third stencil to the painted surface - lining up the registration mark.

Remove the transfer tape and burnish the stencil down really well.

Cover the registration mark and paint the third layer and let dry.

If you had any additional layers, then you would repeat the steps above until you have painted every layer.
When you are finished, remove the stencil.

Ta-da! How cool is that?

If you want to create your own leopard pattern paw print layered stencil, then grab this design in the Pet Parent's SVG Bundle.

Watch the project timelapse video below:
PIN it for later: