
How to Make Your Own Cards Using Cricut
In this tutorial, we’ll show you how to cut and score cardstock to make your own card base using your Cricut machine and Cricut Design Space.
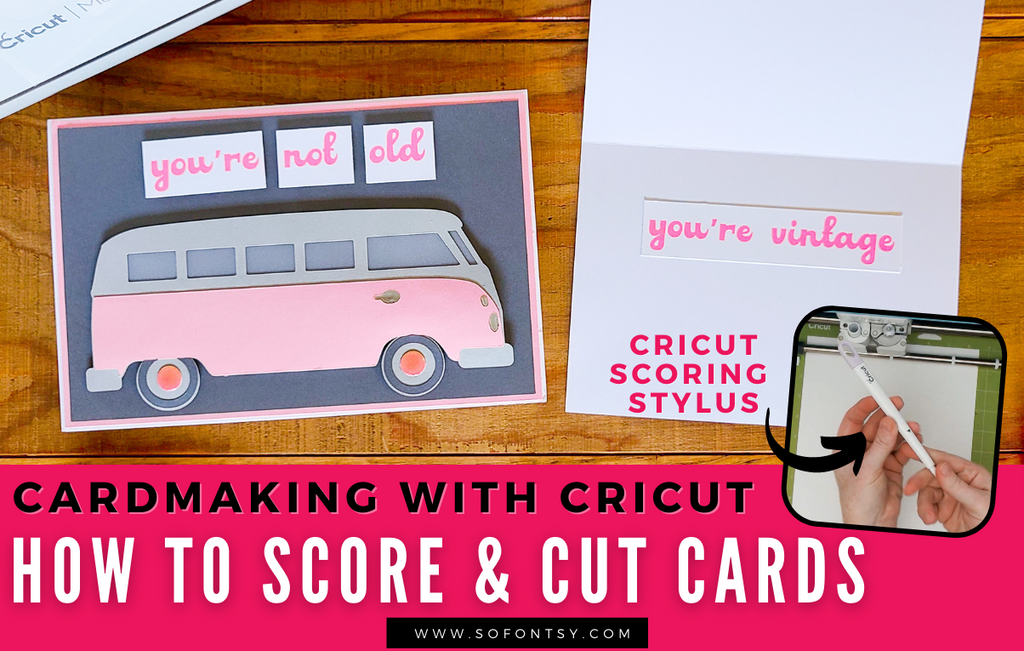
Find the SVG design and font used in this card in the Retro and Vintage Design and Font Bundle!

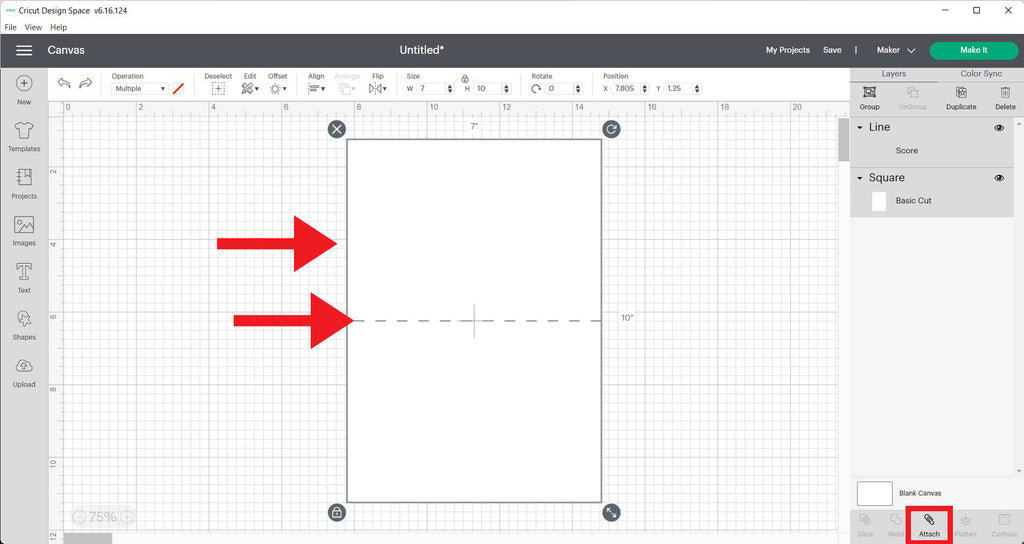
Open a new canvas in Cricut Design Space.
Click on shapes and choose the square.

Click the lock icon in the bottom left corner of the square to unlock the square's dimensions. Then change them in the top menu to the size of your unfinished card base, which in this project is 7 x 10. This will create a 5 x 7 card when folded.
I have changed the color of my card base to white so it's easier to see.

Click on the Shapes tool. Click on Score Line to add a score line to your project, represented by a dashed line.
When selected, the line doesn't look dashed, until you click off of it.
The score line will mark where the card will be folded in half.

Drag the score line into the card.

Depending on the orientation of your card, you may need to rotate the score line 90 degrees.

Change the dimensions of the score line so that it spans the width of 7 inches.

Select both the card base and the score line layers.
Click Align: Center Horizontally.

Click Align: Center Vertically.

Select both layers and Click Attach in the bottom right corner.
Click Make It:

Then, on the next screen click Continue and connect your Cricut. We're using the Cricut Maker for this project.

Select your base material.
Use a high quality, heavyweight card stock for your card bases. This will make your cards feel sturdy and professional.


Click Edit Tools.
We are using the Cricut Scoring Stylus tool to score our card.
Choose Apply.


Load the Scoring Stylus tool into Clamp A. Then, load the Fine Point Blade into Clamp B (if you haven't already).

Next, load the cardstock onto the cutting mat and load the cutting mat into the machine. Then, press Go.

The Cricut will first score the cardstock along the score line. Then, cut out the card base.
When using the Scoring Stylus tool, your Cricut will do this all in a single pass and you don't have to switch out any tools.

Then, unload the cutting mat and remove your freshly scored and cut card base.
You should see a thin indentation through the card base - that's the score line.

When making your card, fold along that line to fold your card base perfectly in half.

Use a bone folder or other tool to reinforce the fold for a nice crisp crease.

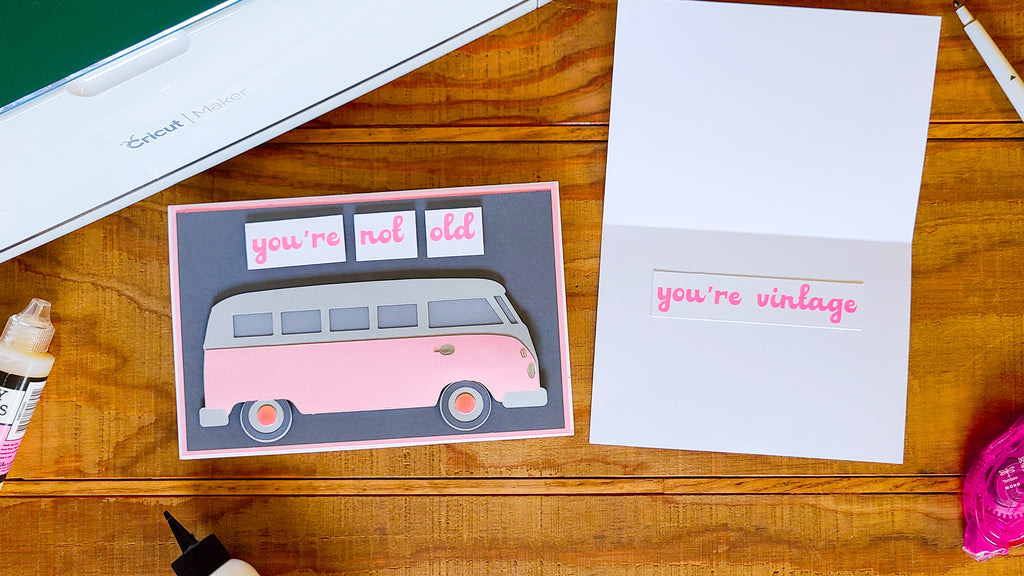
You're now ready to assemble your card! We made a humorous birthday card by printing out our own sentiment using the Alvardo font and the retro van svg design from the Retro & Vintage Design & Font Bundle.


Check out the video tutorial below:
Love it?? PIN it for later:


