How to Make Cutaway Cards
In this tutorial, we will show you how to create cutaway cards using designs from the Card Maker's Bundle. These simple birthday cards are fast and easy to make - just cut, weed out the additional shapes & you've got a custom card!

This style of card has three elements to it - the card with the cut out, the background (a rectangle/square), and the cupcake die cut.

You'll need three colors of cardstock.
You can select any three colors of cardstock that you think will look good layered together. We are using this 65lb cardstock.

Open your design software and arrange the three elements of the card so they all fit on one 12 x 12 inch piece of cardstock.
Use your Cricut, Silhouette, ScanNCut or other cutting machine to cut out the cardstock.
Make this same cut into all three colors of cardstock - you will end up with each element cut out 3 times.

Assemble the Cutaway Cards
Apply double-sided strip adhesive to the BACK of the card around the outside edges of the cut away corners on the card base.

Remove the paper backing from the strip adhesive and apply the background square - choose a different color cardstock than the card base.

Fold the card in half and burnish the fold using a bone folder, really well for a nice, crisp crease.

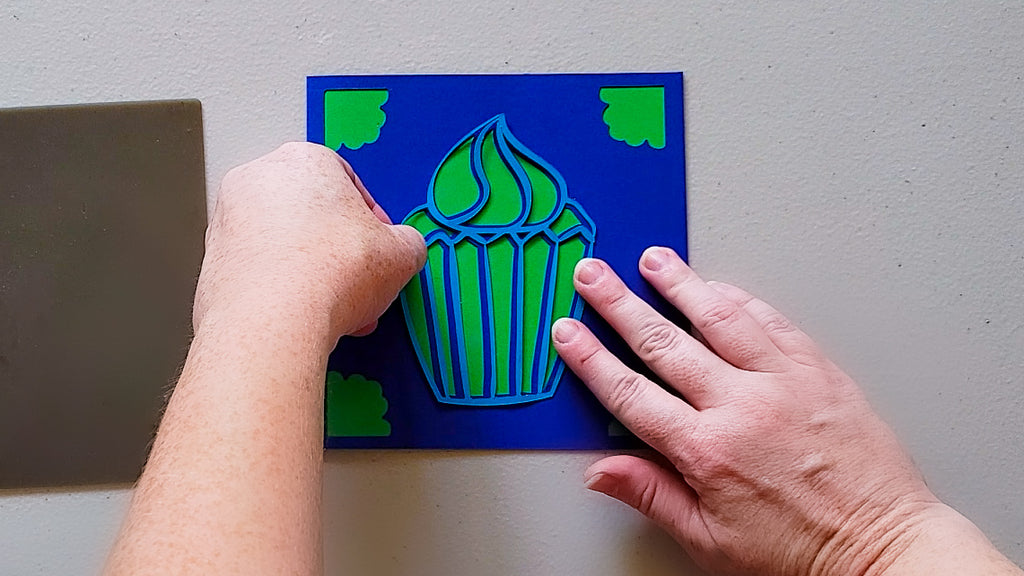
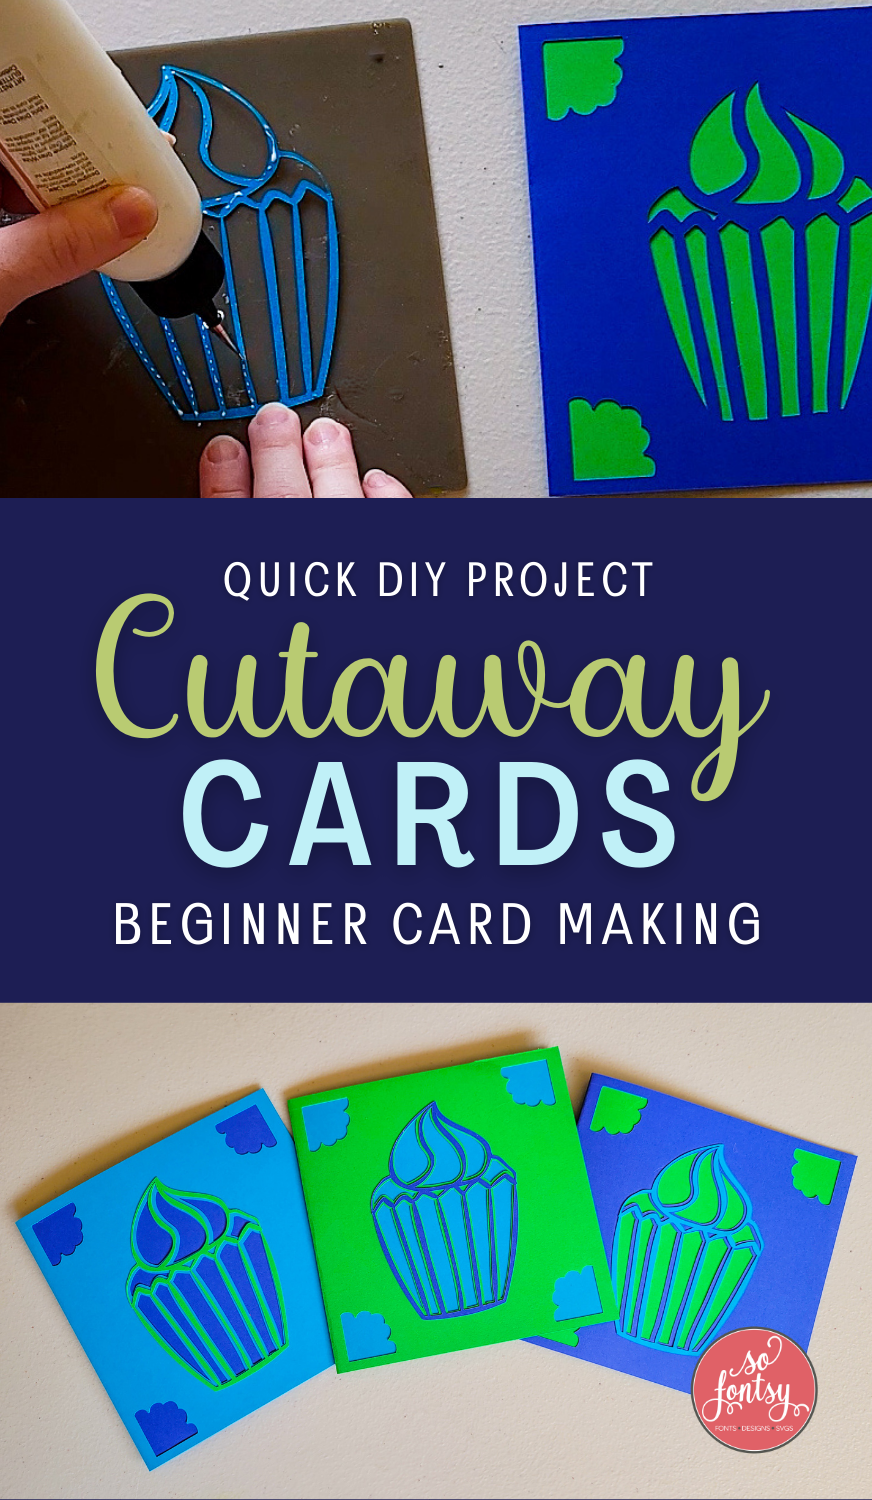
Flip to the front of the card, then glue the cupcake die cut to the front - choose a third color different from the card base and background. We used this glue with a thin tip applicator. You could also use spray adhesive.


Repeat the same steps for the other cardstock pieces and make all the cards at the same time.
We love this process for making DIY cards in bulk!

Grab this cutaway card design in the Card Maker's SVG and Font Bundle (and save 95% Off!!!)
Watch the project timelapse below:
PIN it for later:


