
How to Make Cake Toppers
Bundle promotions in this blog post have expired - you can find the design we used HERE.

This easy DIY tutorial will show you how to make cake toppers using your die cutting machine.

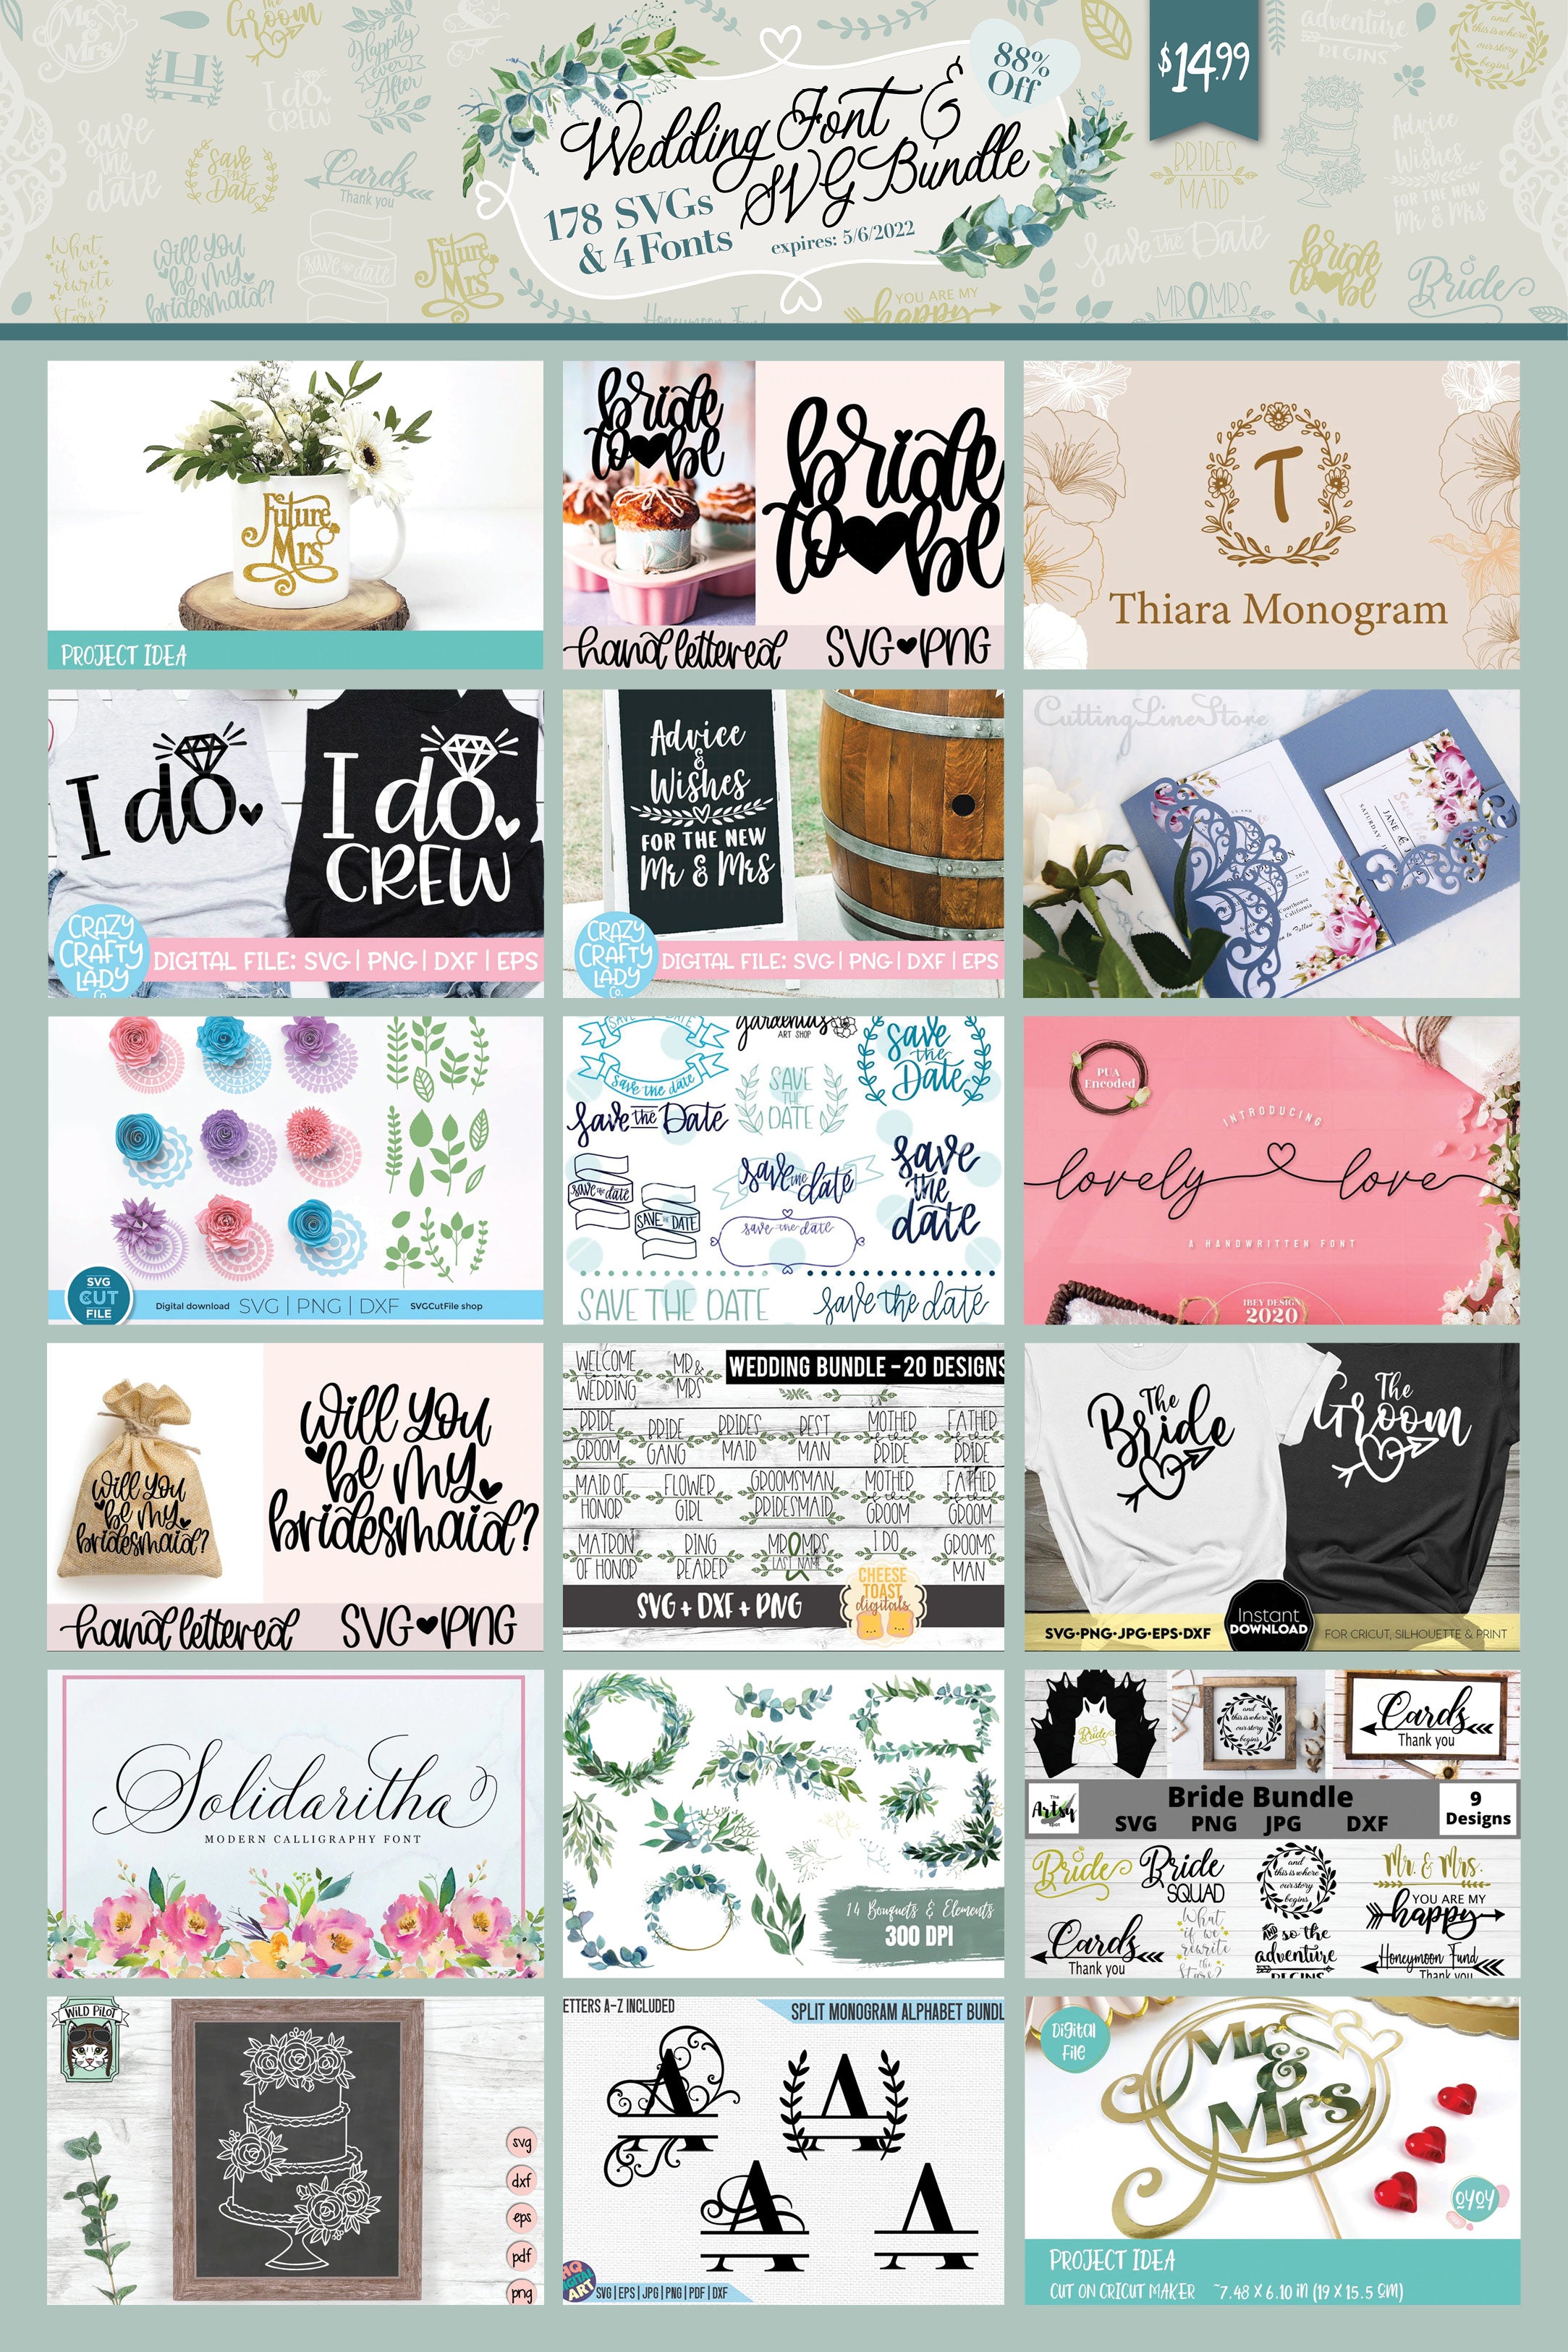
We are using the Mr & Mrs Cake Topper design from the Wedding Font & SVG Design Bundle.

You'll need heavyweight cardstock, bamboo skewers, and glue.
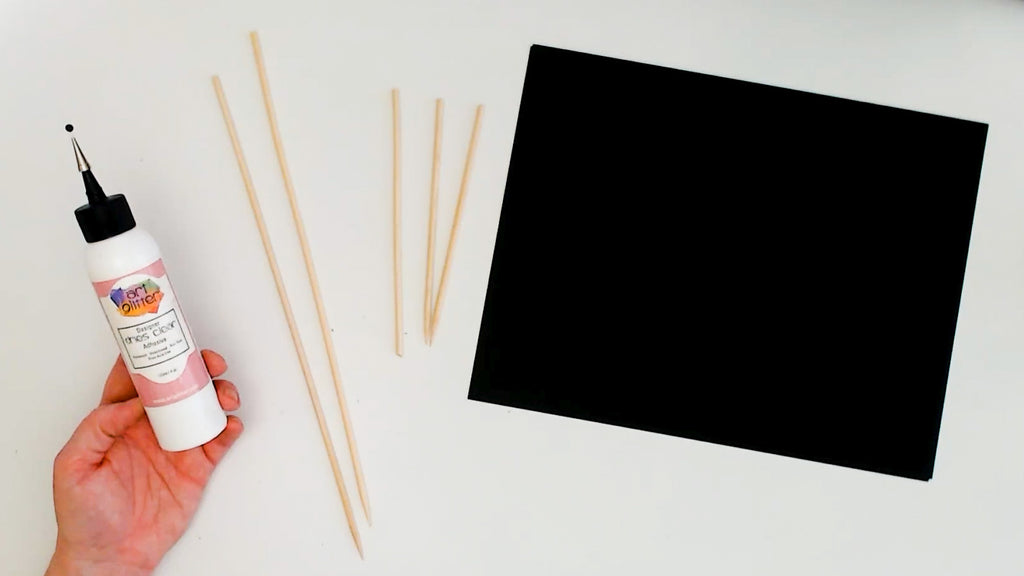
Use your cutting machine to cut out the cake topper design file into heavyweight cardstock.
Cut out the design twice.

To remove the delicate design from the cutting mat without ripping or curling the cardstock, flip the cutting mat over, then peel the mat away from the cardstock.

Lay a thin bead of glue onto the front of one of them. Glue with a precision tip is very helpful.

Line up the second piece right on top and gently press to adhere them together. Layering the cake topper this way makes for a sturdy topper that will stand up straight and not be droopy on your cake.

If you find a paper or cardstock that you really want to use, but it's a little flimsy, use the same layering technique.

Cut the cake topper design in mylar cardstock then layer it on the design cut in heavyweight cardstock with some glue to create a sturdy piece.

Grab some bamboo skewers and place some glue onto the back of the cake topper. Press the skewer onto it to adhere them together.

For a very large and/or wide cake topper, use at least two skewers, one on either side of the design.

Let dry, then place the decorative topper atop your cake!!!

Find this wedding cake topper design (and more!) in the Wedding Font and SVG Bundle!
And watch the project video below:
Pin it for later:


