How to Fully Wrap A Tumbler in Vinyl

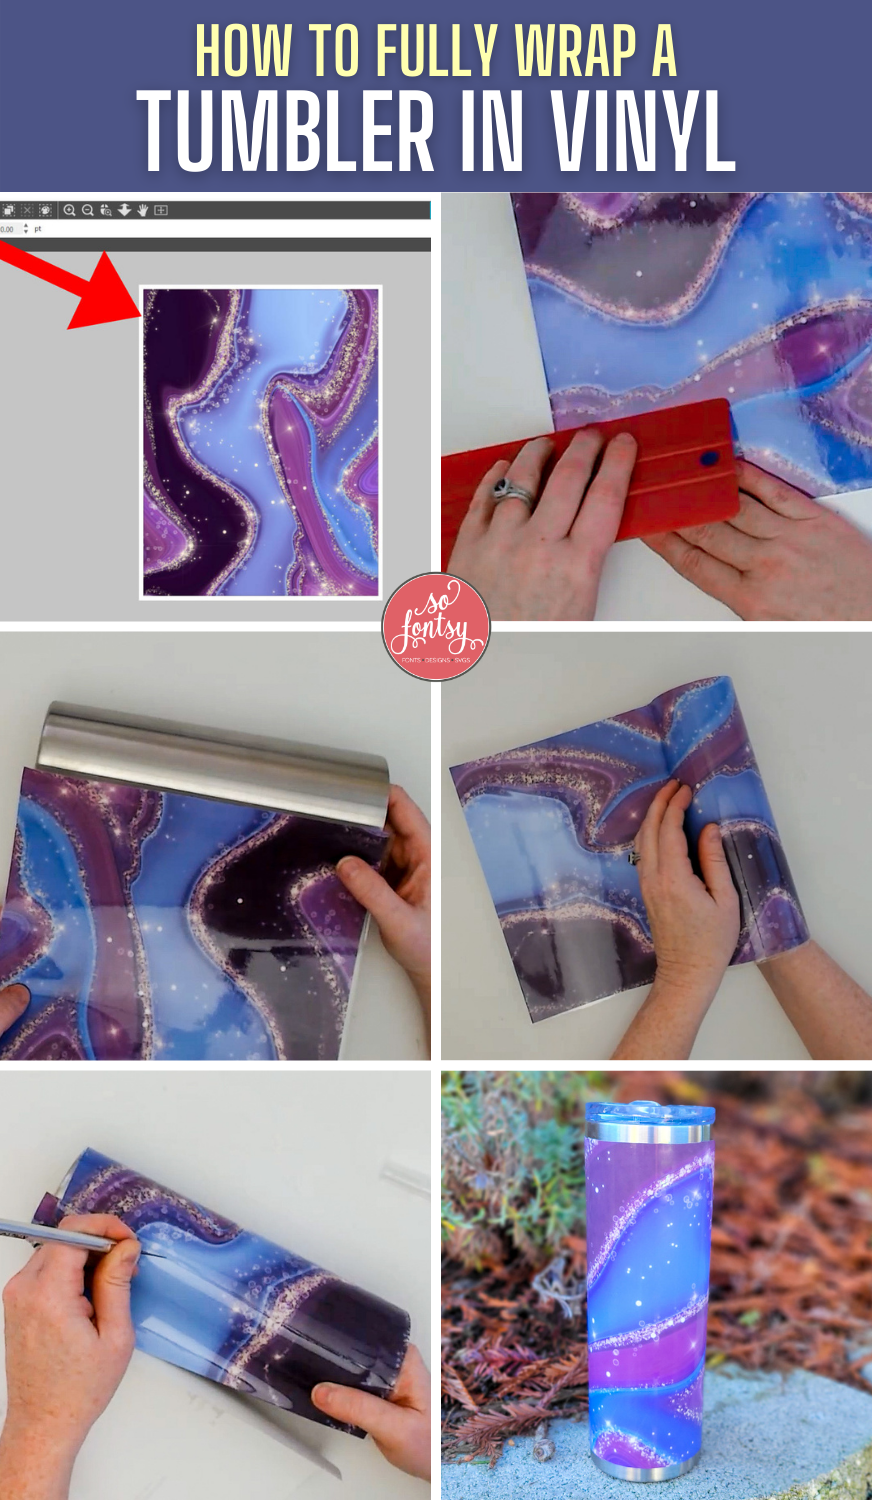
This tutorial will show you how to fully wrap a tumbler in vinyl.

Grab a sheet of printed vinyl, or print your own at home using your inkjet printer! We printed this marbled design on Oracal Printable Vinyl.

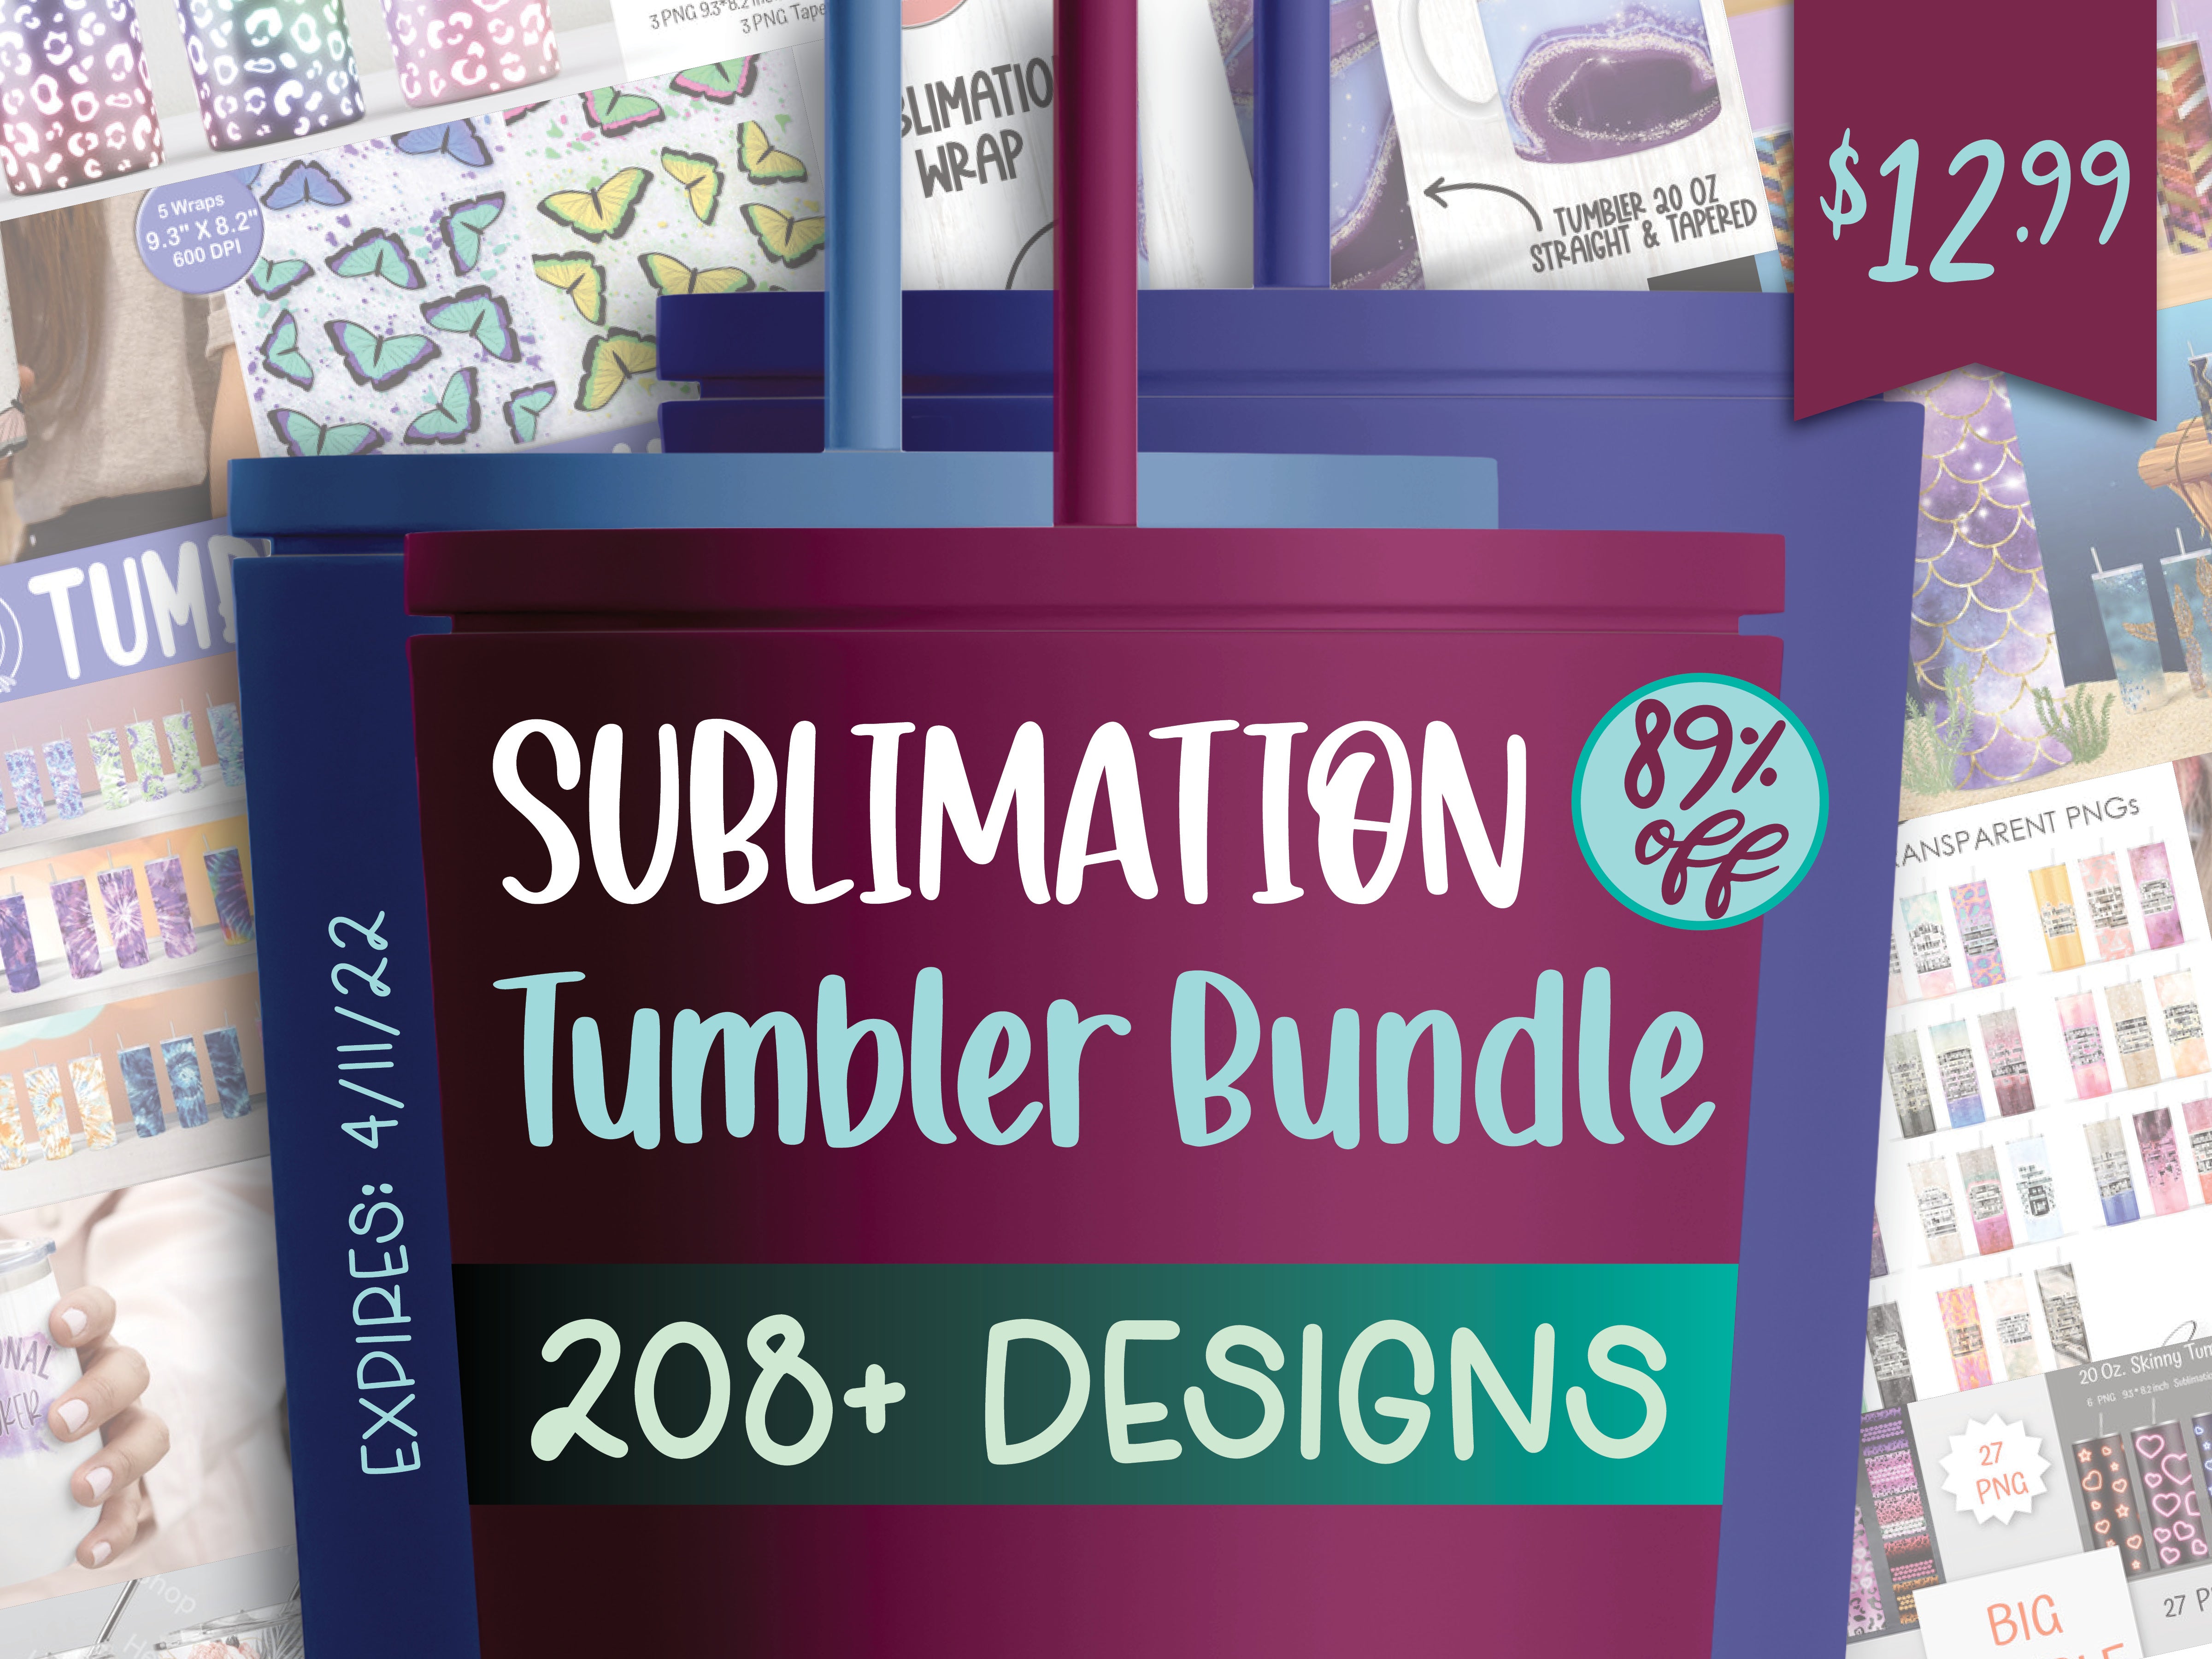
You'll find this tumbler wrap design in the Sublimation Tumbler Bundle.
If using printable vinyl, be sure to laminate the vinyl before wrapping the tumbler.

Fold back a small section of the vinyl backing. This exposes just a small section of the adhesive.

Press that small section onto the tumbler. Leave the rest of the vinyl backing attached to the vinyl.

Place the tumbler on the table and start pushing the vinyl around the tumbler with your fingers, as the vinyl backing rolls off the printed vinyl.

Work slowly and carefully, try to keep the vinyl as straight as possible. Be sure to press the vinyl down really well and burnish really well to avoid air bubbles.

When you get back to the beginning, overlap the vinyl just a little bit and burnish the edges down really, really, really well so you can see the crease in the overlapping vinyl from the vinyl underneath.

Carefully run a very sharp craft knife right along that crease to cut off the excess vinyl.

Trim the top and bottom edges of the vinyl. You can use a craft knife or a specialty tumbler trimming tool like the Cup Edging Tool by Wicked Shimmer.

For best and longest lasting results, seal the vinyl so it doesn't peel up, especially around the seam and edges, with epoxy.
You'll find a step-by-step tutorial here.
You can grab this marbled tumbler design in the Sublimation Tumbler Bundle.
Check out the project video below:
LOVE it?!? Pin it for later:


