How to Etch Tumblers With CitriStrip

In this tutorial, we'll show you how to etch a tumbler - without using a laser. Instead, we're using an inexpensive product you can get at your local hardware store!
You can find the Good Vibes Only design we used to create our custom tumbler, in the September 2022 Design Bundle.
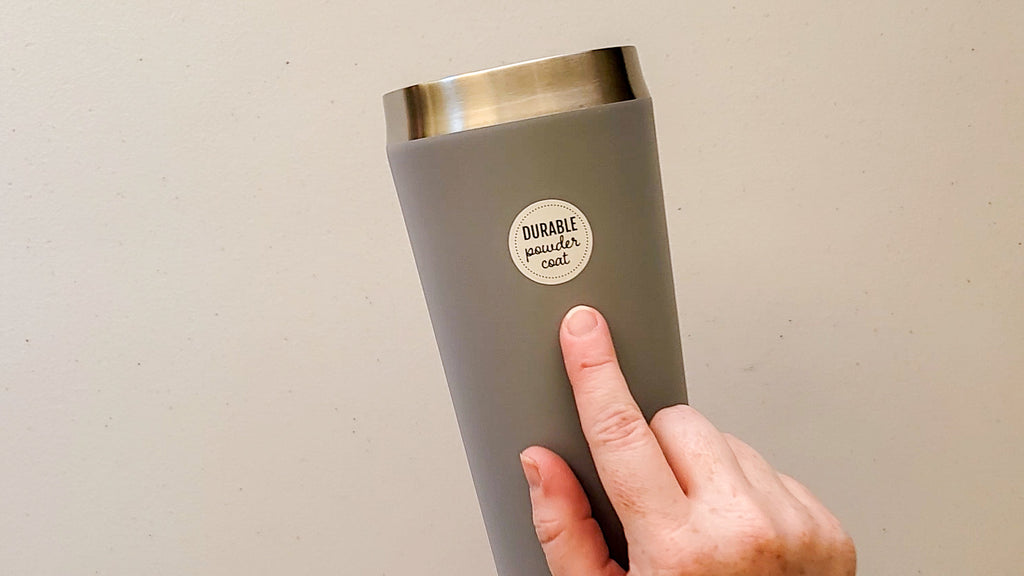
You will need a powder coated tumbler.

Cut out your stencil with your Cricut, Silhouette Cameo, or ScanNCut - we used Oracal 651 for our stencil design.
Weed the stencil by removing the parts that you'll cover with the etching solution.

You want to apply your stencil to a clean tumbler. Wipe it down with rubbing alcohol.
Apply the stencil so it's nice and smooth.
Use blue painter's tape to mask off the area outside the stencil to protect it from getting the solution on it.

Here's the solution we'll be using - CitriStrip.
You will need to wear personal protective equipment such as gloves. Be sure to read the manufacturer's recommendations on the bottle.
You'll also need a small plastic cup, a brush, foil and a heat gun.

Begin by using the brush to apply a generous coat of the CitriStrip over the stencil. Make sure to generously cover the entire stencil.

Cover the stencil area with a layer of foil.

Use a heat gun on low heat to heat up this area for a few minutes (2-3).

Use a toothpick or other pointy object to check that the solution is removing the powder coat. If not, reapply the foil and apply more heat.

When the toothpick does scrape away the powder coat, take a paper towel with rubbing alcohol and rub it over the stencil and remove the excess solution.
Wash the tumbler with soap and water and remove the stencil.

If the edges of the design are jagged, use a toothpick to gently pick at the edges to clean them up.

How cool!!!

Grab this design we used to etch this tumbler in the September 2022 Design Bundle!
Watch the project video below:
PIN it for later:


