
How to Distress Painted Wood Signs

Getting that aged, distressed look of popular farmhouse signs doesn't have to be hard or time consuming. In fact, it's easier than you think because it's not supposed to look perfect - so don't overthink it! Using the sandpaper-free distressing method described in this tutorial and your favorite farmhouse SVG design, you'll be creating perfectly imperfect distressed farmhouse wood signs in no time!

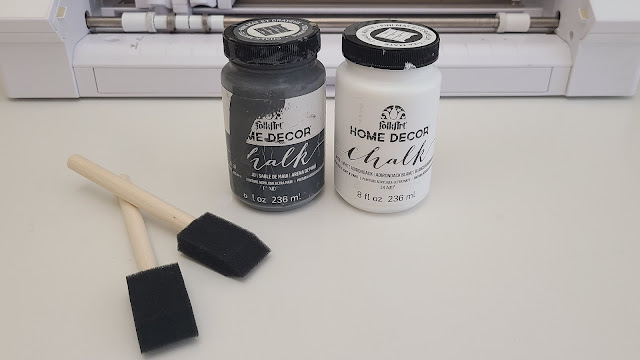
What you'll need for this project are a couple of foam brushes and 2 colors of paint - one light and one dark (plus the wood blanks to paint on.)
Light colors like white, ivory, or cream work well, and dark colors like gray, black, or brown are good choices.
The Farmhouse Christmas SVG & Font Bundle has over 350 svg designs to create diy wood signs including the two we used in this project.

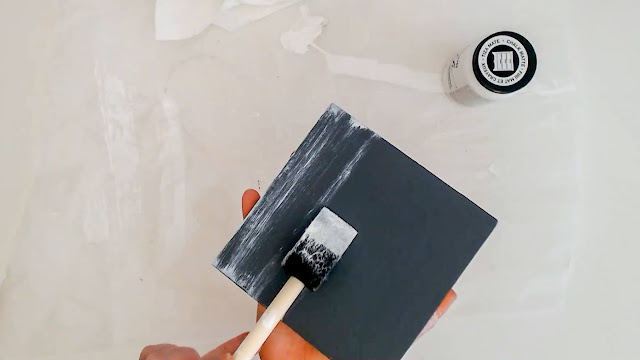
Start by applying a base coat of either the light paint ...
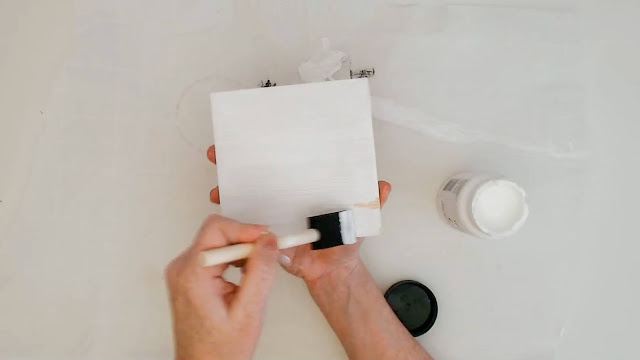
... or the dark color of paint to the wood.
Let the base color dry. Reapply another coat, if necessary.
The base color will be the "main" color of the wood sign.

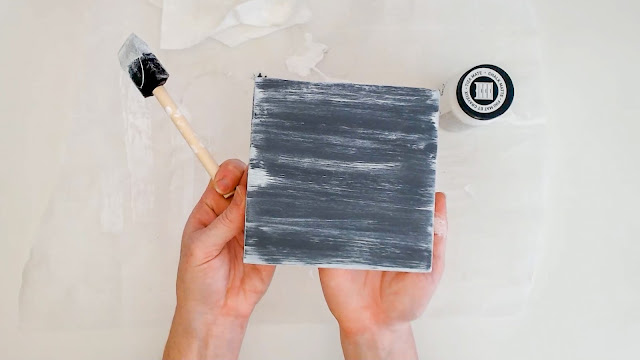
Next, dip your foam brush into the paint color opposite of your base color. This is your "distress" color. But, wipe off as much paint from the brush as you can. You want just a very small amount of paint on the foam brush.
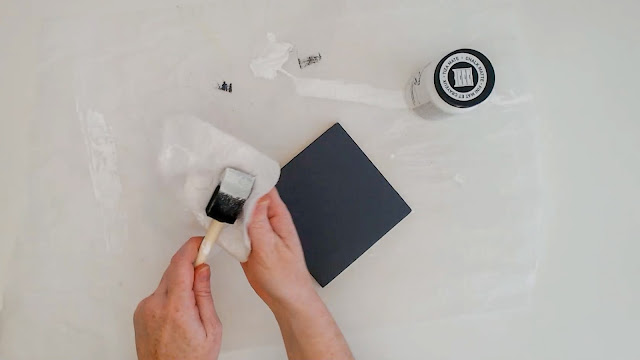
So for example, if your base color of the sign is gray, dip the foam brush in the white.
Next, hold the foam brush parallel to the painted wood sign.
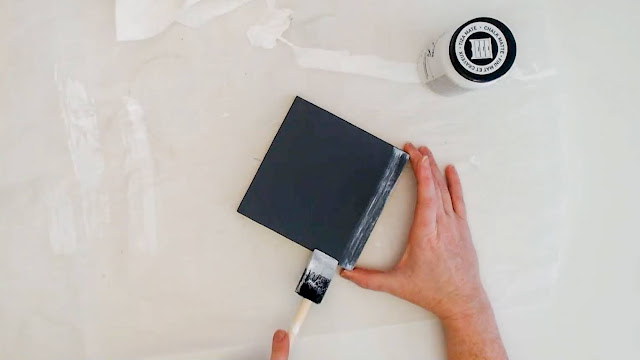
Then, very lightly run the foam brush across the wood sign. You want a very light touch for this because...
... the harder you press, the more paint will be applied.
If you do accidently apply too much paint, you can always paint over it with the opposite color to tone it down. This method is fool proof!

Next example, if you painted your wood sign white, then dip your foam brush into the gray paint.
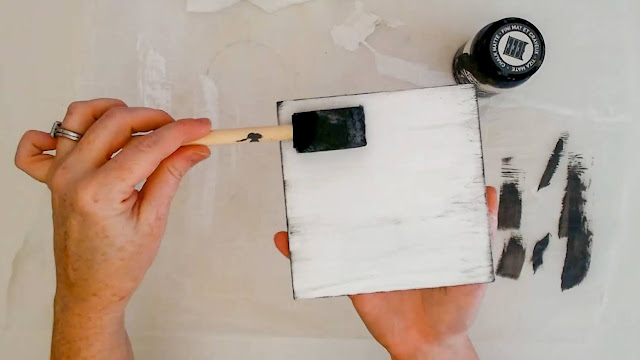
Follow the same steps as listed above. Focus your paint application towards the edges of the wood.

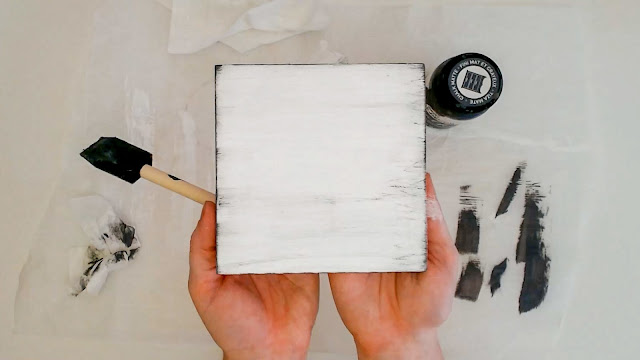
Repeat until the desired look is achieved.
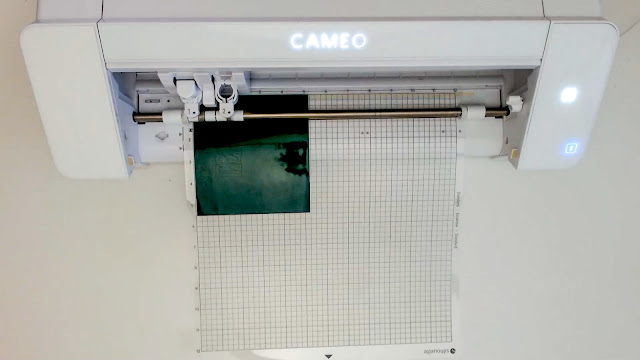
Next, cut out a suitable farmhouse SVG design using your cutting machine and adhesive vinyl. Pictured below is the Silhouette Cameo 4.
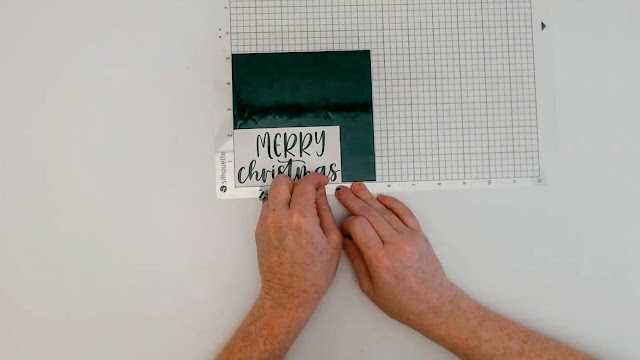
Then, weed the vinyl decal and transfer it onto transfer tape.
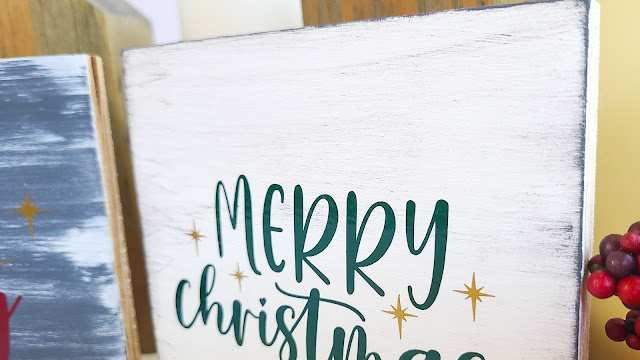
Lastly, transfer and burnish your vinyl decal onto your distressed painted wood sign.
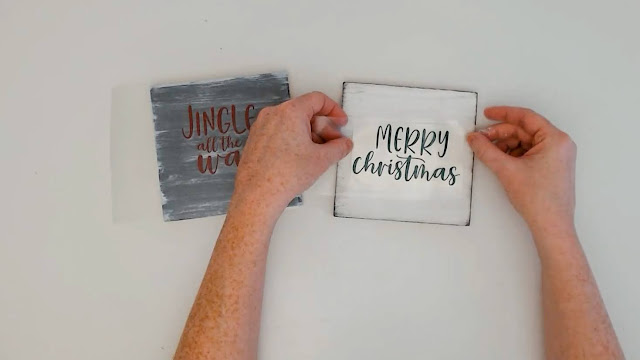
Farmhouse signs in the house, y'all!

Don't forget you can find these farmhouse Christmas SVG designs as part of the 2021 Farmhouse Christmas Bundle.

Check out the timelapse video below:
And if you like this project, pin it!


