How to Apply Vinyl on Glass: Window Decals
Today only! Get the Retro SVG + Font Bundle before it retires again!

Vinyl window decals are the perfect addition to any holiday themed window decor. Applying vinyl to glass can be tricky, but with these tips shared below, it should make things a whole lot easier.
You can use just about any adhesive vinyl you like for your window decals. If you're applying the window decal from the outside, you'll want to use outdoor vinyl like Oracal 651, while indoor/removeable vinyl like Oracal 631 works great for decorating windows from the inside. Another fun choice is Oracal 8300 vinyl which is colorful transparent vinyl which can be used indoors or outdoors.

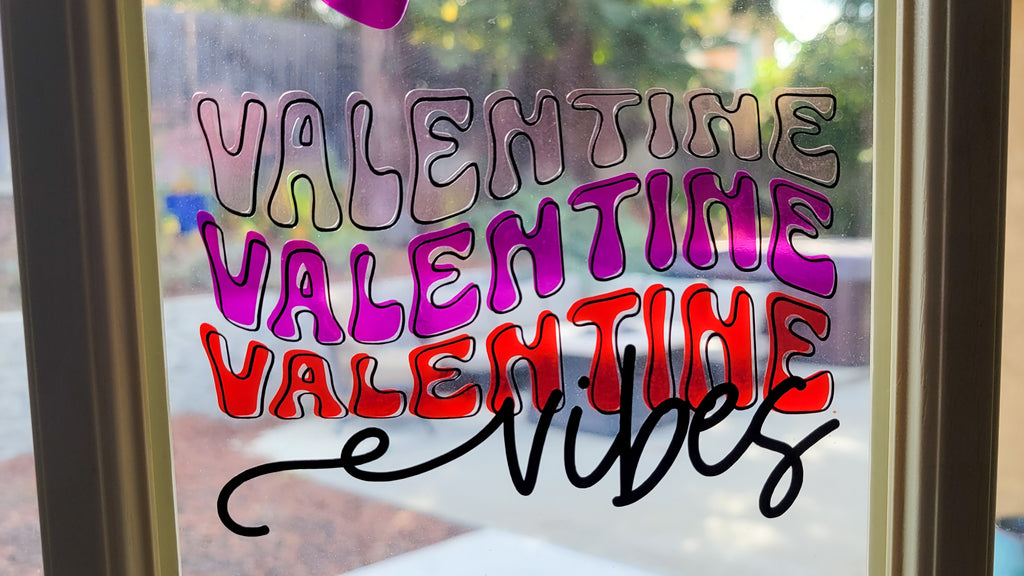
Next, choose some fun holiday themed window decal designs. We're using some retro Valentine's Day SVG designs!
You can grab the designs we're using from the Retro SVG + Font Bundle that's back today only!
Cut the window decal design into the desired colors of vinyl and layer the vinyl design, if necessary, using registration marks. 
Take care when applying transfer tape over the vinyl. Applying window decals onto glass without bubbles starts with a smooth application of the transfer tape. 
Use the hinge method to apply the vinyl window decal to the glass. Place blue painter's tape across the decal and cut away half of the vinyl backing away from the decal.

Then, you can apply one half of the vinyl design at one time.

Use a small scraping tool and work carefully to fully burnish every part of the vinyl. 
Finally, remove the transfer tape and use your finger to burnish the vinyl again. If you notice any bubbles, wait 24 hours before popping them with a very sharp needle - you may be surprised how many bubbles actually disappear on their own.
If you're still having trouble with bubbles, try using the "wet method" for applying vinyl to glass.
Window decals are fun for any holiday!

You can grab the Valentine's Day designs we used in the project from the Good Vibes Retro Font and Design bundle.


