How to Apply HTV to Faux Leather
Bundle promotions in this blog post have expired - you can find the font we used HERE.

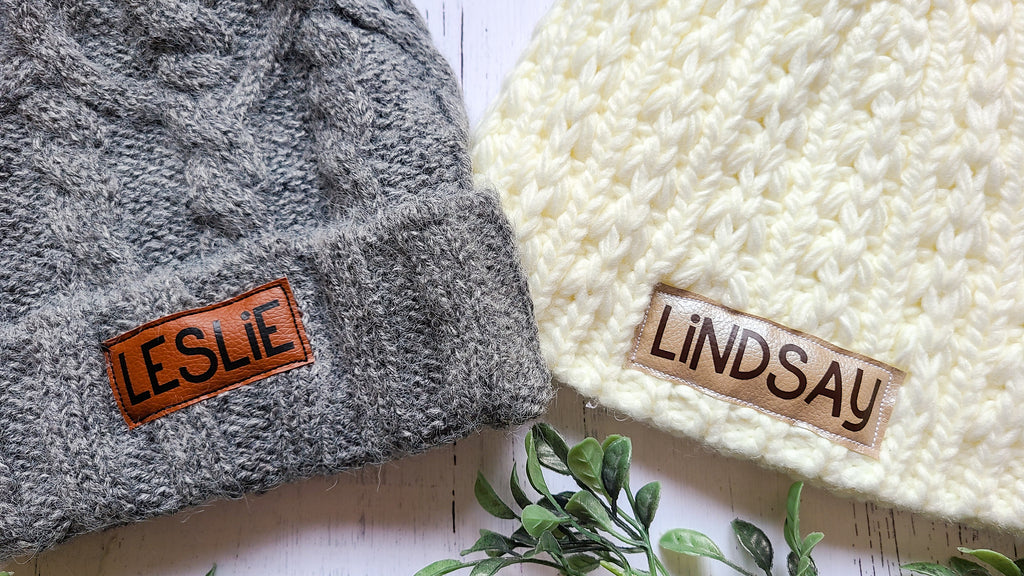
Learn how to apply HTV to faux leather (textured fabric) to customize your favorite beanie!
Take these beautiful knit beanies, for example. If you tried pressing HTV directly onto them, the HTV design would likely get distorted as it's pressing into the pile of the fabric, and not adhere very well because of the gaps in the loose knit. So how would you monogram fabric like this? Faux leather patches to the rescue!

Type out your name or monogram in the design program of your choice (we're using Silhouette Studio) using your favorite font.

You can grab this fun font that we used for these beanies in the Handwritten Font Bundle 2.0!
Remember to mirror the design before cutting into heat transfer vinyl like Siser Easyweed.

Weed out the excess HTV.

Applying HTV to Faux Leather
To create the faux leather patch, cut a piece of faux leather to a rectangle slightly larger than the design. We are using Cricut Faux Leather.
Next, grab your iron, mini iron, or Cricut Mini Easy Press.
Set your Cricut Mini Easy Press to low. Faux leather is a synthetic material and will melt at high heat.

Center the heat transfer in the middle of the faux leather piece.

Cover with a piece of parchment paper.
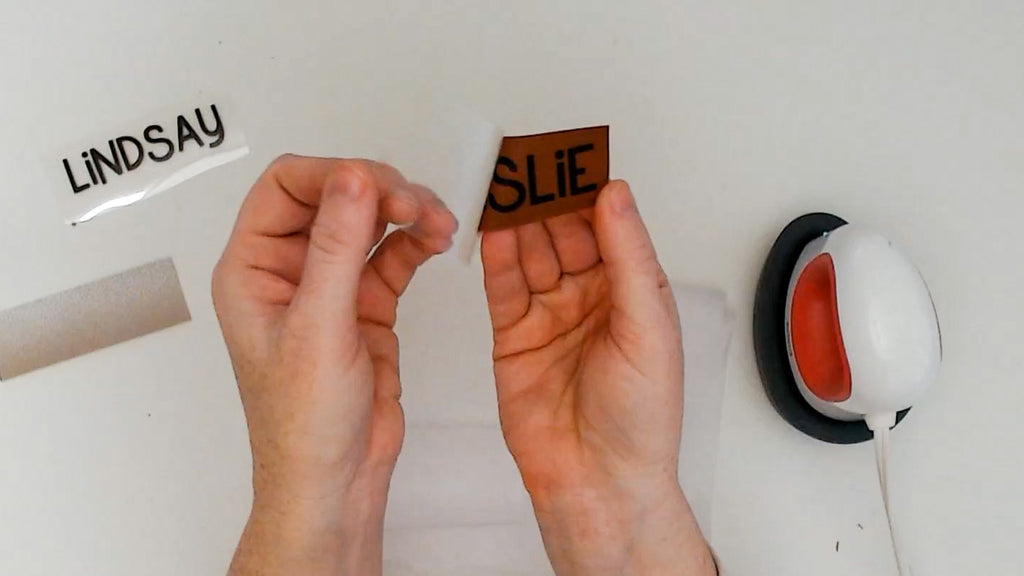
Using the Cricut Mini Easy Press, apply light pressure to press the transfer onto the faux leather. Keep the iron moving and don't hold it in one spot longer than 5 seconds. Be sure to go over every area of the transfer.

Then, carefully peel away the carrier sheet while it's still warm.

Next, sew the patch onto the beanie. Use a simple straight stitch on your sewing machine, or you can hand sewing with needle and thread.

Doesn't that faux leather patch just take these beautiful hand knit beanies to the next level?!

Start creating your own custom faux leather patches for beanies (and more!) using the gorgeous fonts from the Handwritten Font Bundle 2.0!
Take a look at the timelapse video below:
PIN it for later:


