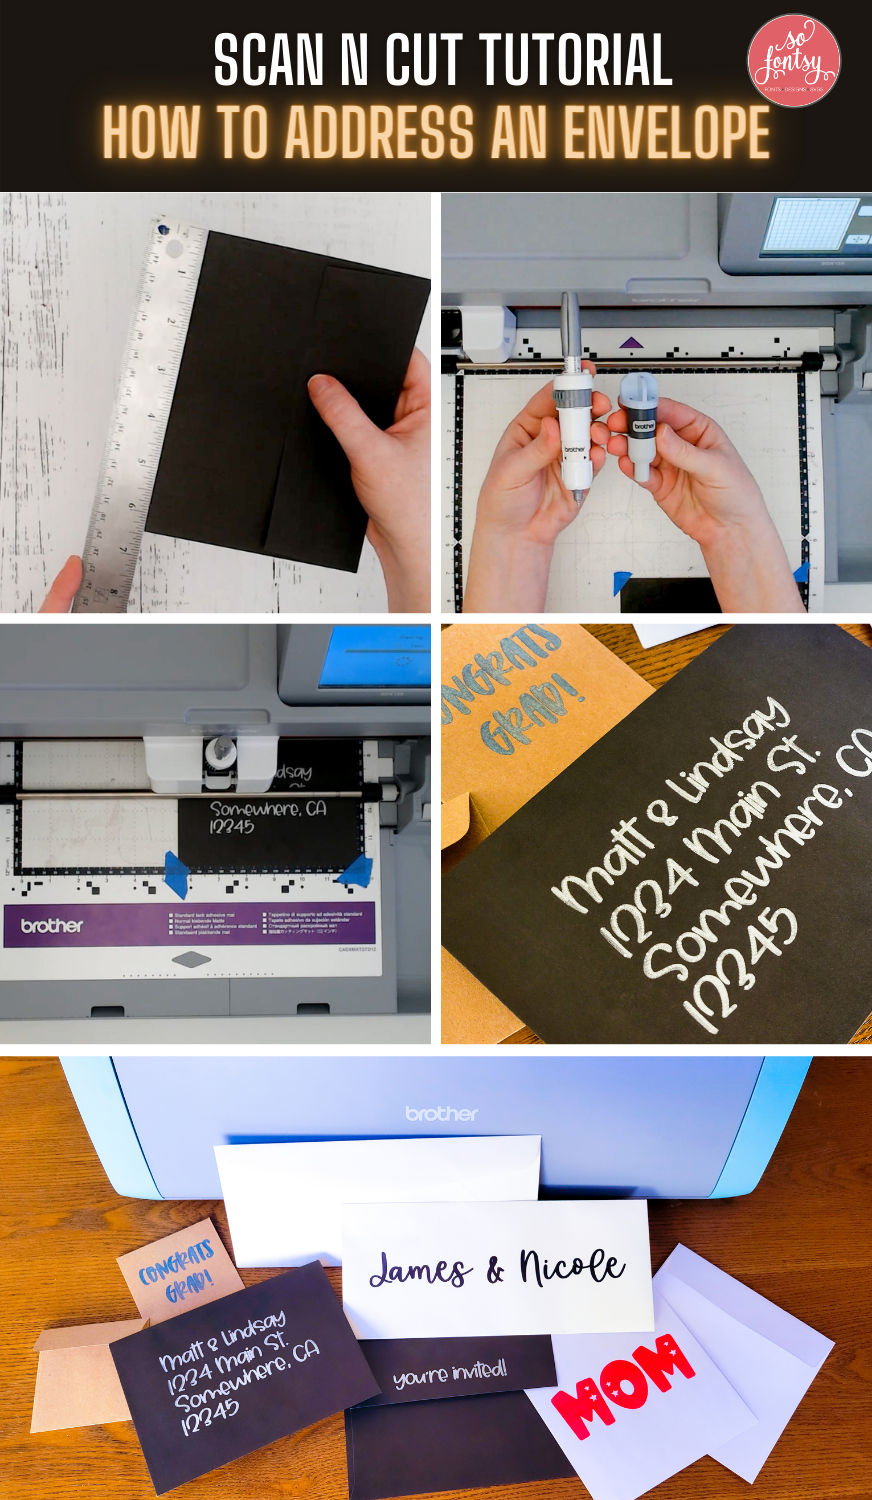
How to Address an Envelope with Brother Scan N Cut Draw Function
In this tutorial we'll show you how to have your Scan N Cut draw / sketch / write on an envelope.

Here's how to use your Brother Scan N Cut to address and personalize envelopes using the Draw Function.

If you've never used the Draw Function on your Scan N Cut, check out this blog post: How to Use Sketch Pens with Your Brother ScanNCut
Measure the width and length of your envelope.

Open Brother CanvasWorkspace and add a square or rectangle to the workspace. Change the dimensions to match those you took of the envelope.

Use the Text Tool and your favorite font to write out the address or personalization for your envelope. We are using fonts from the Crafter's Font Bundle.
To make multiple lines of text, you have to create multiple text boxes.

Resize the text as necessary to fit within the rectangle (the size of your envelope). For best results, I suggest you give yourself a healthy margin between the edge of the text and the edge of the envelope.

Change the Operation of just the text to Draw.

Take note of the rectangle's position on the mat in the CanvasWorkspace.

Then, hide the rectangle by clicking the "eye" icon next to it in the Layers panel. After clicking the "eye," both the eye icon and the rectangle will disappear.

Send the design to your Scan N Cut.
Take your Scan N Cut cutting mat and place the envelope you measured before on the mat in the same position as the rectangle was positioned in Brother CanvasWorkspace.
If necessary, use a few pieces of low tack tape on the corners of the envelope to make sure it doesn't move while drawing.

Remove the cutting blade (if necessary) and load the Brother Universal Pen Holder or

Brother Pen Holder into the ScanNCut.

Then, send the design to "Draw" the design.

Use all of the commercial free fonts in the Crafter's Font Bundle to address and personalize envelopes!

You can find the fonts we used on these envelopes in the Crafter's Font Bundle:
Take a look at the project video below:
Pin it for later:


