Cricut Design Space Tutorial for Beginners - Part 2 | So Fontsy Blog
Today we are going to look at some more Design Space features & tools that you can use to create amazing projects with your Cricut Maker, Explore or Joy.
This beginner Cricut tutorial will help you get a better understanding of Cricut Design Space and the tools located in the top tool bar such as linetype, fill, arrange, rotate, and more.

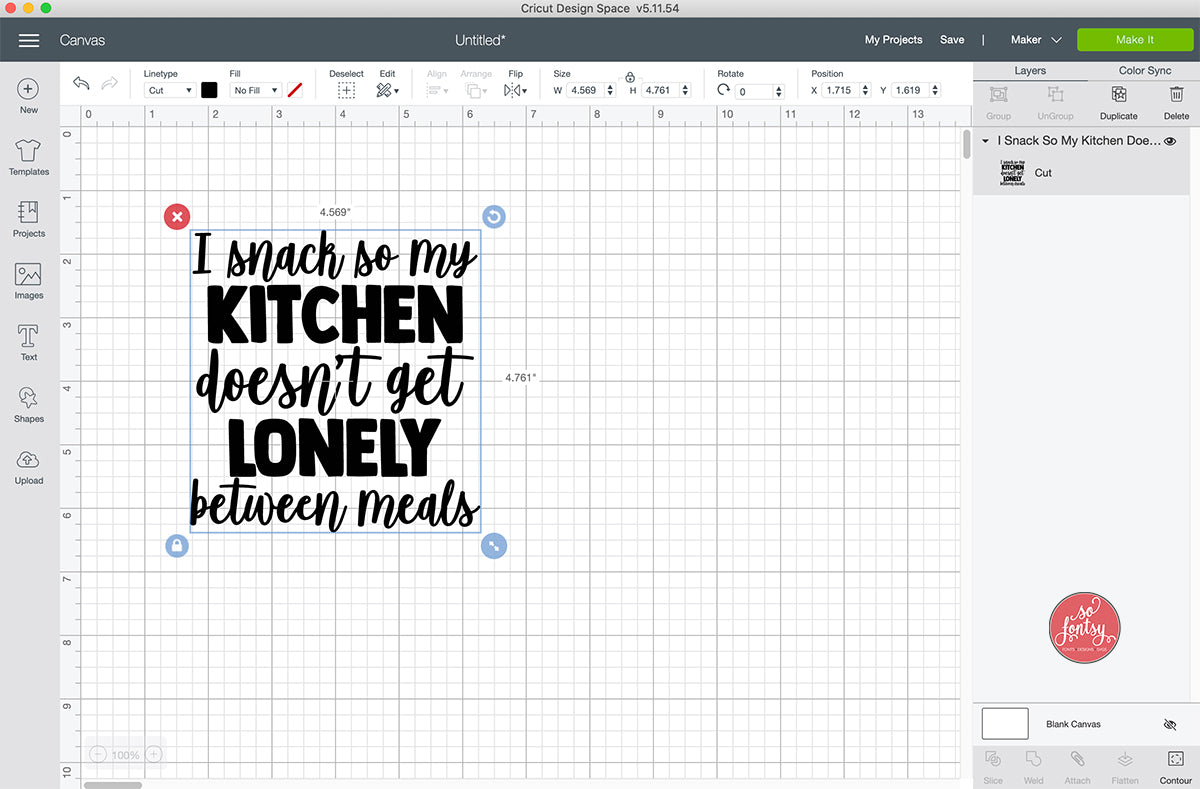
Let's start by opening a new canvas in Cricut Design Space.
Upload an SVG design and insert onto your canvas.
The I Snack So My Kitchen Doesn't Get Lonely Between Meals svg cut file is part of the All New Craft SVG Bundle. You don't want to miss these BRAND NEW svg cut files for Cricut, Silhouette, and Brother ScanNCut machines.

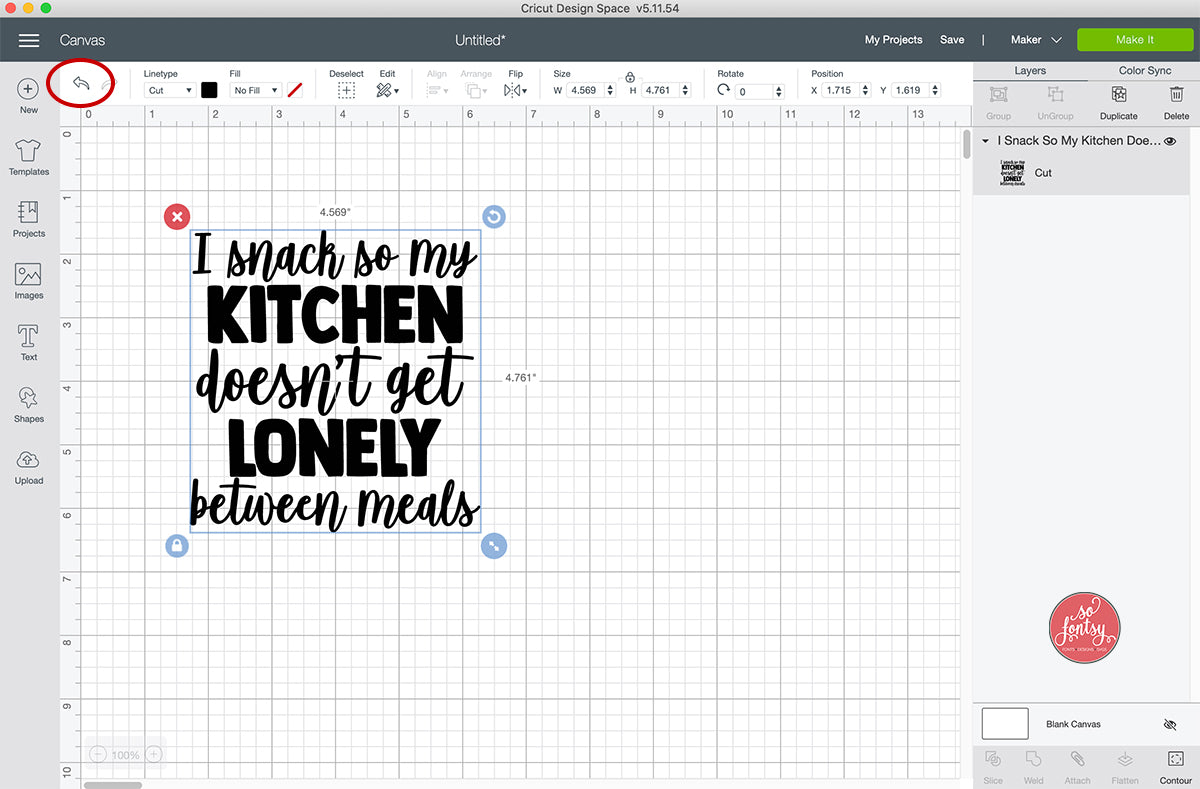
The first arrow in the top left corner of your toolbar is an arrow. This is the "Back" button. You use this to go back a step in your project. If you click this now, your screen will revert to a blank canvas.

The next tool is the Linetype. This is the type of cut you want your machine to do. I am using the Cricut Maker so my options are different than the Cricut Explore machine.
If you change the Linetype to Score, it will change the lines, as this picture shows. This is where the image would be scored if you were using the Cricut Maker Score Wheel Blade.

If you change the Linetype to Perf, it will change the lines to perforation, if you were using the Cricut Maker Perforation Blade.

Check out this tutorial for more help with Cricut Blades: Cricut Blades Explained: Which Blade to Use When
Change your Linetype back to Cut:

Let's look at the next tool: Fill
Here you have 2 options:
- Choose No Fill for projects being cut.
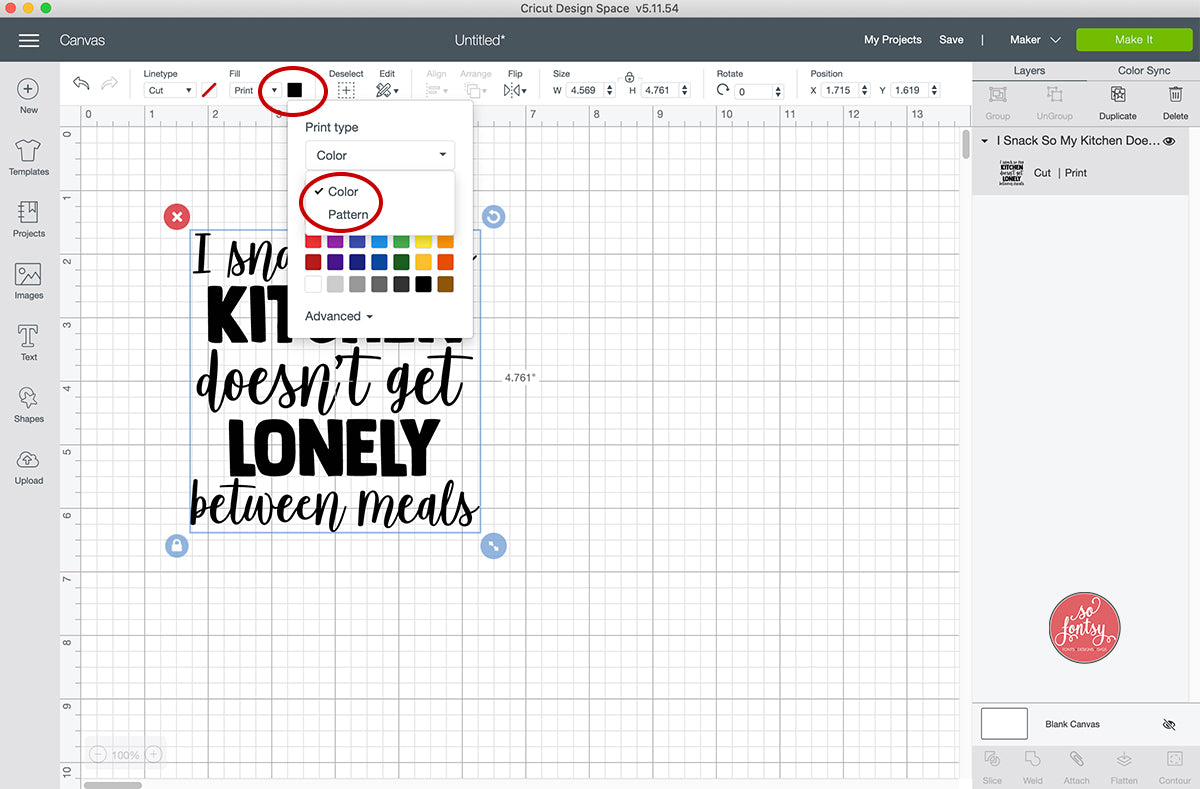
- Choose Print to change your project to a Print Then Cut
Once you choose Print, then click on the little black color box to change the Color to another solid shade.

Or you can choose Pattern to fill your project with a pattern from your library or the free Cricut patterns.
You can read more about using patterns in Cricut Design Space here: How to Upload and Use Patterns

Select All / Deselect allows you to quickly select/deselect all layers on your canvas.
Edit allows you to edit the layer(s) you have selected. Your choices are:
- Cut - removes the layer from the canvas (same as delete)
- Copy - this copies the layer (same as Ctrl+C or Cmd+C)
- Paste - this pastes the copied layer (same as Ctrl+V or Cmd+V)
Align allows you to align the selected layers on your canvas, in relation to one another.

Arrange: This tool moves the layers behind or in front of one another. Select your layer and arrange as needed. You can also drag the layer in the layers panel to arrange on top or behind another layer.
Flip allows you to flip the design either horizontally or vertically. Just keep in mind that this will flip your text so it is not legible.
Size allows you to change the size of your design.
Quick tip: Click on the middle lock to lock the proportions when you are re-sizing. This prevents your design from looking warped or distorted.
Rotate gives you the option to rotate or spin your design in a different direction.

Position moves the design to that exact location on the background canvas grid. For example, if I change them to x=1 and y=2, it moves my design to the 1" location (right) and 2" location (down).

Be sure to sign up for the Cricut Newsletter to receive the newest tutorials, deals & FREE Cricut CUT FILES, sent directly to your inbox: CLICK HERE FOR THE CRICUT NEWSLETTER


