
How to Put Your Design on a Mockup

How to Put Your Design on a Mockup
Mockups are used to show potential buyers ways that they can use your designs in real life.
Let's learn about how you can put your design on a mockup using Cricut Design Space, Photoshop, and Canva.
What is a mockup?
A mockup is an image that is used to preview what your design would look like on that product.
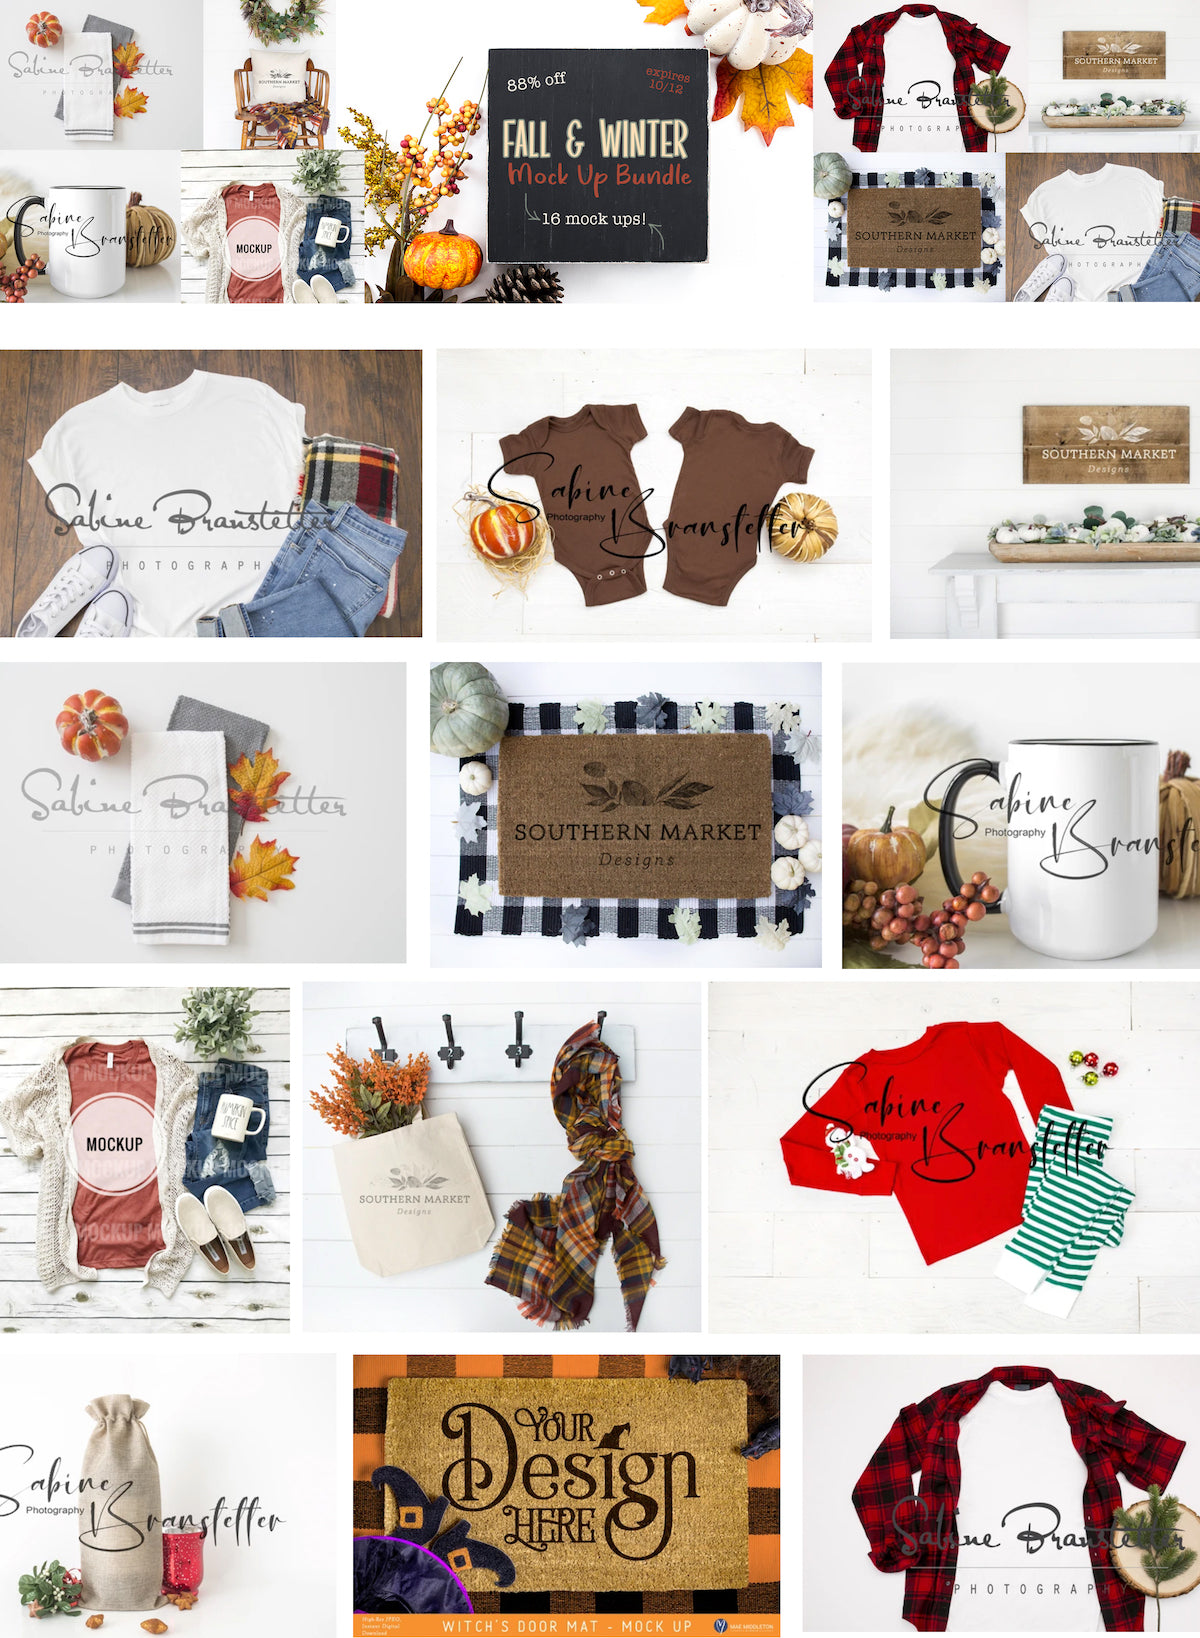
The Fall & Winter Mockup Bundle showcases your seasonal designs with professionalism & BONUS: it boosts sales!
Here are some recommended settings for Mockup images:
- File format: .JPG or .PSD
- Resolution: Min. 300 dpi.
- Size: Min. 2,000 x 2,000 pixels
What program do I need to use Mockups?
You can use any image editing program to use a .JPG file. You need Photoshop to use a .PSD file.
*Tip: Be sure to read the file formats included when you purchase Mockups.
Let's learn how to use mockups in Cricut Design Space, Photoshop and Canva.
If you'd like to learn more about using Mockups with Silhouette Studio, please CLICK HERE.
How to Put Your Design on a Mockup in Photoshop
Using Adobe Photoshop for mockups is easy enough for beginners.
Check out this quick video tutorial to place your design on a mockup image in Photoshop:
How to Put Your Design on a Mockup in Canva
Canva is a FREE online image editor & creation program.
Here is a quick video on how to use Canva to put your design on a mockup:
How to Put Your Design on a Mockup in Cricut Design Space
Last but not least, let's look at a quick tutorial on how to use mockup images in Cricut Design Space:
You can find hundreds of professional mockups on So Fontsy.
Receive free svg cut files for Cricut, Silhouette, and ScanNCut, embroidery designs, fonts & deals straight to your email inbox, by signing up for one (or ALL) of our newsletters:


