
Cricut Design Space Tutorial: How To Upload & Use Patterns

Cricut Design Space: How to Upload & Use Patterns
The Pattern Fill Tool in Cricut Design Space allows you to create custom projects that you can print then cut.
You can use patterns, backgrounds, and images to fill in your cuttable designs.
It is incredibly easy to upload & use patterns within Cricut Design Space. You will be impressed with how simple this process is!
First let's open a new project.
Upload the SVG Cut File that you would like to use for your project.
I am using the Christmas Tree Car Wagon Truck RV Camper Station Wagon Bundle which is part of the So Fontsy December 2019 Bundle. It is jam packed with 122 designs, 15 fonts & 24 digital papers!
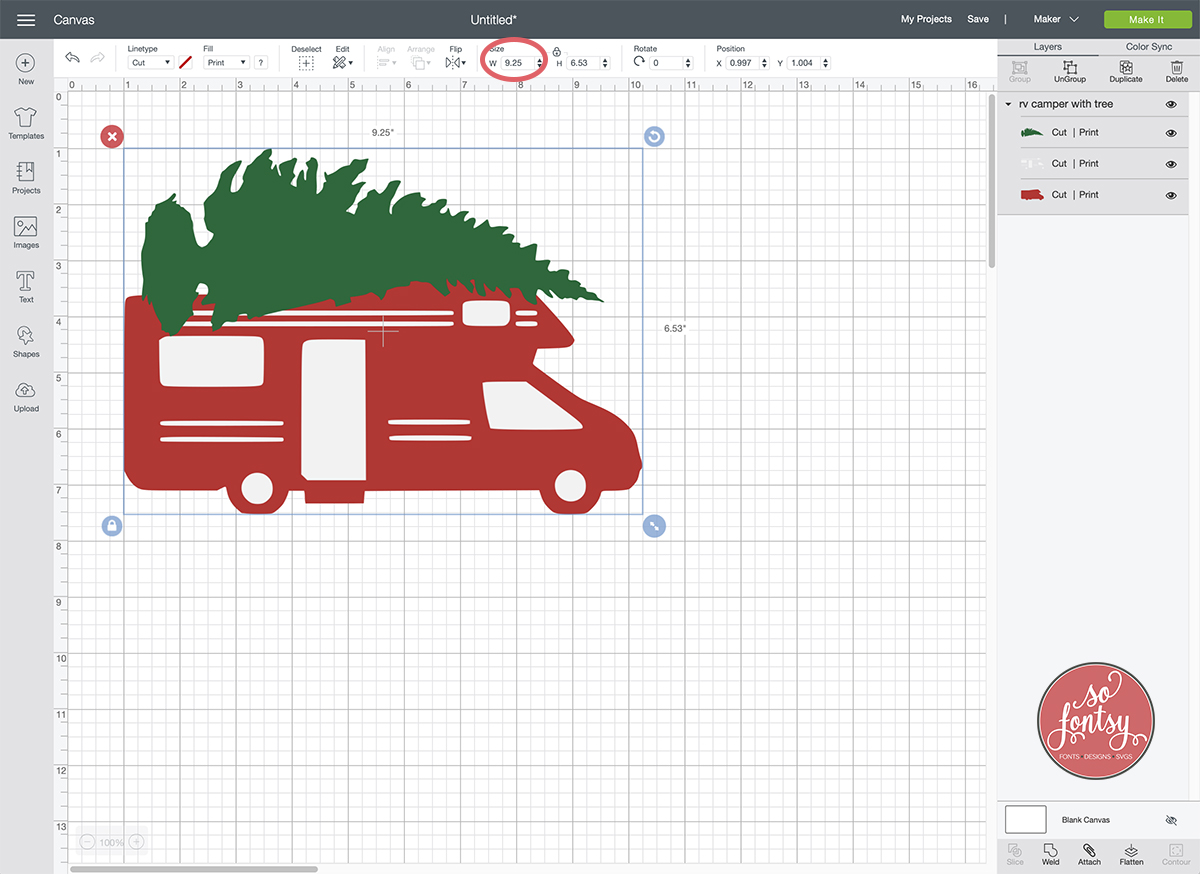
Resize the design to fit within the Print Then Cut parameters of 6.75" x 9.25".
I resized the RV Camper with Christmas Tree to 9.25" x 6.53".
Click on Upload and then Upload Pattern.

Choose your pattern/background image from your computer. I am using the green holly leaf pattern, which is part of the Sweet Christmas Seamless Background Patterns pack, located in the December 2019 Bundle.
I recommend changing the name of the file to something that identifies the pattern.
Also, choose a theme, style and color to organize your patterns properly.
Click Save.

Select the layer you would like to fill with your pattern. I chose the tree layer.
I moved the entire design down on the canvas so I can see the pattern when it fills the design.
Now click on Fill and change to Print.

Click on the small square next to the word Print.
Choose Pattern from the Print Type drop down menu.
Click on the Pattern you would like to fill the Tree layer.
It will put a white check mark over the chosen pattern.

To adjust the size and orientation of the pattern, click on Edit Pattern. This will bring up a pop-up window.
I adjusted the scale to 250. You can type in a value or move the slider up and down.
The changes you make will update the design in real time so you can see how it adjusts the pattern - nice huh?
You can also change the horizontal & vertical access, rotate the pattern and flip it.
Once you are happy with the pattern adjustments, click the X to close the window.

I'd also like to change the white layer, which is inside the windows, stripes & wheels.
Let's upload another pattern using the steps above.
Then select the white layer and choose Fill, Pattern and click on your pattern.
I am using the mini polka dot pattern which is part of the Sweet Christmas Seamless Background Patterns pack, located in the December 2019 Bundle.
I like how the pattern fills the windows so I did not Edit the Pattern this time.

Now it is time to Print Then Cut.
Click Flatten in the bottom right of the layers panel.
Then click MAKE IT.

Load your card stock into your printer. Then click Continue.

Click Send To Printer.
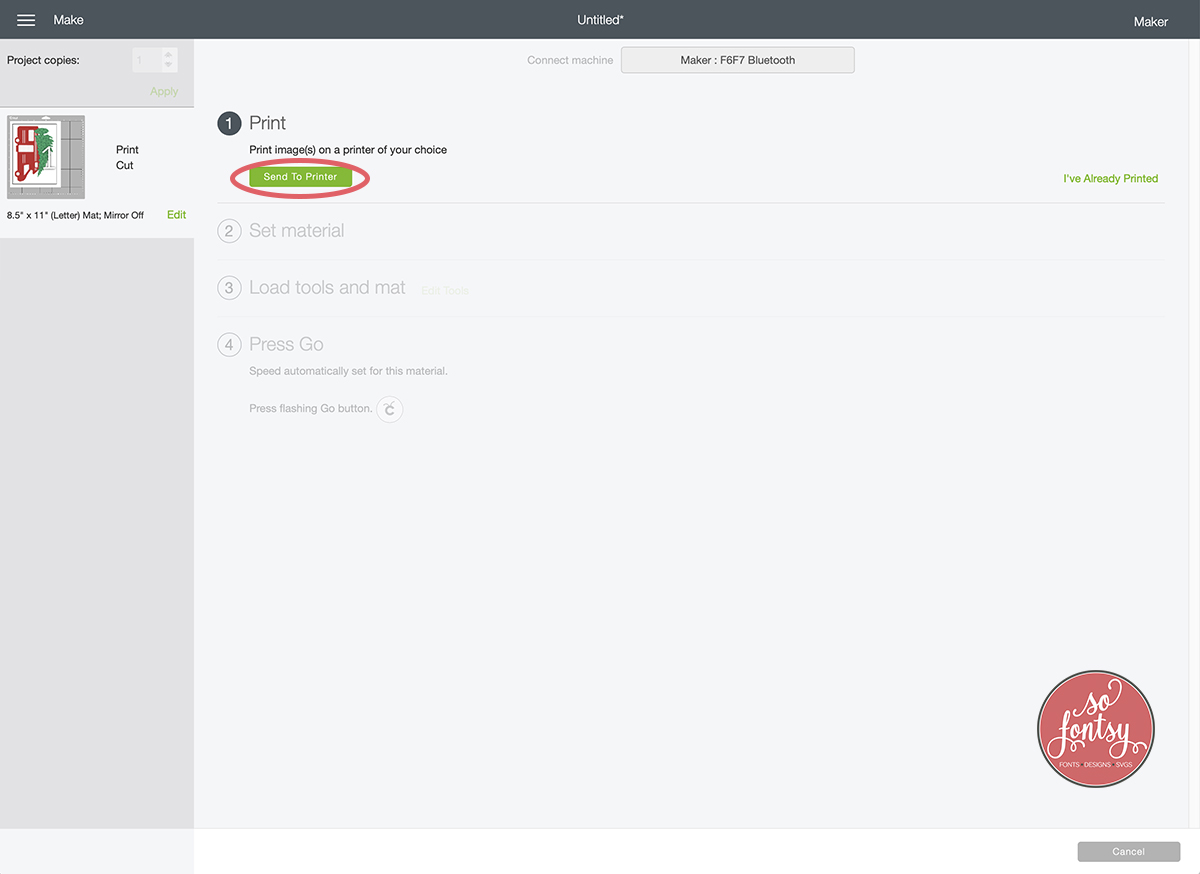
Choose your printer and Leave the Bleed option on.
This will add what looks like a distorted border around the Rv & Tree Design, but that is ok.
The Cricut Maker will cut that excess off and it will look fabulous once it's finished.
Click Print.

Once you have printed your design, it is time to choose the material to cut properly.
I printed my design on Sticker Paper.
It is a full 8.5" x 11" sheet of sticky backed paper that is thinner than medium cardstock.
Choose the material that you have printed on.

Place your printed design on the Light Grip mat and load into your Cricut Maker.
Cut your project.

Here is the finished project:

We hope you enjoyed this quick tutorial & project idea.
Be sure to sign up for our newsletter to receive weekly tutorials & FREEBIES:


