
Cricut Design Space Tutorial: How To Curve Text

Cricut Design Space: How to Curve Text
A frequent question with Cricut DIY Crafters is how do I curve my text in Cricut Design Space?
Let's look at how easy this process is to curve any text within Cricut Design Space.
First, open up a new project in Design Space.
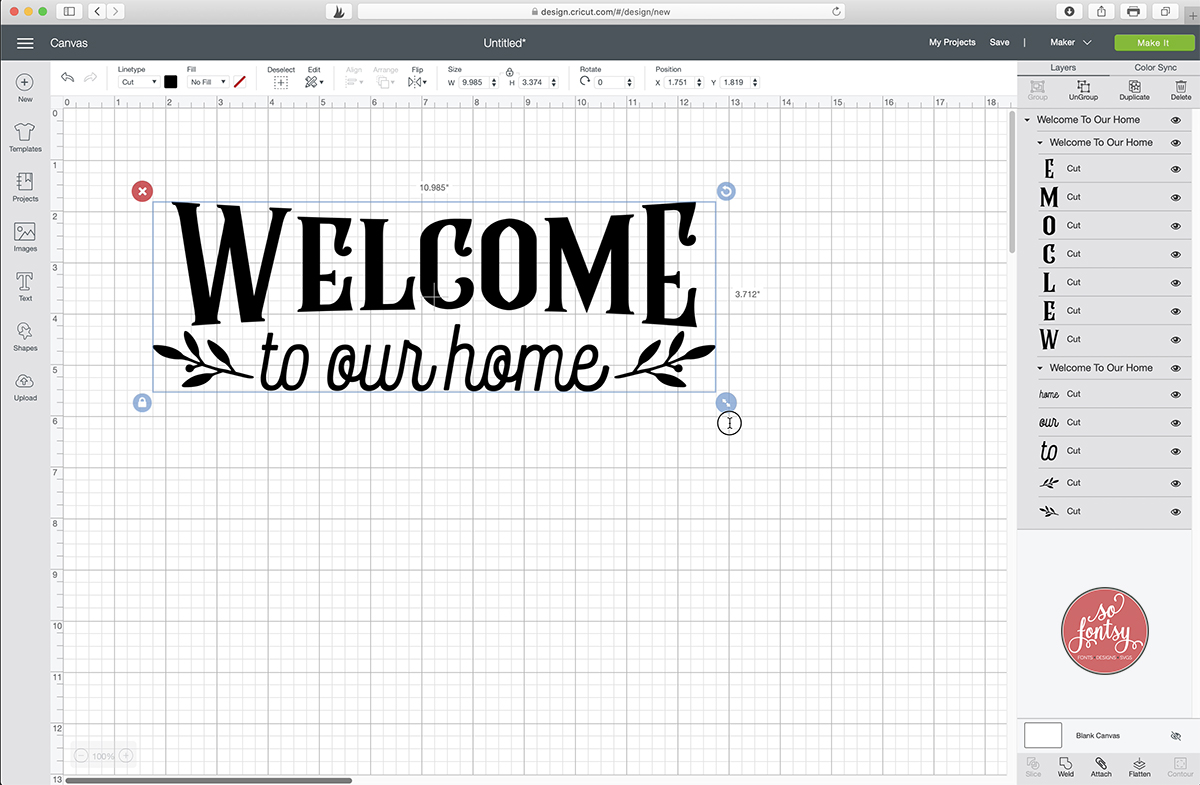
Upload the SVG Cut File that you'd like to use.
We are using the Welcome To Our Home SVG Design which is part of the December 2019 Bundle. You don't want to miss the last bundle of the decade! It is packed with 122 designs, 15 fonts & 24 digital papers at 93% Off!
Adjust your design to approx. 10-11" wide.
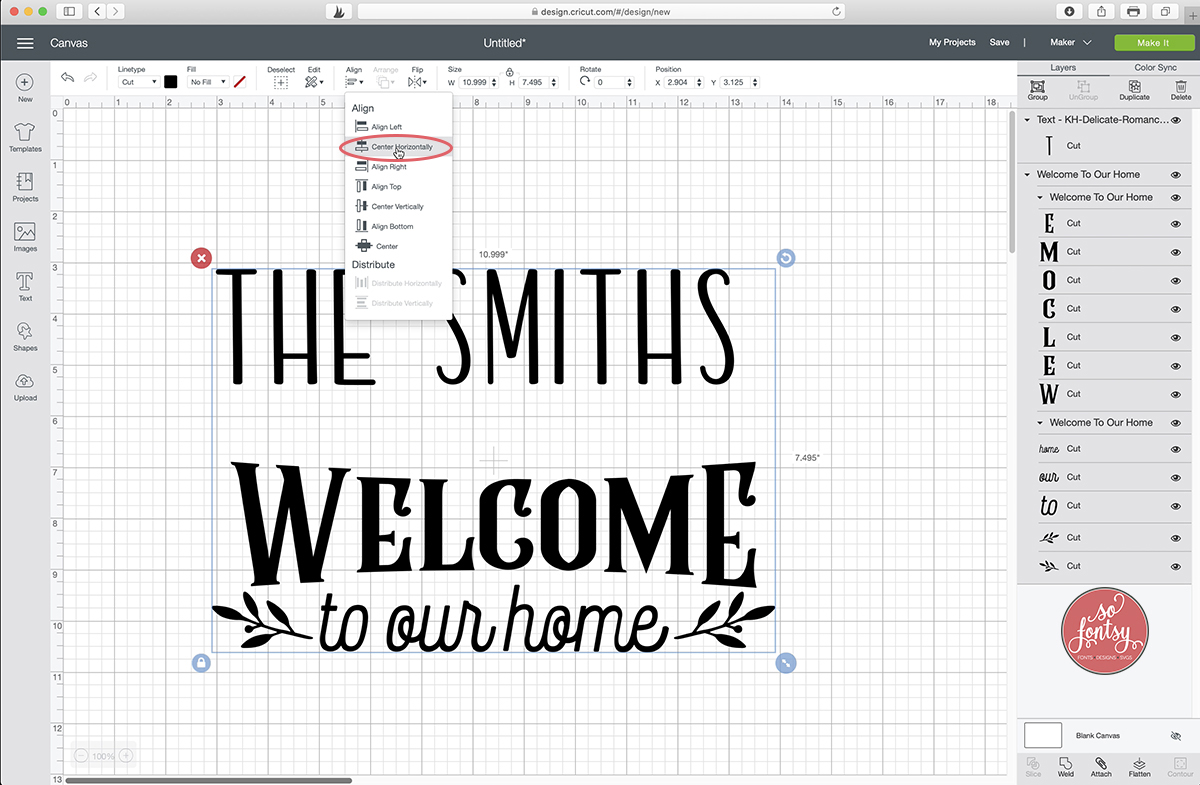
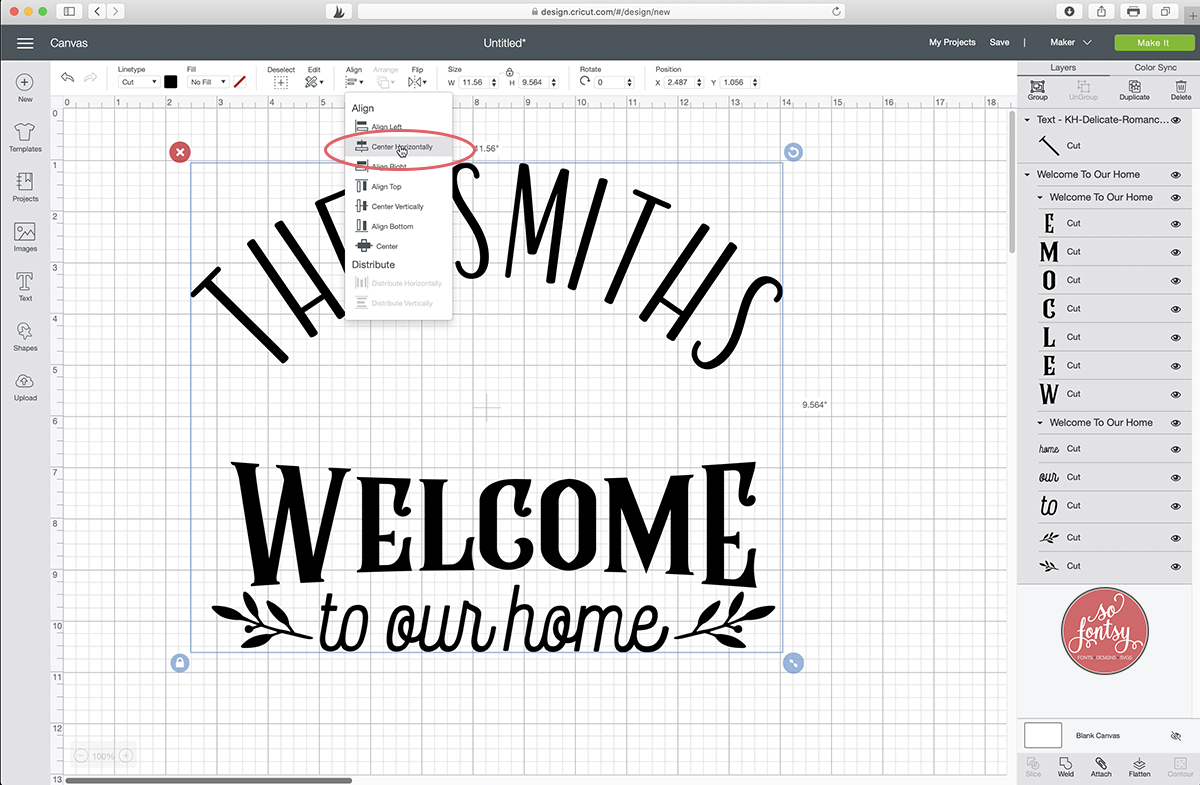
Choose the Text Tool and add your personalization.
Move this above the Welcome To Our Home SVG Design to where you'd like it placed.
We are using the Delicate Romance Font Duo, which is also part of the December 2019 Bundle.
Click ALIGN - CENTER HORIZONTALLY.
Now select your text layer and click on CURVE.
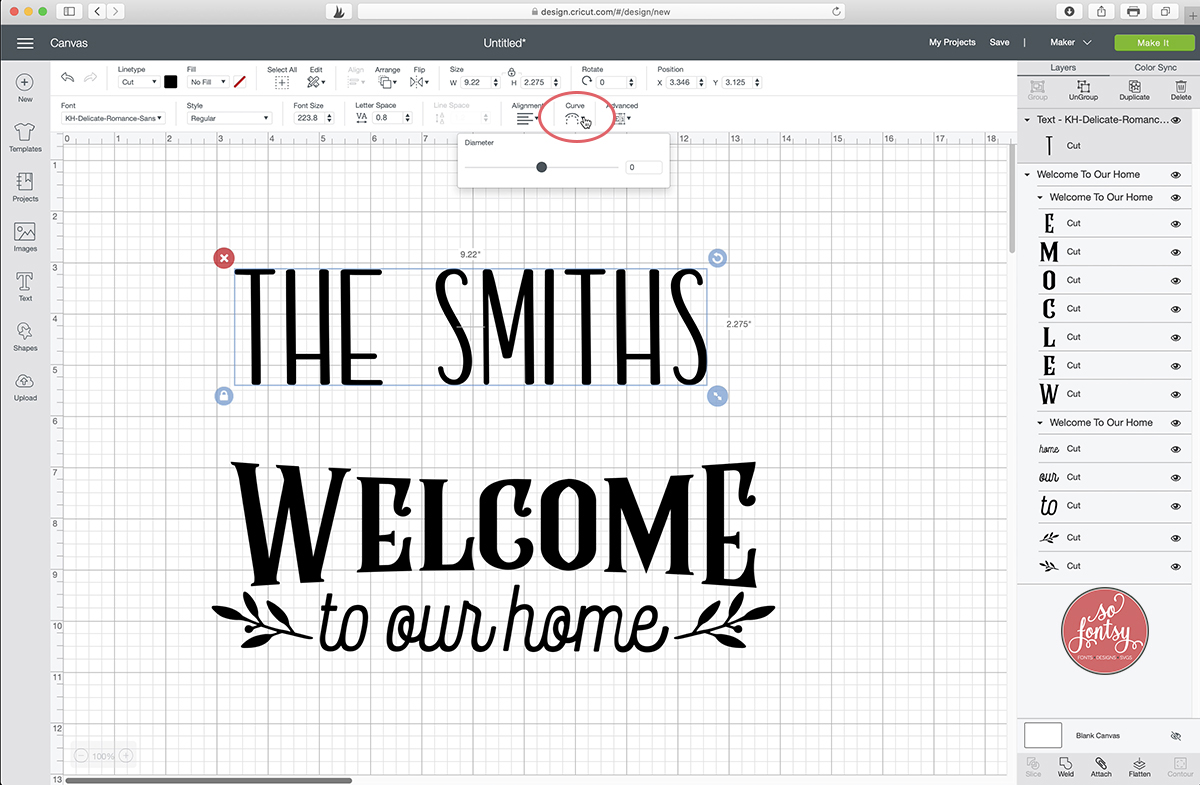
Move the slider to the right to Curve your text.
I chose a diameter of 10.793 but you can play with this setting to get the curve appropriate for your project.
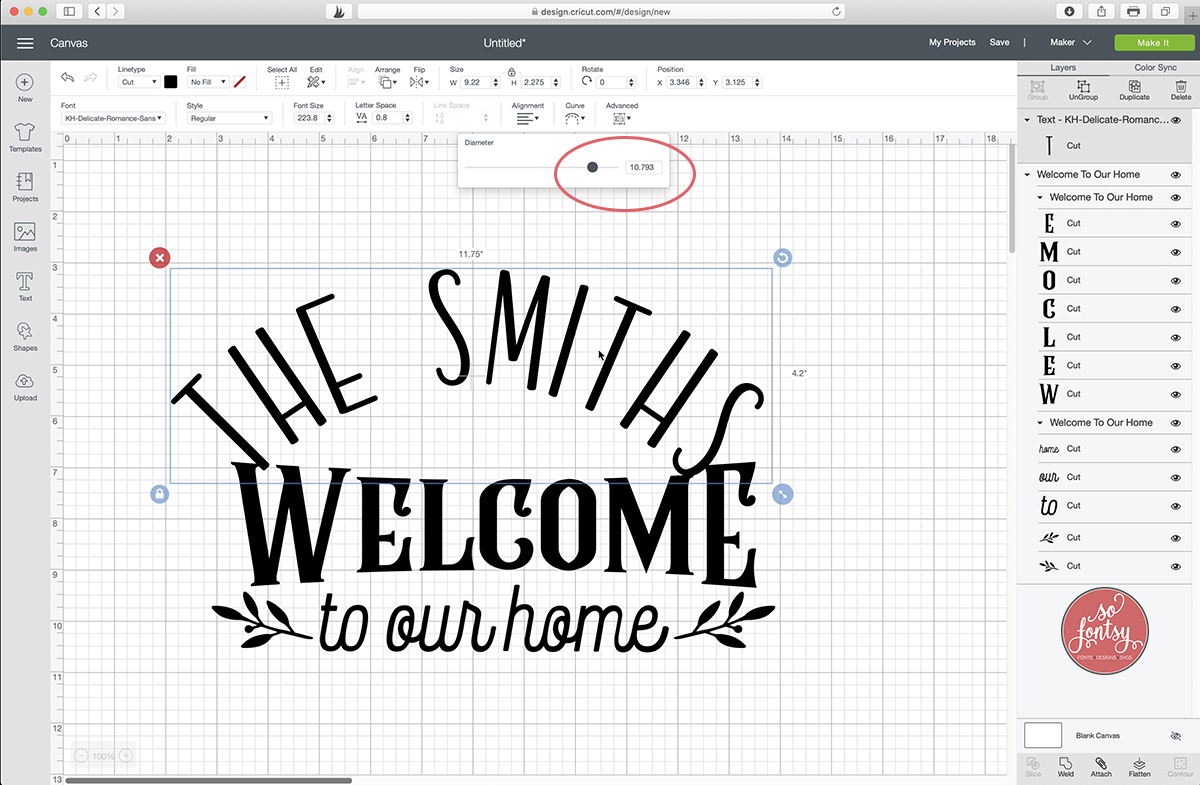
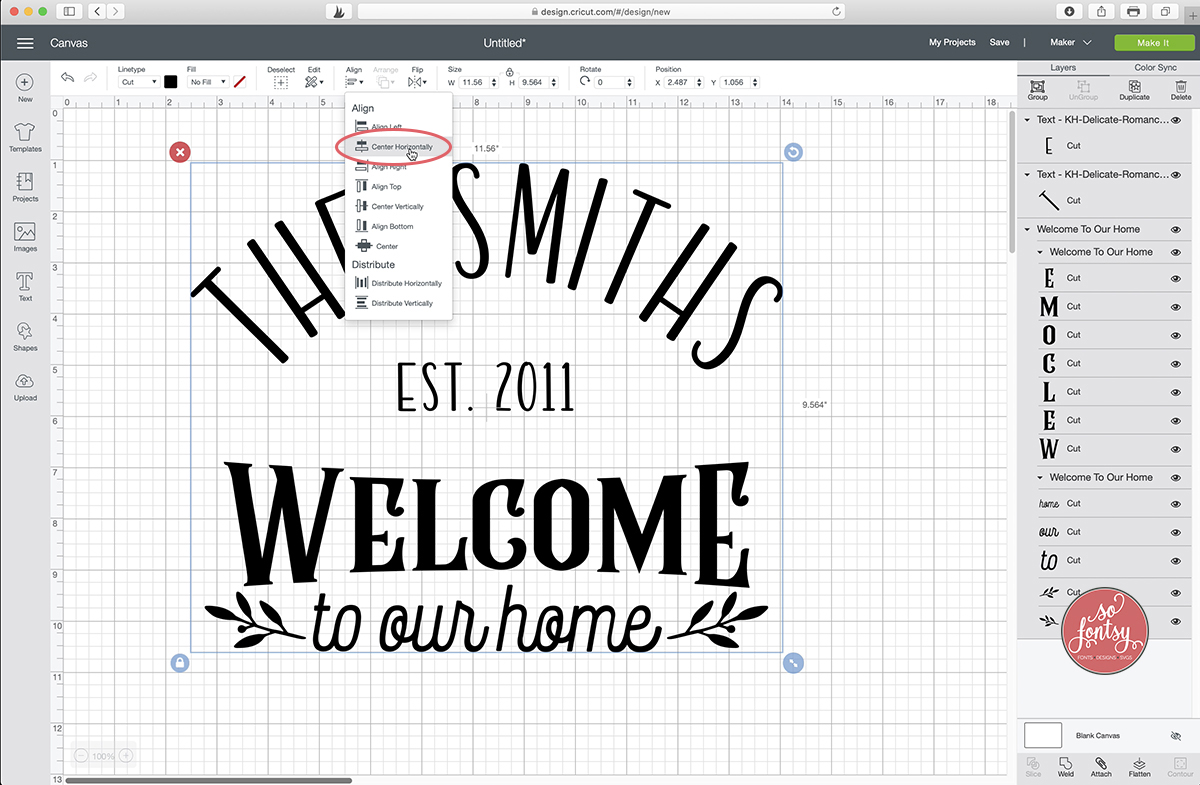
Now select all layers and click ALIGN: CENTER HORIZONTALLY.
Select the Text tool and type in the EST. 2011.
Center this into the middle area & adjust the size of the text.
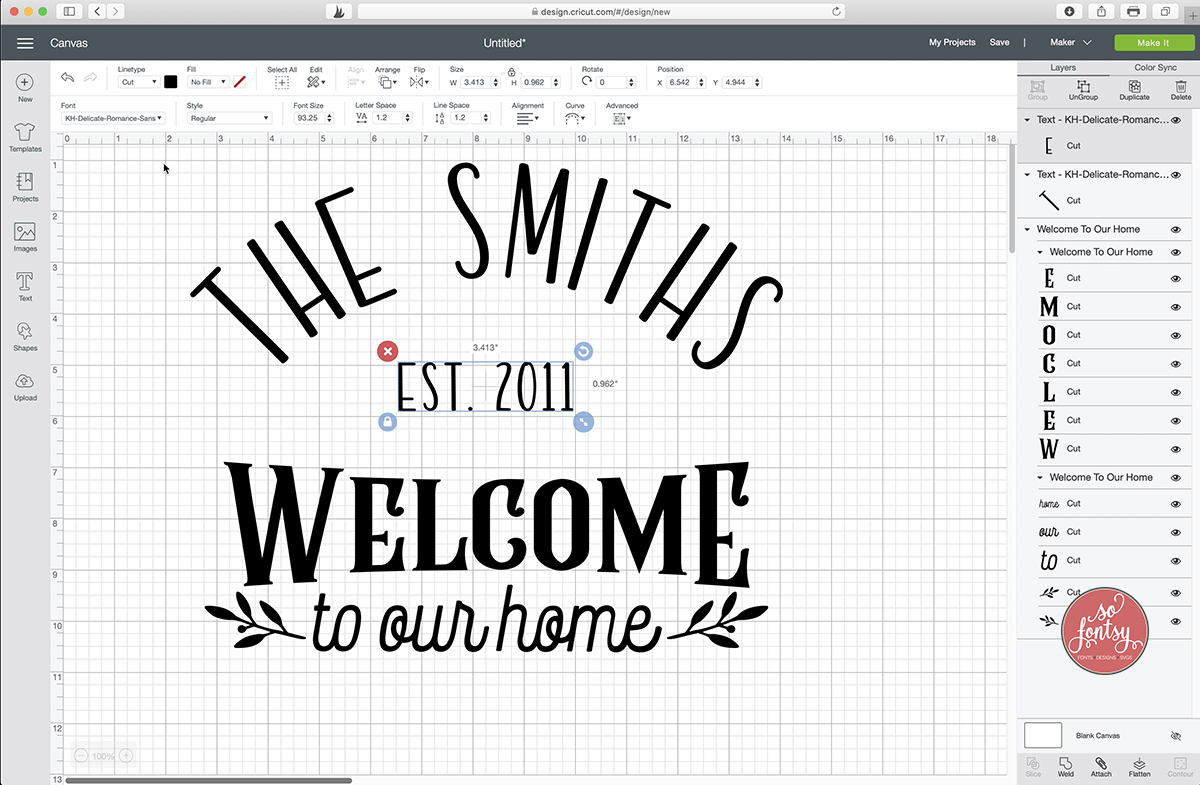
Select all of the layers and click ALIGN: CENTER HORIZONTALLY.
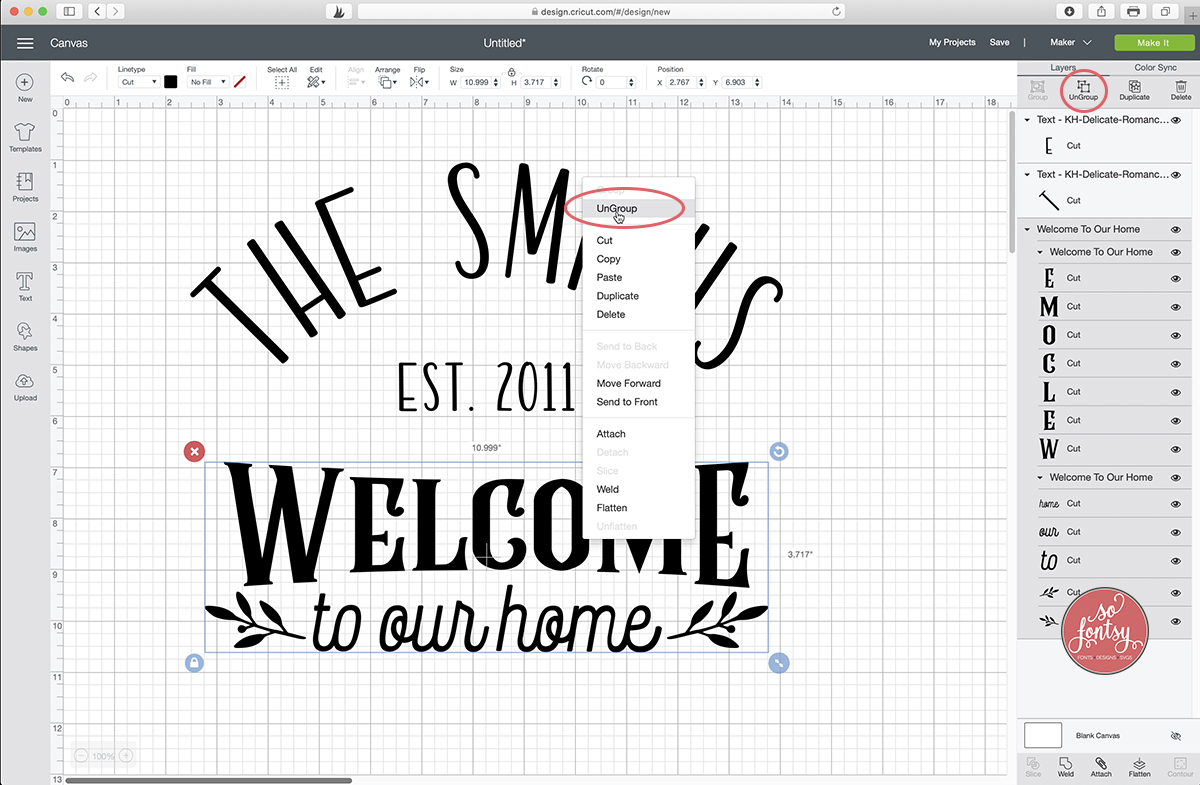
Select only the Welcome To Our Home SVG Design layer and right click: UNGROUP.
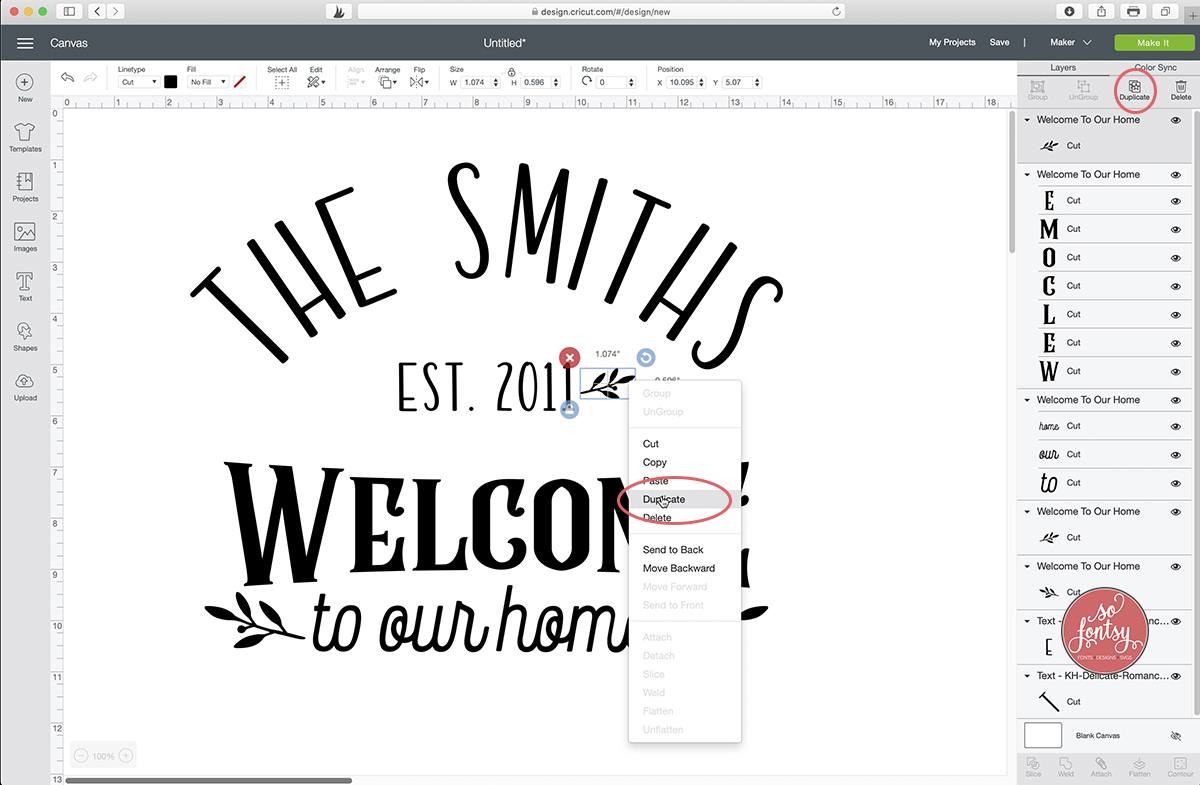
Select the laurel branch and DUPLICATE this layer.
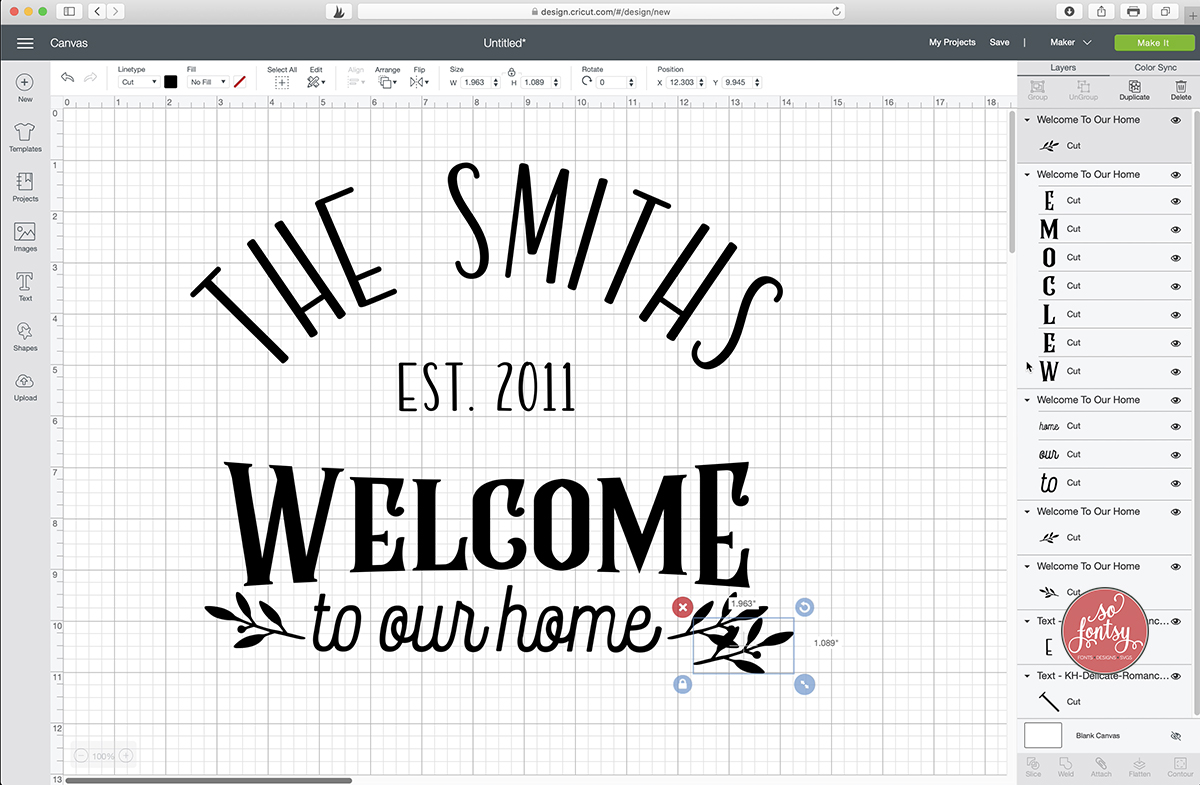
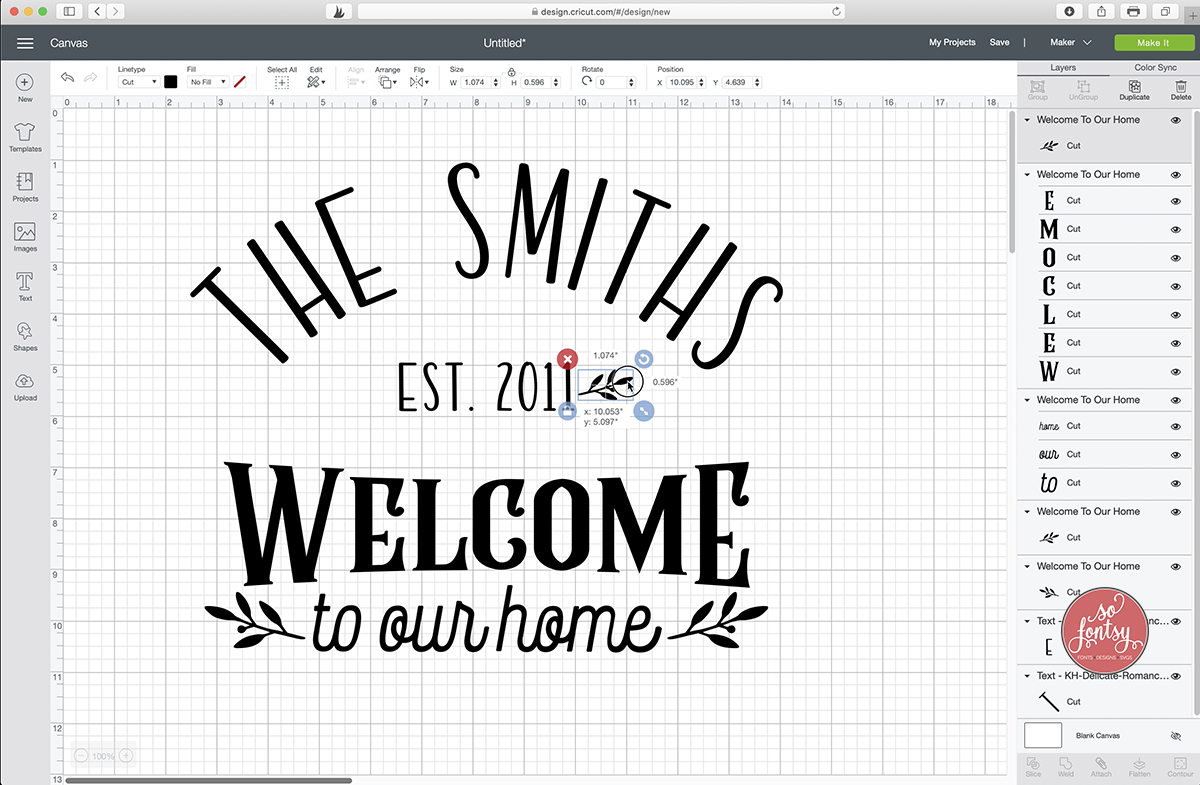
Now move the duplicated laurel branch next to the "2011". Resize it.
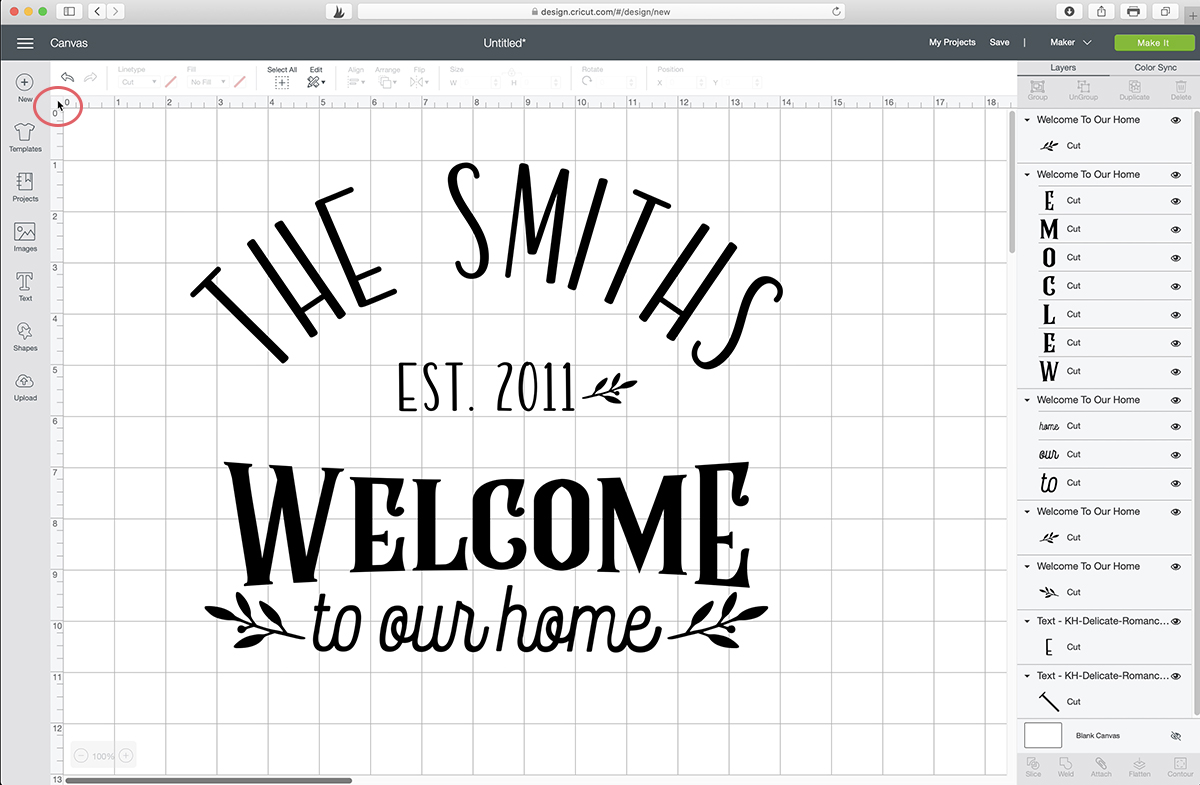
Let's remove the grid from our canvas so we can see our design better.
Click on the small square at the axis of the grid where the zeros. The first click will remove the .25" grid squares.
Click it a second time to remove the grid all together.
Select the laurel branch and DUPLICATE this layer.
Quick Tip ----> You can use copy & paste with shortcuts (Command +C/Command + V or CTRL+C/CTRL+V), the Duplicate option above the layers, or by right clicking on the individual element and selecting copy then paste.
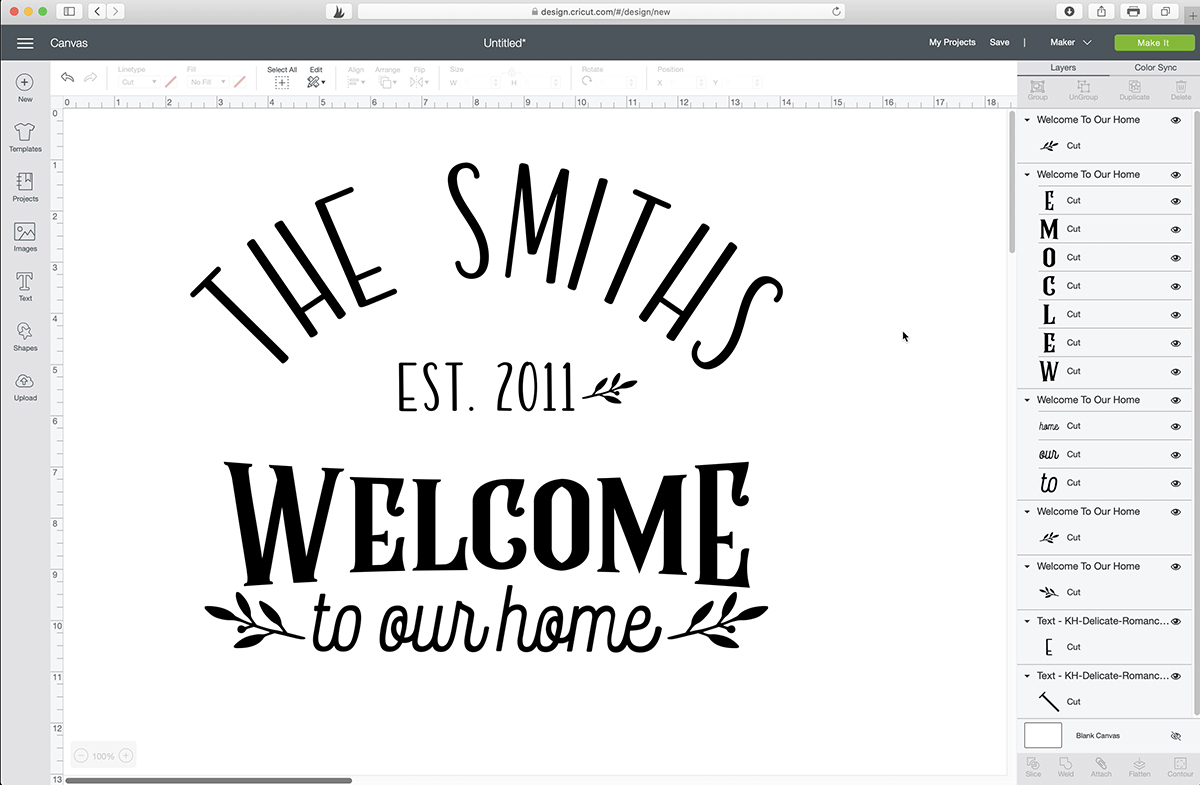
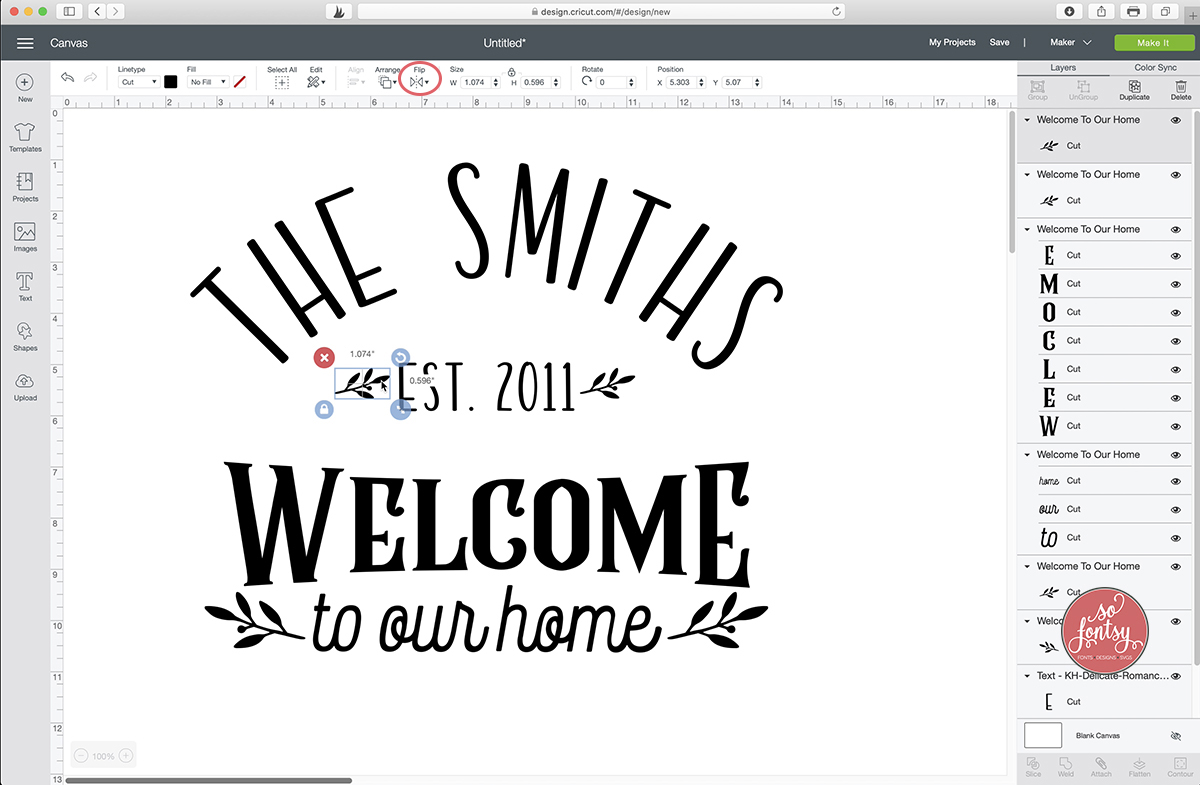
Move the duplicated laurel on the other side of the Est.2011.
Click FLIP: Horizontal. This will mirror the layer.
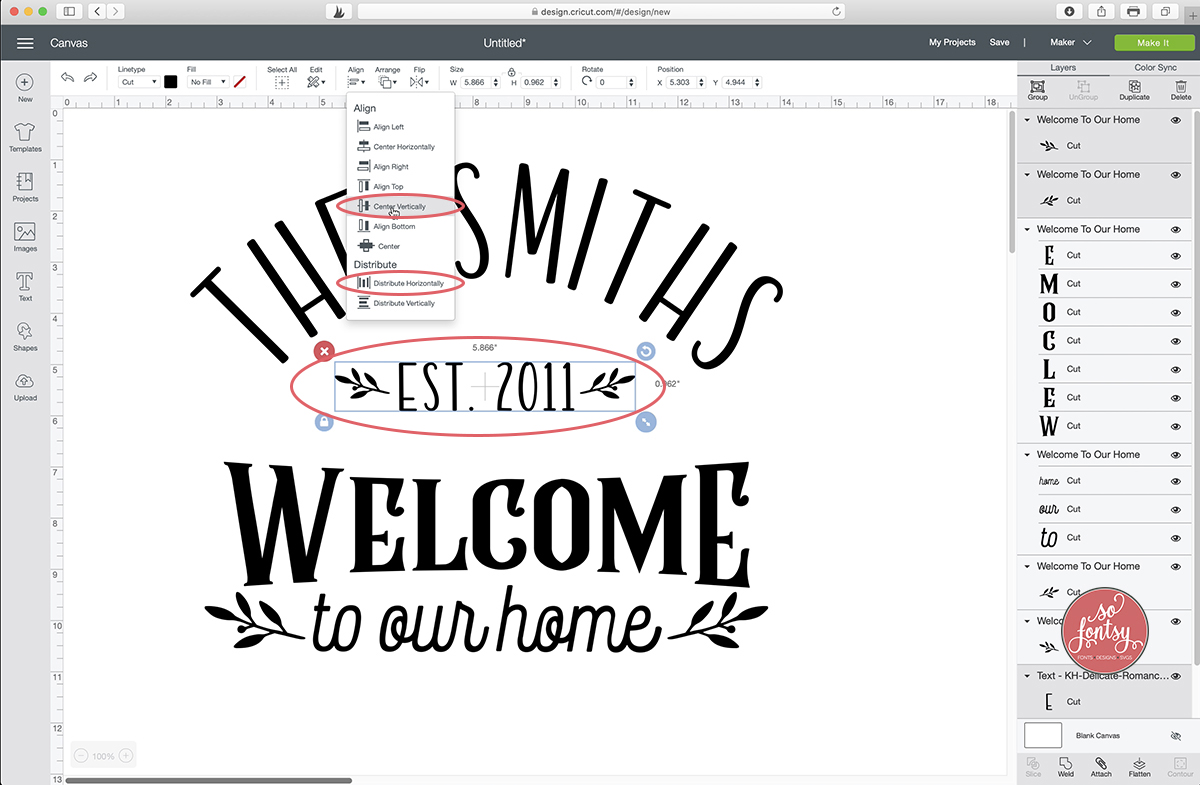
Now select the laurels and EST.2011 layers.
Click ALIGN: Center Vertically.
Then Click ALIGN: Distribute Horizontally. This will equally space the laurels and the text layer.
Once you are happy with your design, select all of the layers and Click: ATTACH in the bottom right panel of the layers.
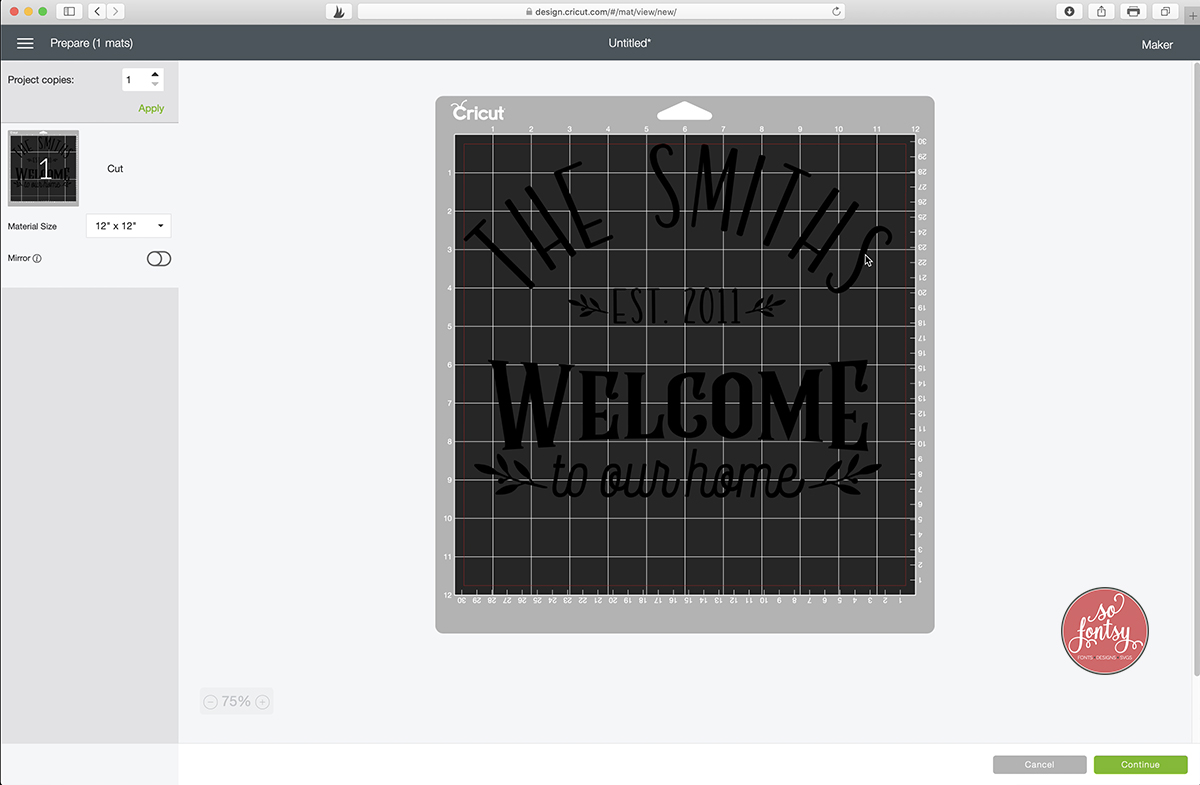
Resize the design to approx. 11" wide so it will fit onto the 12x12 mat.
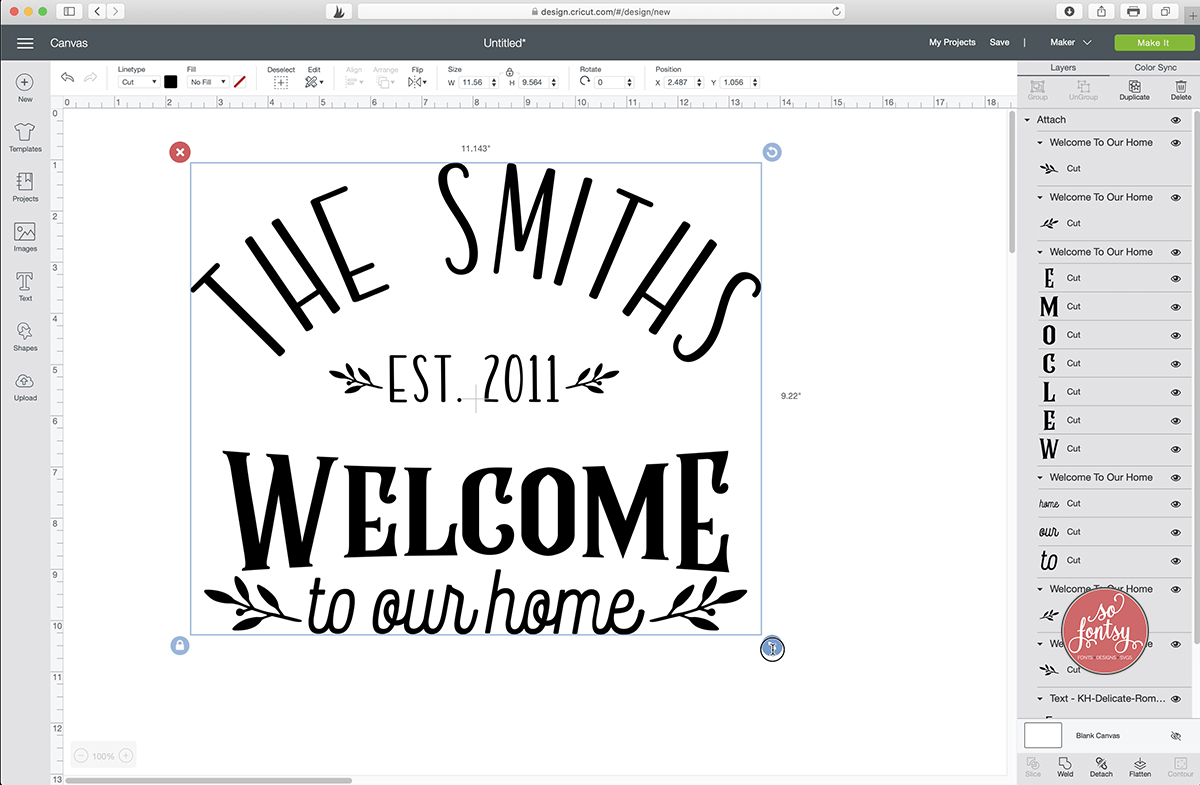
Click MAKE IT and your design is ready to be cut!
Great job! We hope you enjoyed this quick tutorial & project idea.
If you prefer to follow me on the video tutorial, this is for you:
Be sure to subscribe to the So Fontsy Cricut YouTube Channel so you don't miss any of our videos!
Be sure to sign up for our newsletter to receive weekly tutorials & FREEBIES:


