
Retro Room DIY: Wall Decal
Spruce things up around the house and create that cool retro vibe with a DIY wall decal. Check out this tutorial for some important tips for successfully applying vinyl wall decals.

It all starts with a cool, retro design to use for your wall decal, like what we’re using in this project. You’ll have so many retro designs to choose from in the Good Vibes Retro Font and Design Bundle.

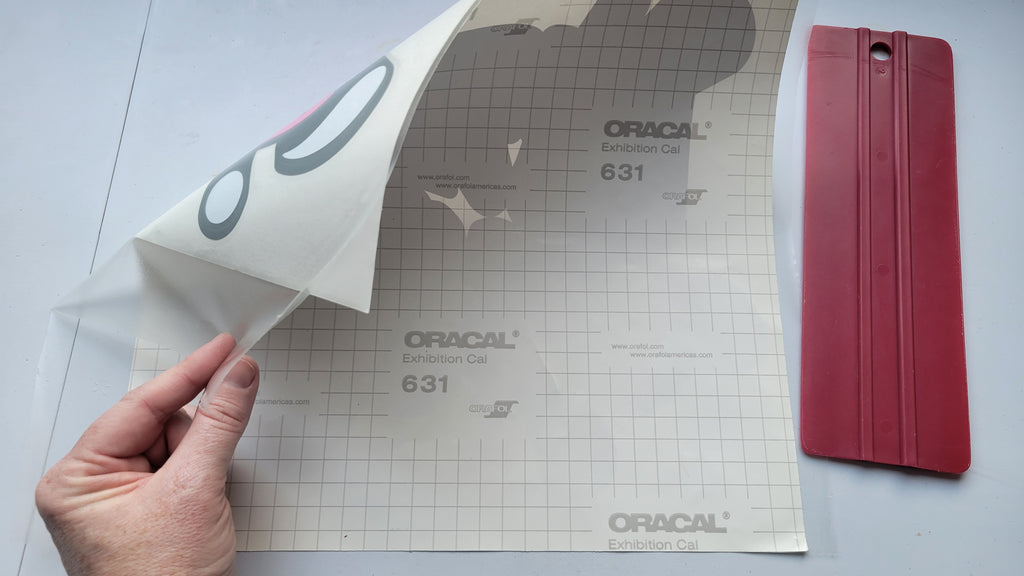
Next, cut your wall decal into indoor adhesive vinyl, like Oracal 631. Even if you plan on keeping your wall decal up for a very long time, using indoor vinyl is much better for your walls when you do decide to remove the decal. Permanent/outdoor vinyl will definitely peel the paint off your walls.
Clean the wall space with soap and water before applying the vinyl.

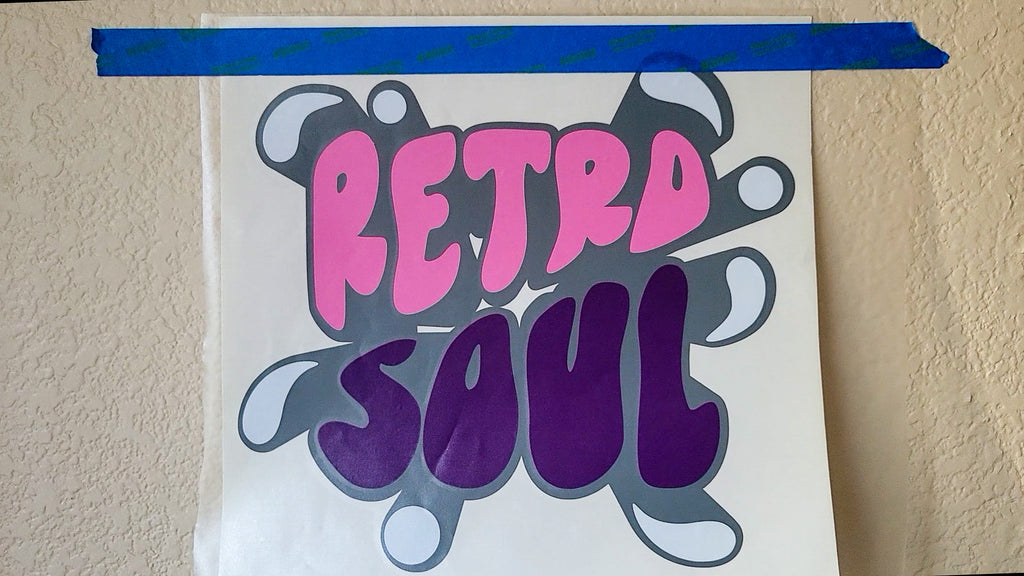
Temporarily adhere the vinyl wall decal to the wall with a strip of blue painter's tape. You’re going to use the hinge method to apply it. Use a level to make sure it’s on straight.
Then, use a large burnishing tool to firmly and smoothly apply the vinyl to the wall.

Indoor vinyl can sometimes be tricky to stick to the wall so after burnishing down really well, leave the transfer tape on for about an hour or so to give the vinyl adhesive time to stick to the wall securely. Then, remove the transfer tape.
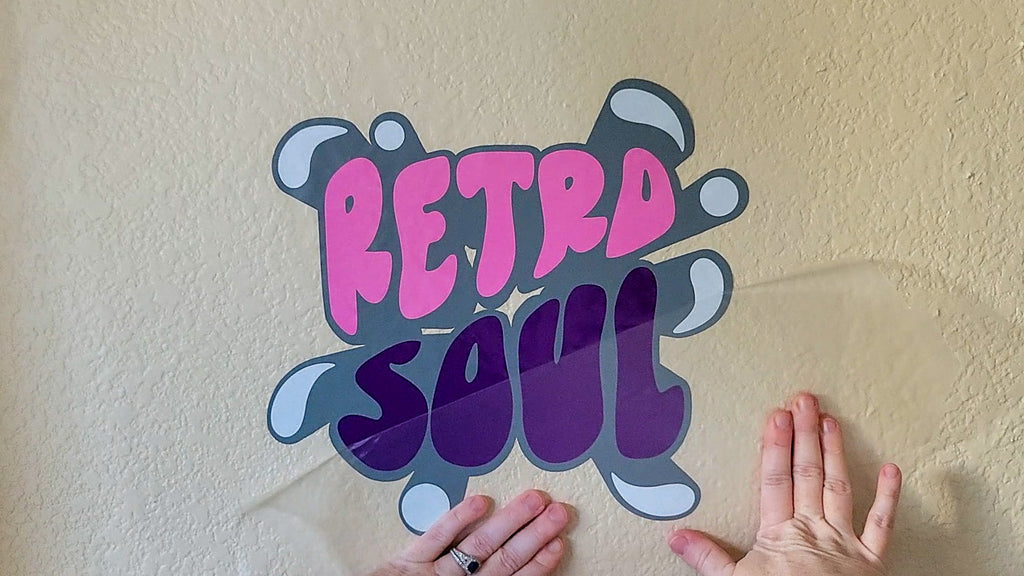
Next, take your finger and burnish over the vinyl for a really secure stick.

Then, in no time you can transform your room to have that cool retro vibe!

Find the retro wall decal design we used for this project in the Good Vibes Retro Font and Design Bundle.


