
How to Make DIY Cookie Stencils
If you love cookie decorating this time of year, you're going to want to try this DIY cookie stencil project!

Let's learn how to make your own cookie stencils with a cutting machine including Cricut, Silhouette, and Scan n Cut.
We used these funny Christmas SVG designs, which fit perfectly on our sugar cookies. You can find them in the the Funny Christmas SVG Design Bundle.

Open your SVG design and draw a basic shape around the design - like a circle or square.
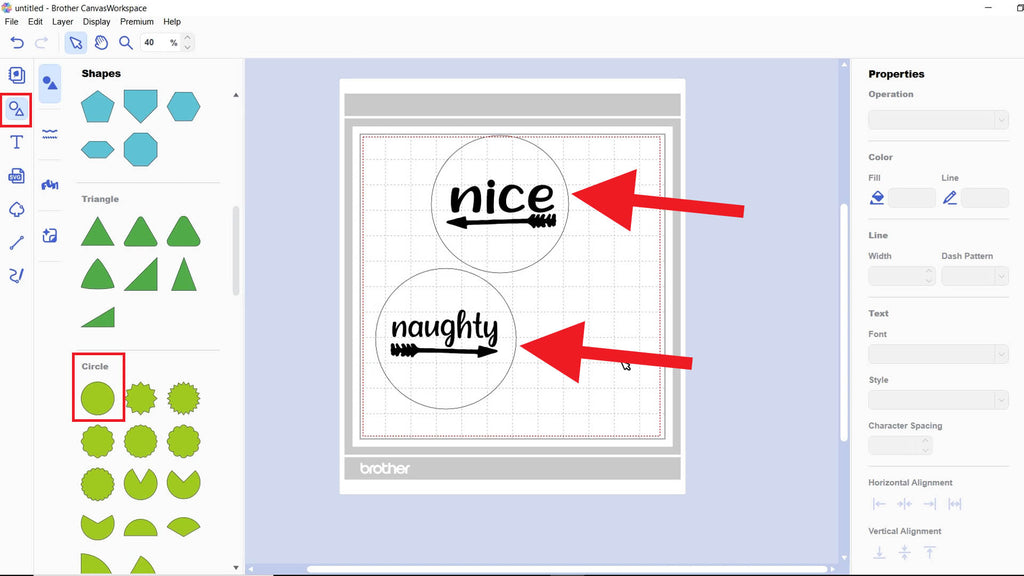
I am using Brother Canvas Workspace.
Cut out these designs (and the shapes around them) from vinyl with your cutting machine. We used the Scanncut SDX 125e.

Correct Way to Weed a Stencil
Weeding a stencil is a little different than weeding a vinyl decal.
When weeding a stencil, make sure you weed the part of the design where you'll apply your paint (or frosting) into.

Next, cut a piece of thin silkscreen mesh material.

Using transfer tape, transfer the vinyl stencil onto the silkscreen mesh, and burnish it down really well.

Then, cut away the excess silkscreen mesh from around the vinyl. IMPORTANT: The silkscreen mesh should extend beyond the edges of the vinyl stencil to ensure that the vinyl does not come in direct contact with the food, since vinyl is not food safe.

Roll out a thin layer of fondant using a fondant rolling pin.

Lay the stencil over the fondant.

Then, take a scraper (Or make one out of an old gift card covered in aluminum foil like I did!) and apply a small amount of cookie icing at the top of the stencil.
Next, take the scraper and gently but firmly scrape a thin layer of the frosting through the silkscreen material of the stencil. Make sure you cover all areas of the stencils.

Remove the stencil and then you can continue using the stencil for a few more times. When you need to wash the stencil, hold it under running water, then dry it very well before using again.
Next, take a cookie cutter and cut a shape around the frosting design.

Remove the excess fondant.

Transfer the fondant to a sugar cookie and press down the edges of the fondant to stick it to your cookie.

Voila! Custom cookies made with DIY cookies stencils & svg designs!

Grab the designs used in this cookie stencil project from the Funny Christmas SVG Bundle.

Watch the full video tutorial below:
Love it? Pin it for later:


