
How to Make a Dome Candy Holder
Bundle promotions in this blog post have expired. You can find the design we used HERE
Make gifting candy even sweeter by making these super cute domed candy holders. In this tutorial, we're sharing an easy way you can quickly make lots of them.

Find a fun dome candy holder SVG like the Santa we're using for this project! When you open the SVG in your design software, you'll see there are lots of layers to this design. Each of these layers are usually cut into cardstock, and then later reassembled and adhered together with tape or glue.

The design we're using is this Santa Christmas Candy Dome Holder file that you can get in the December Design Bundle.

Instead of cutting out all these layers, which could take a super long time, use Print and Cut with your Silhouette Cameo or Print Then Cut with your Cricut! Print out the image on medium to heavyweight white cardstock.

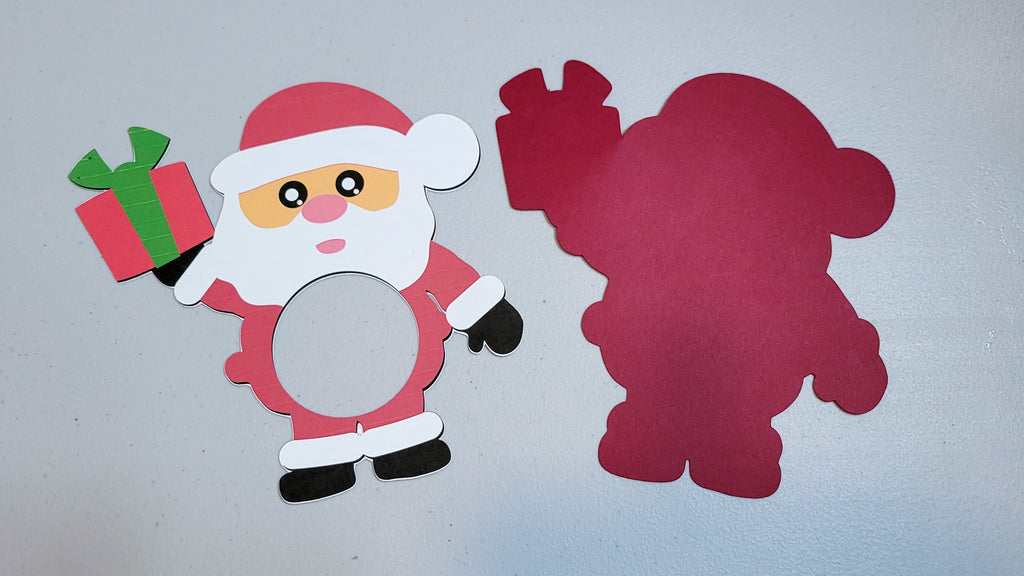
Then, use your cutting machine to cut around the image and the large circle in the middle.

Cut out an offset of the design in colored cardstock for the backing. The offset should be slightly larger than the design itself.
You'll need some plastic candy domes which you can find online or even at the craft store. You could also use one half of a fillable clear plastic ornament. 
Fill the plastic dome with candy and adhere it between the colored cardstock cut out and the printed design on top. You can use glue or double sided tape.

You'll be so happy using this print and cut trick because you'll be able to make lots of these candy dome holders in no time at all! They make great stocking stuffers and little gifts for friends and family!

Don't forget you can grab this candy holder SVG design in the December Design Bundle.


