How to Bleach Shirts with Vinyl in 3 Easy Steps
Bundle promotions in this blog post have expired - find the design we used HERE
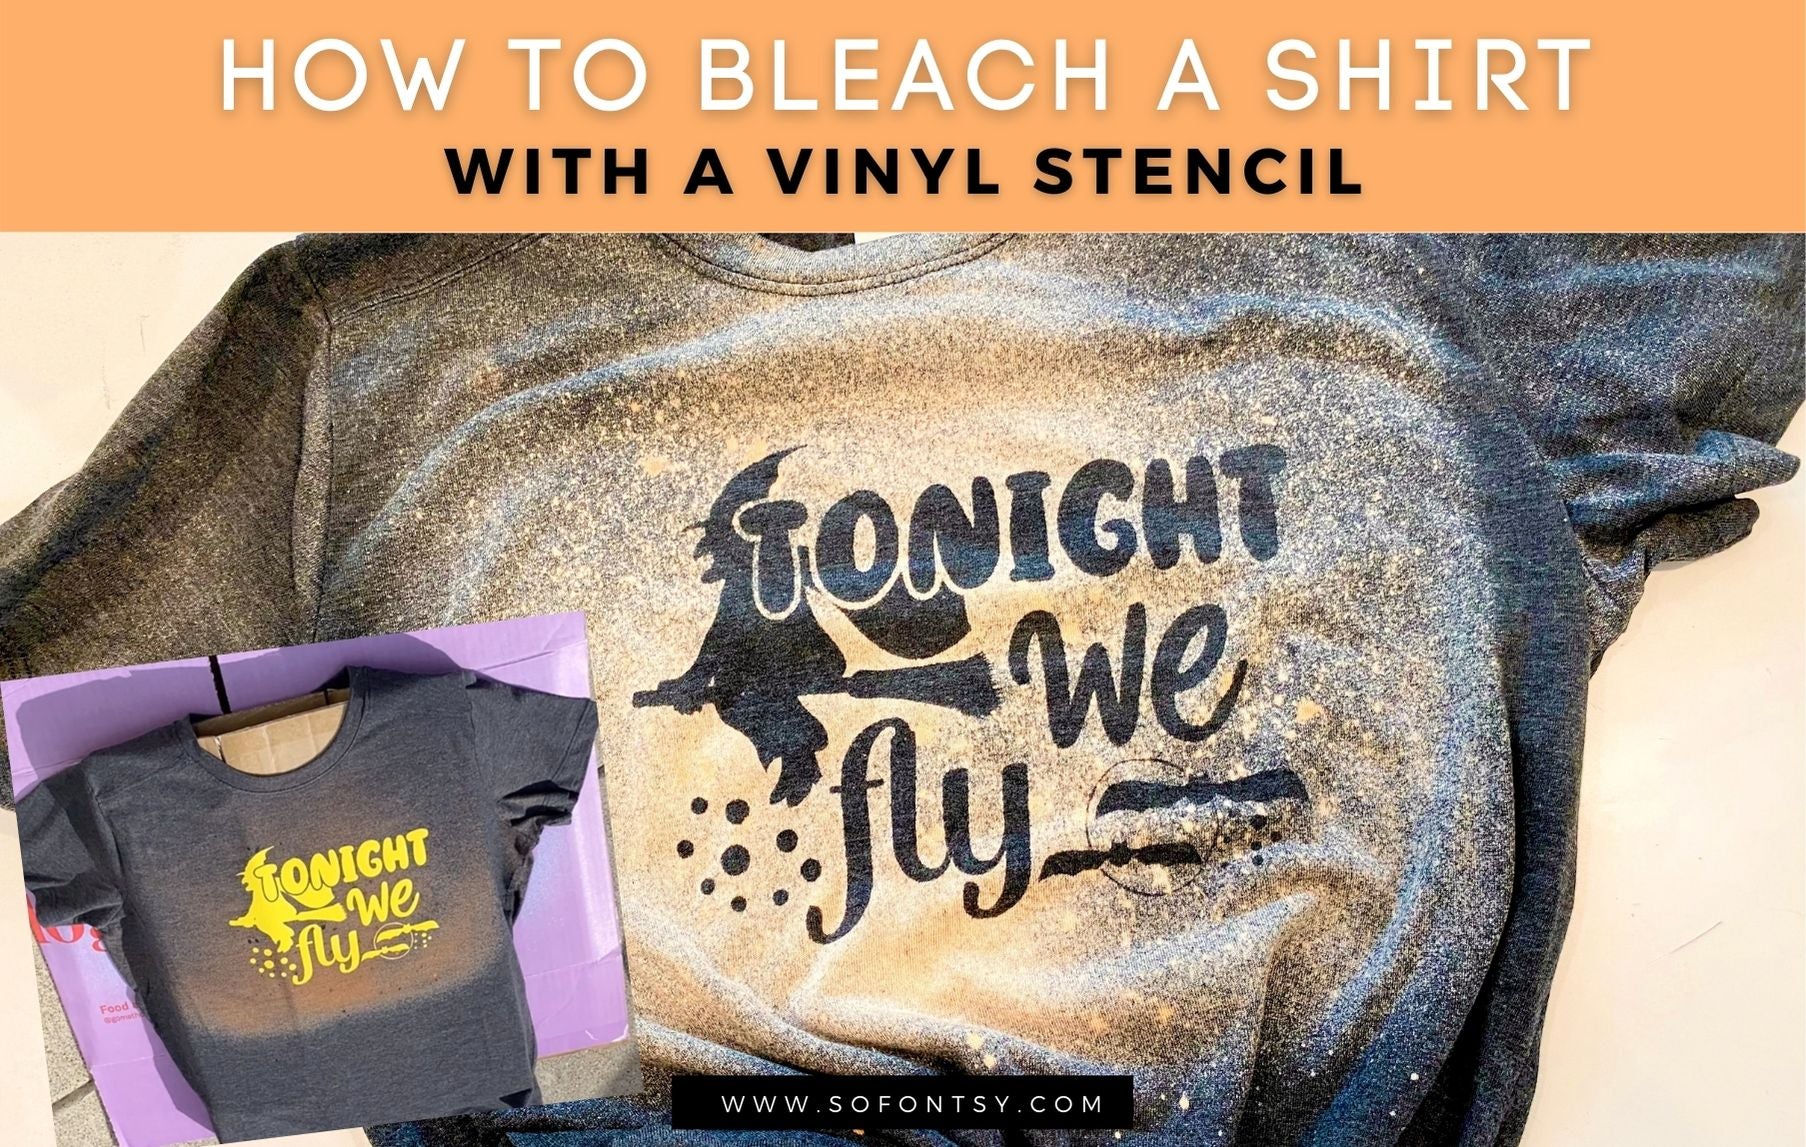
It's fast and easy to bleach shirts with vinyl stencils.
You can make these bleach shirts at home. Using a black shirt with bleach will give you a cool orange and white design which makes the perfect Halloween shirt in just three easy steps.
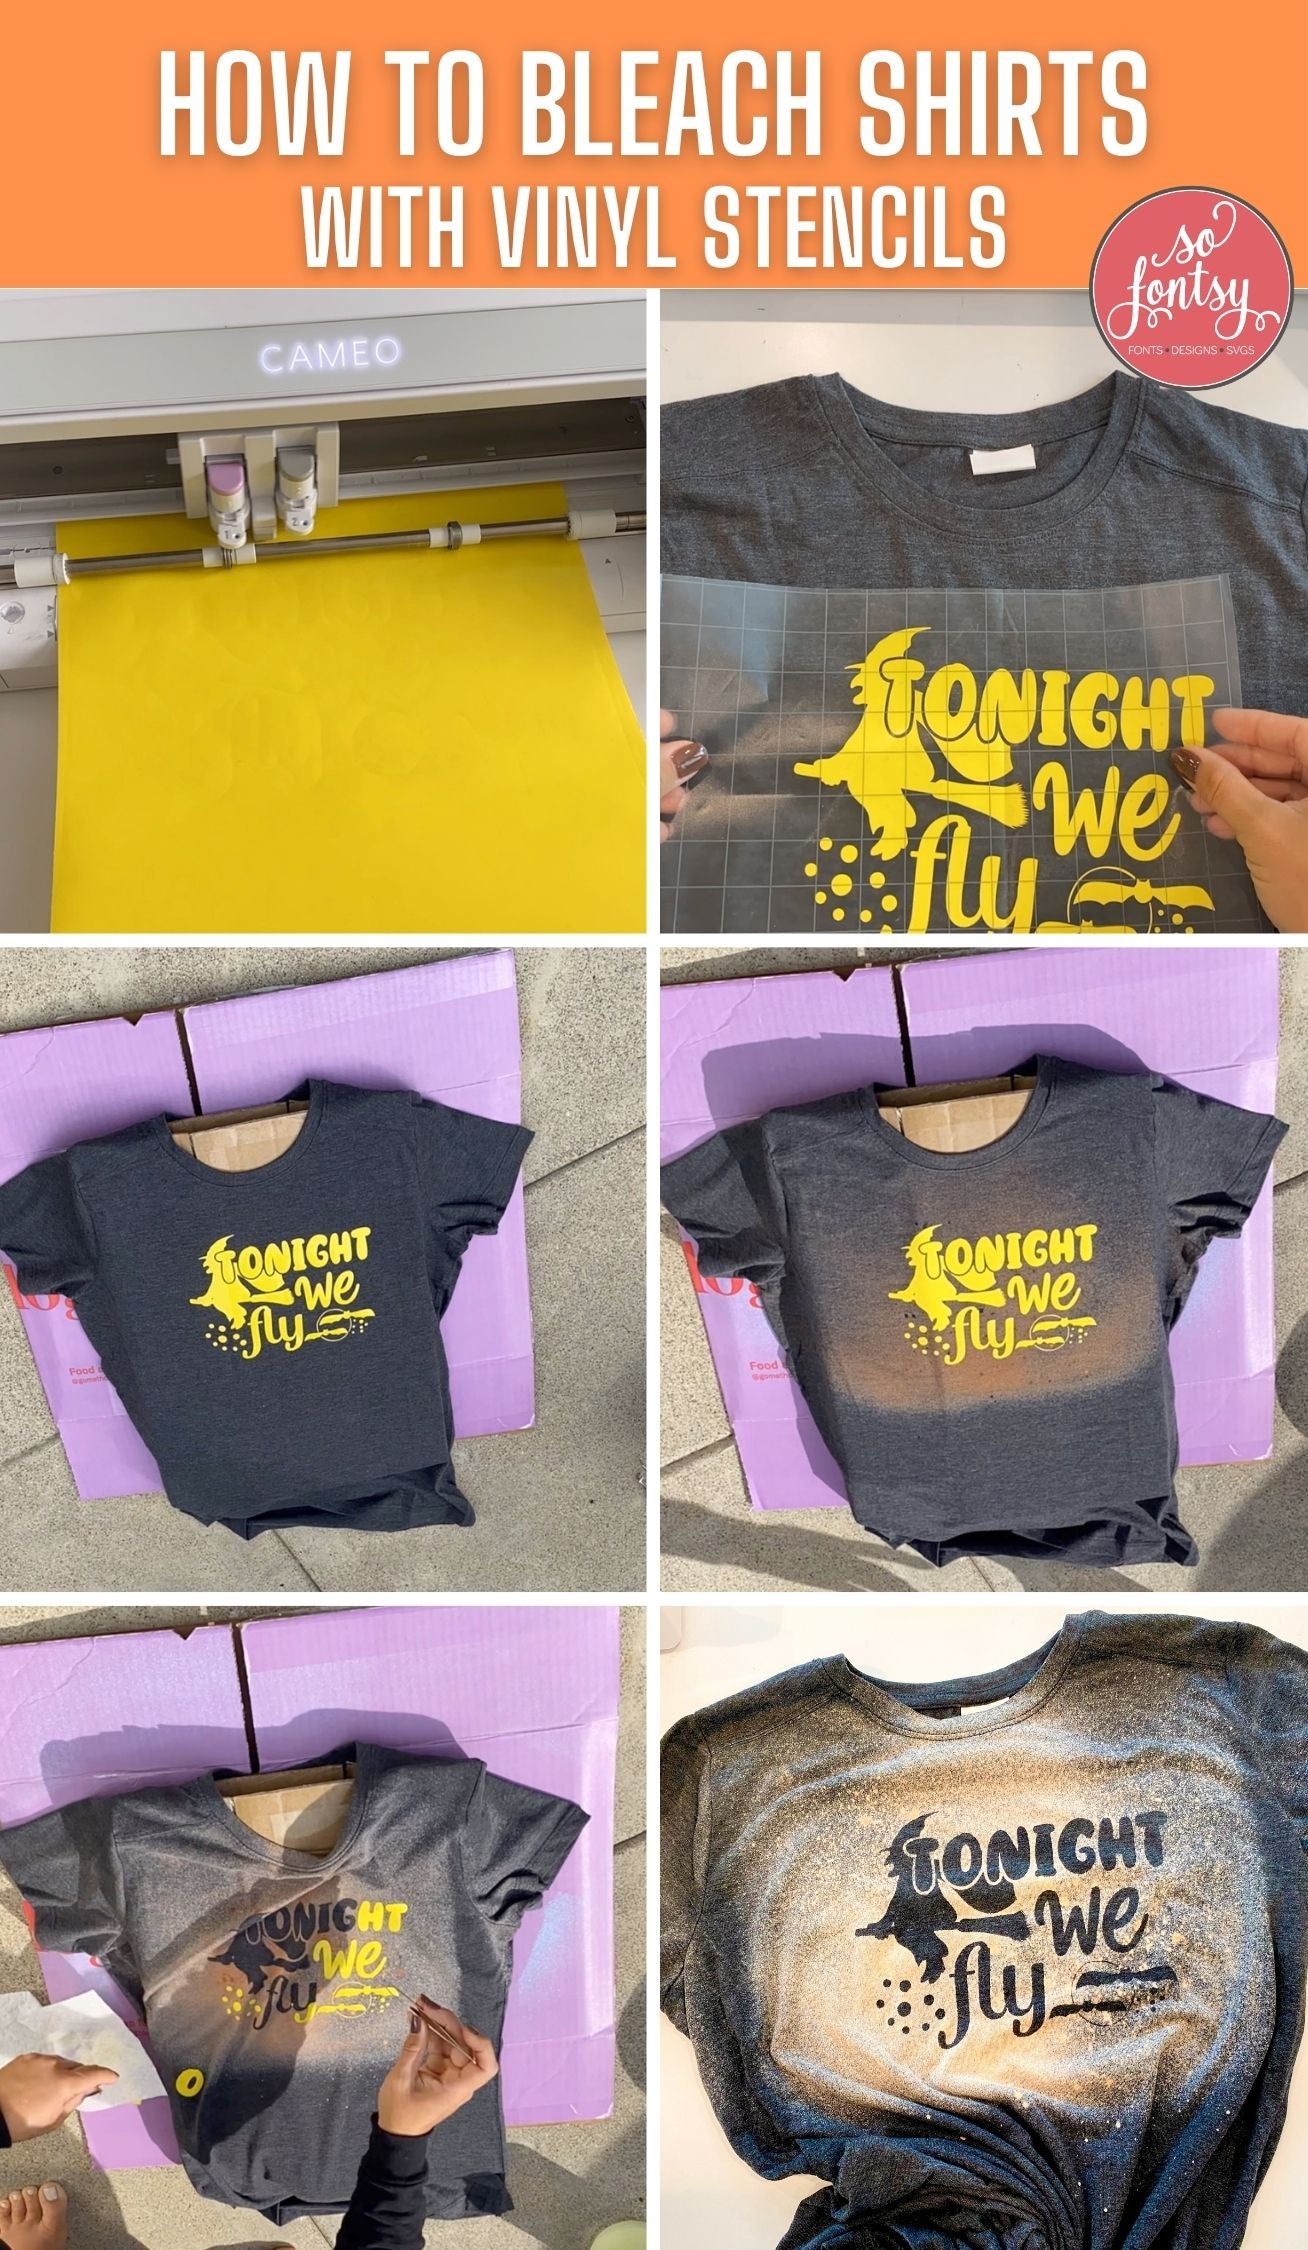
Step 1: Make a Vinyl Stencil
Cut the design out of adhesive vinyl.
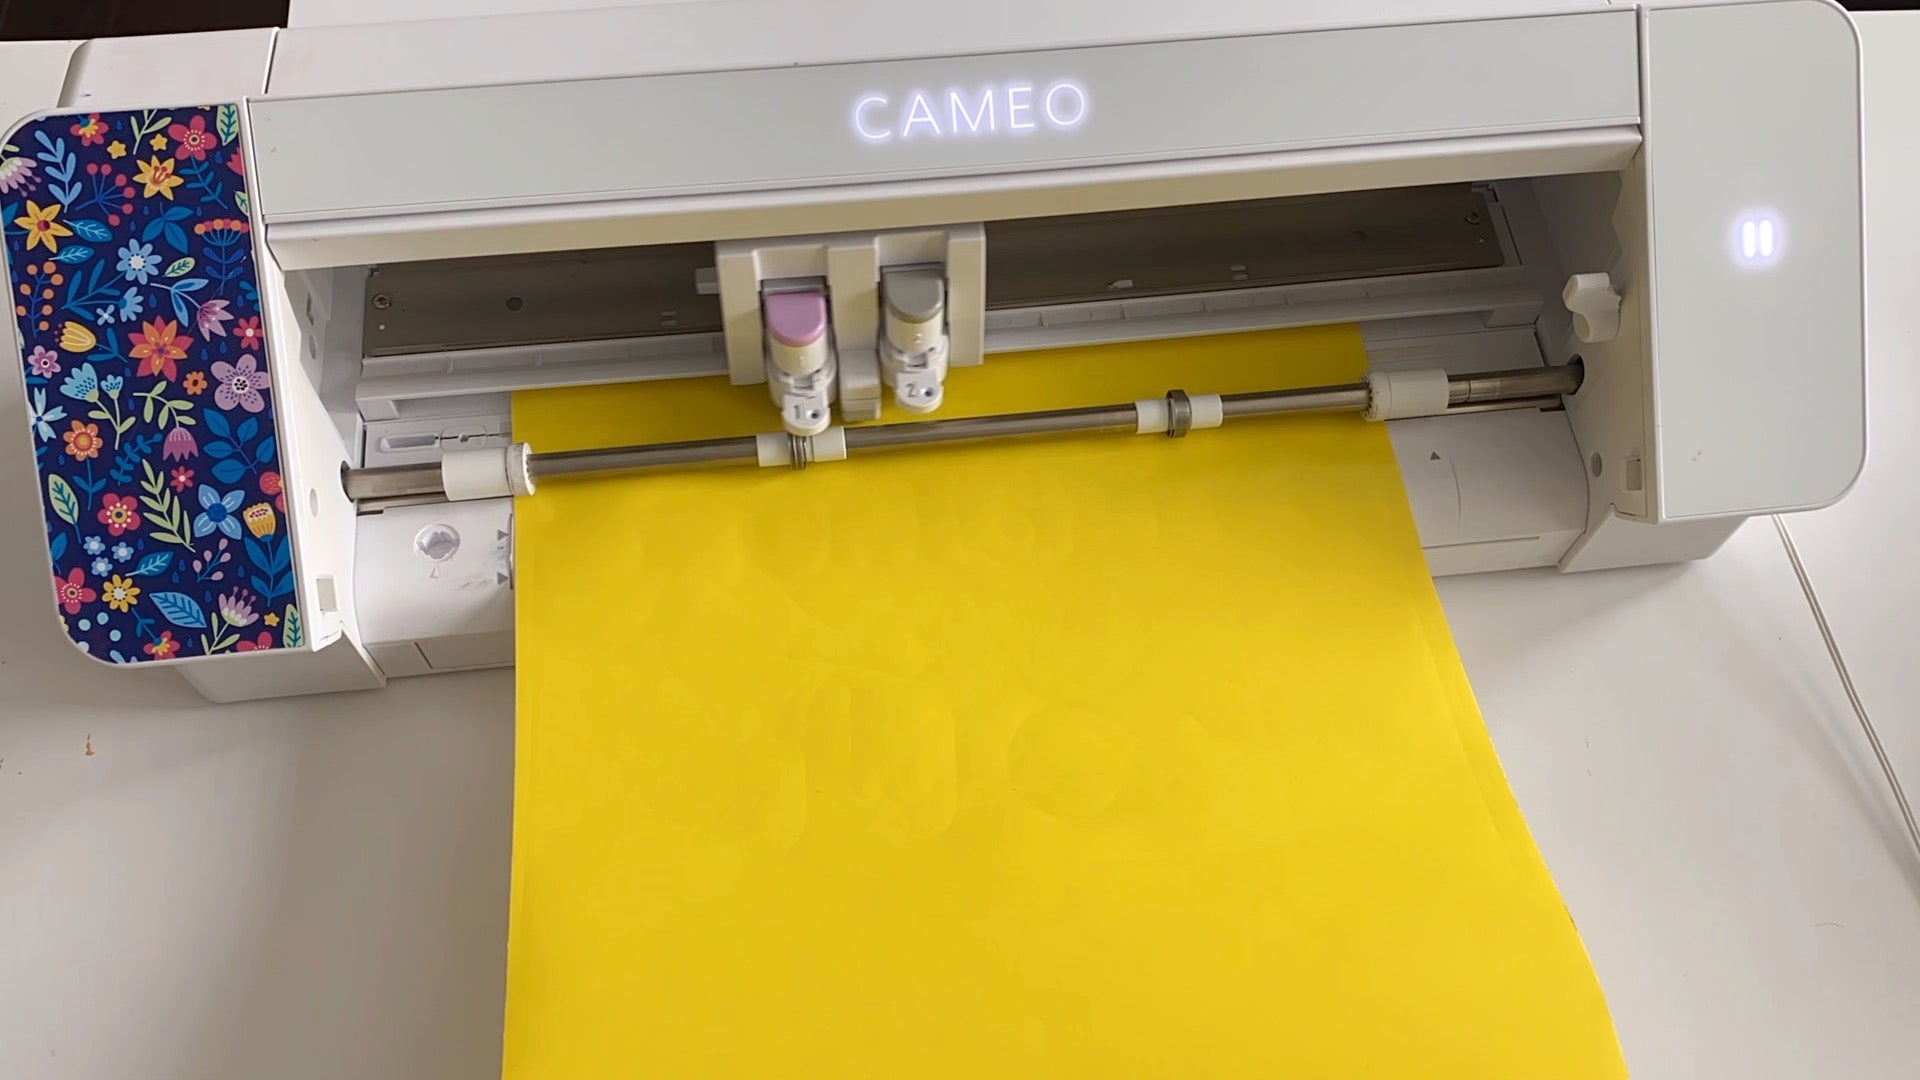
We used Oracal 651 and this halloween SVG from the October 2021 SVG and Font bundle.
Weed the design, apply transfer tape and then stick it on the shirt. Peel back the transfer tape.

Step 2: Spray Bleach the Shirt
Wait for a sunny day and lay the shirt (we highly recommend these heathered black shirts) out flat with a piece cardboard inside the shirt to prevent the bleach from going through to the back.
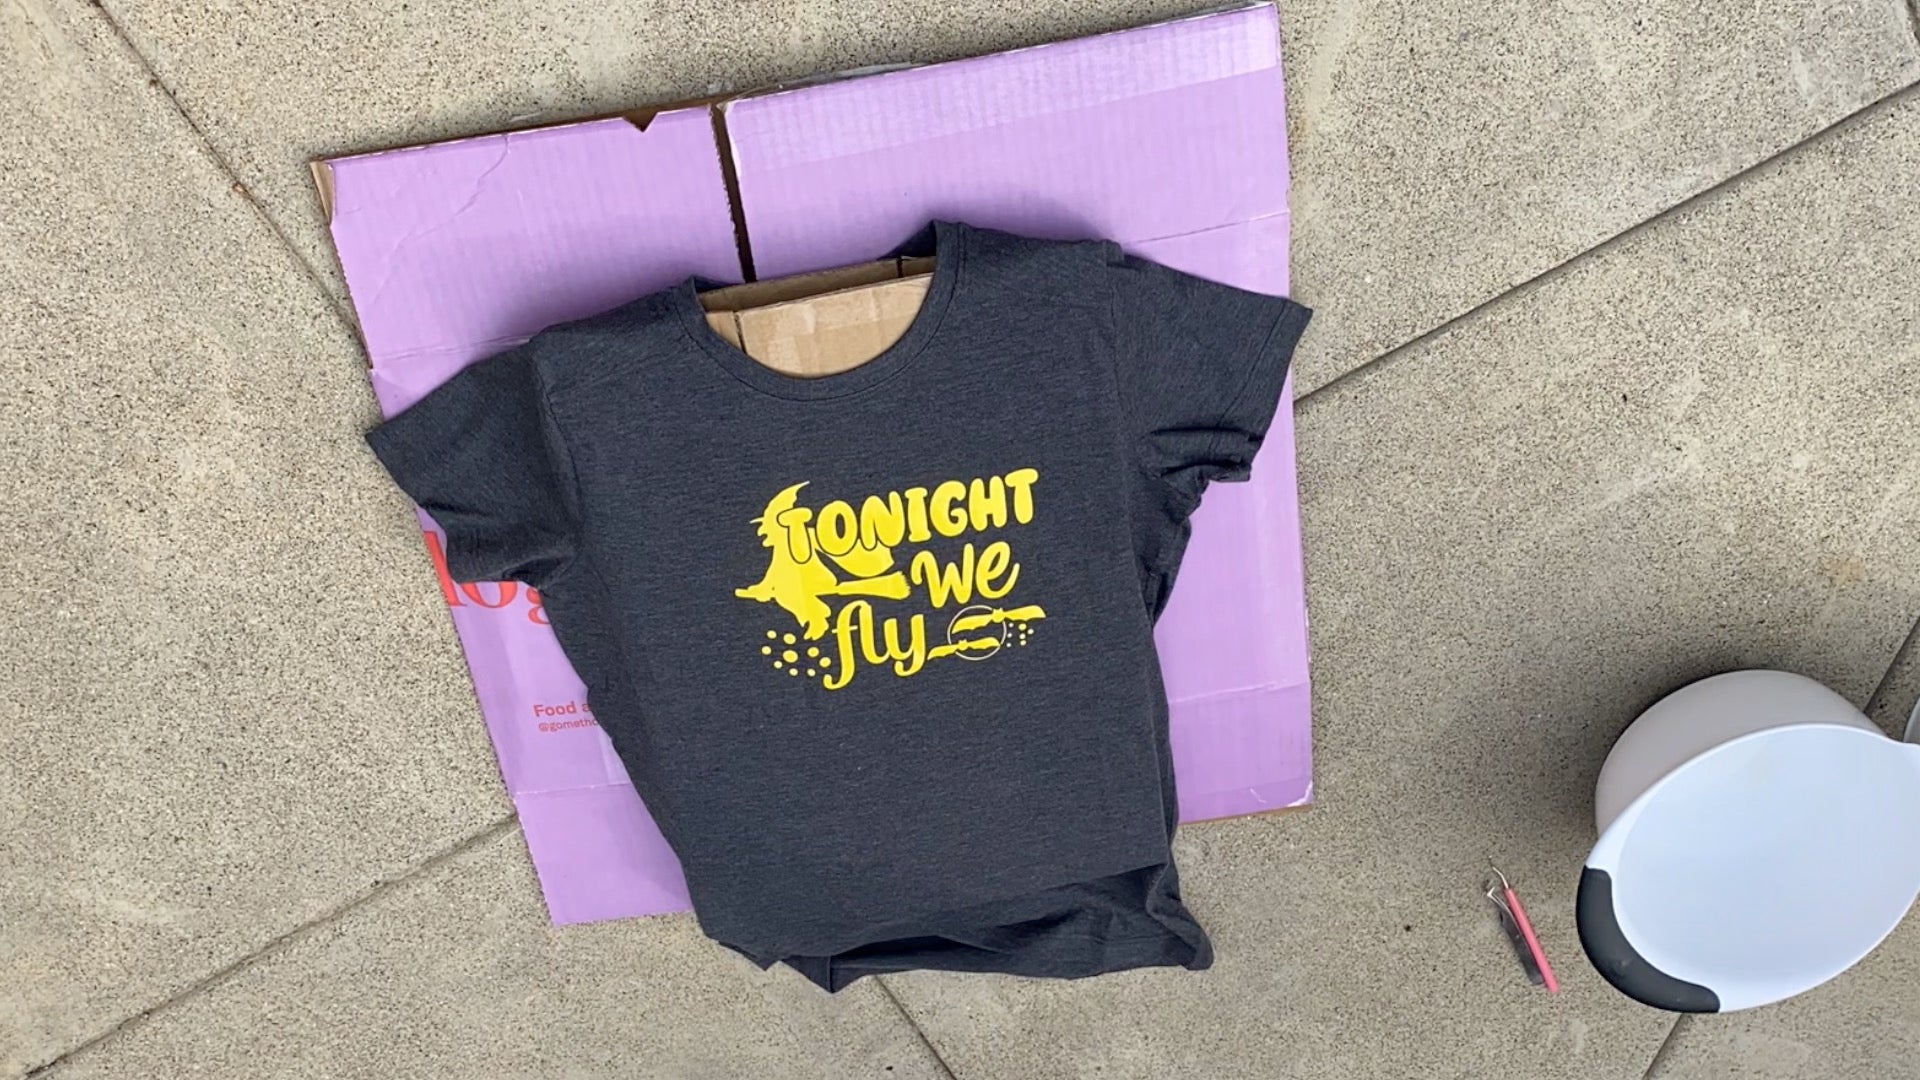
Pour straight bleach into a spray bottle.
Spray bleach the shirt. Watch as it starts to turn orange ...
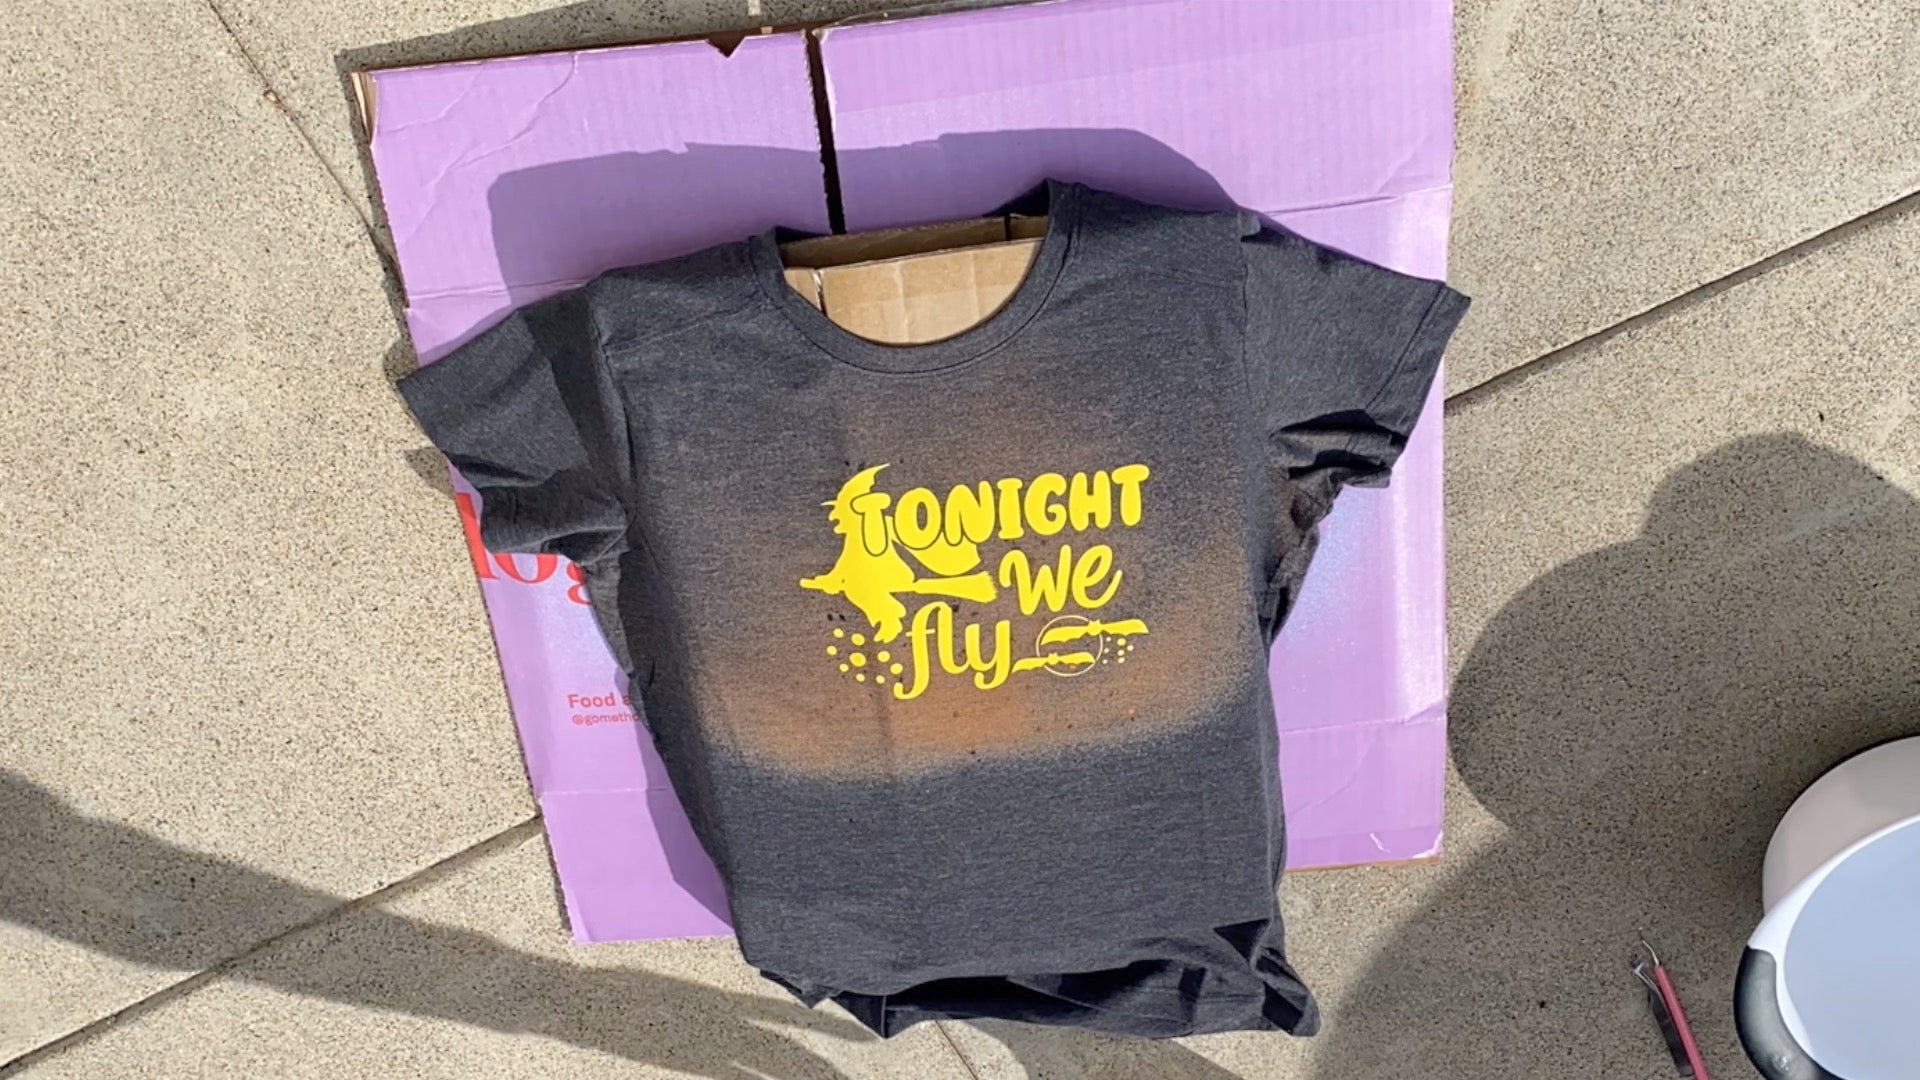
The bleach will keep changing the shirt from black to a shade of orange then white until you stop the bleaching so work quickly to remove the vinyl BEFORE it gets too white.
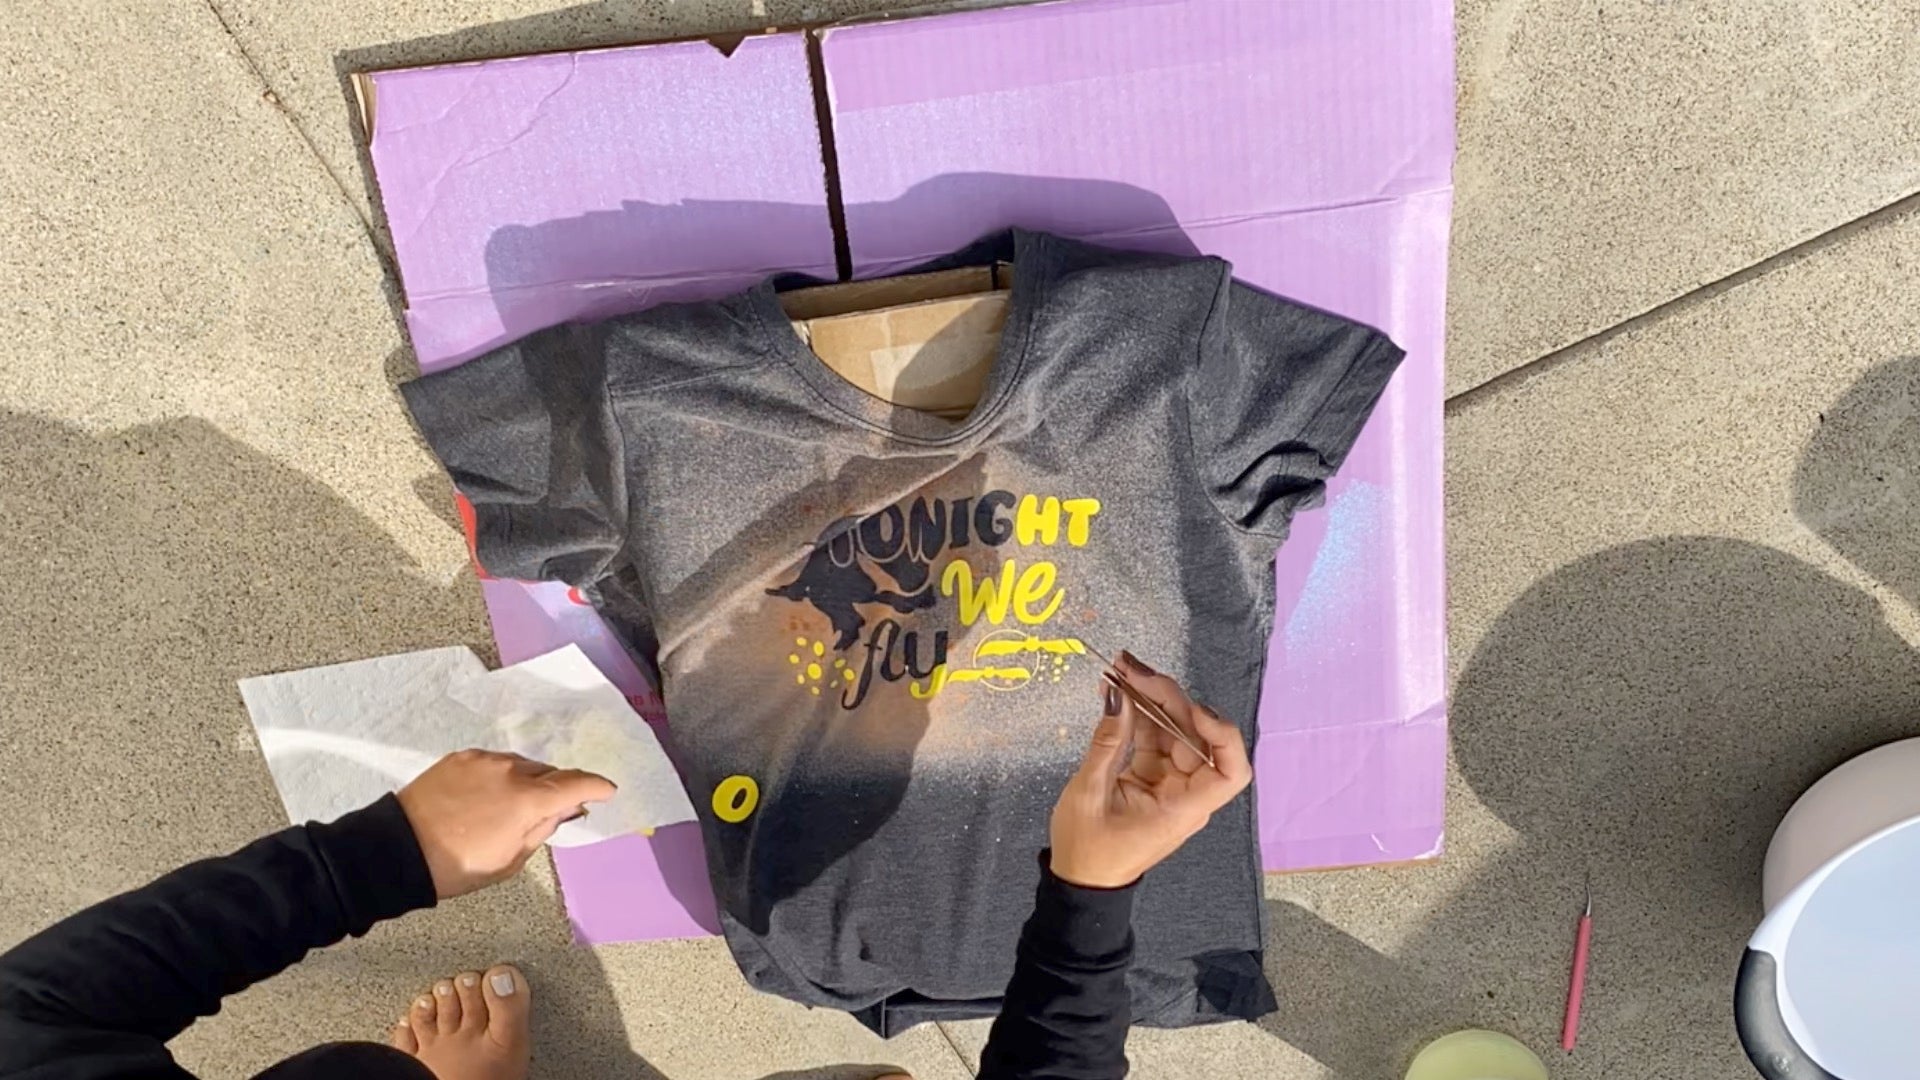
Step 3: Stop the Bleaching
Rinse the shirt in equal part hydrogen peroxide and water (half a cup of each is plenty for 1 shirt).
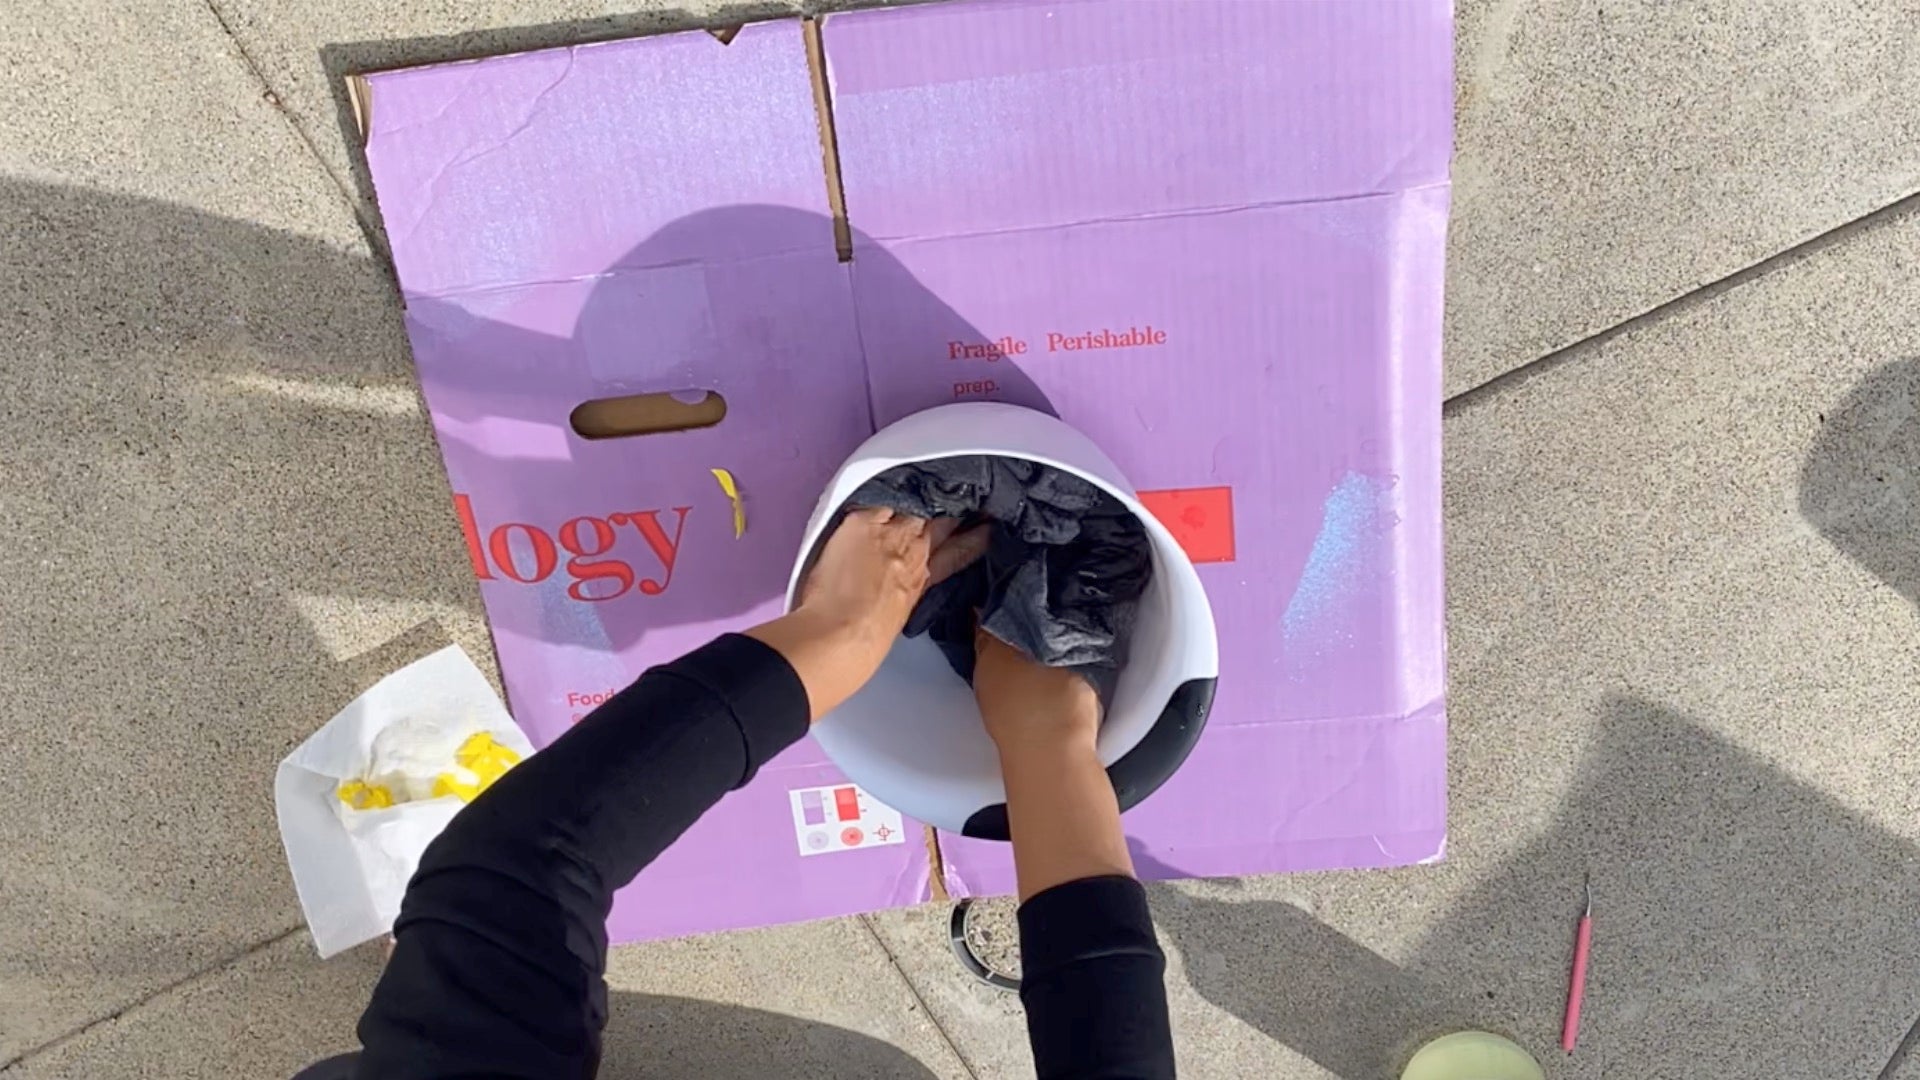
Throw the shirt in the washing machine, then the dryer in a load by itself.
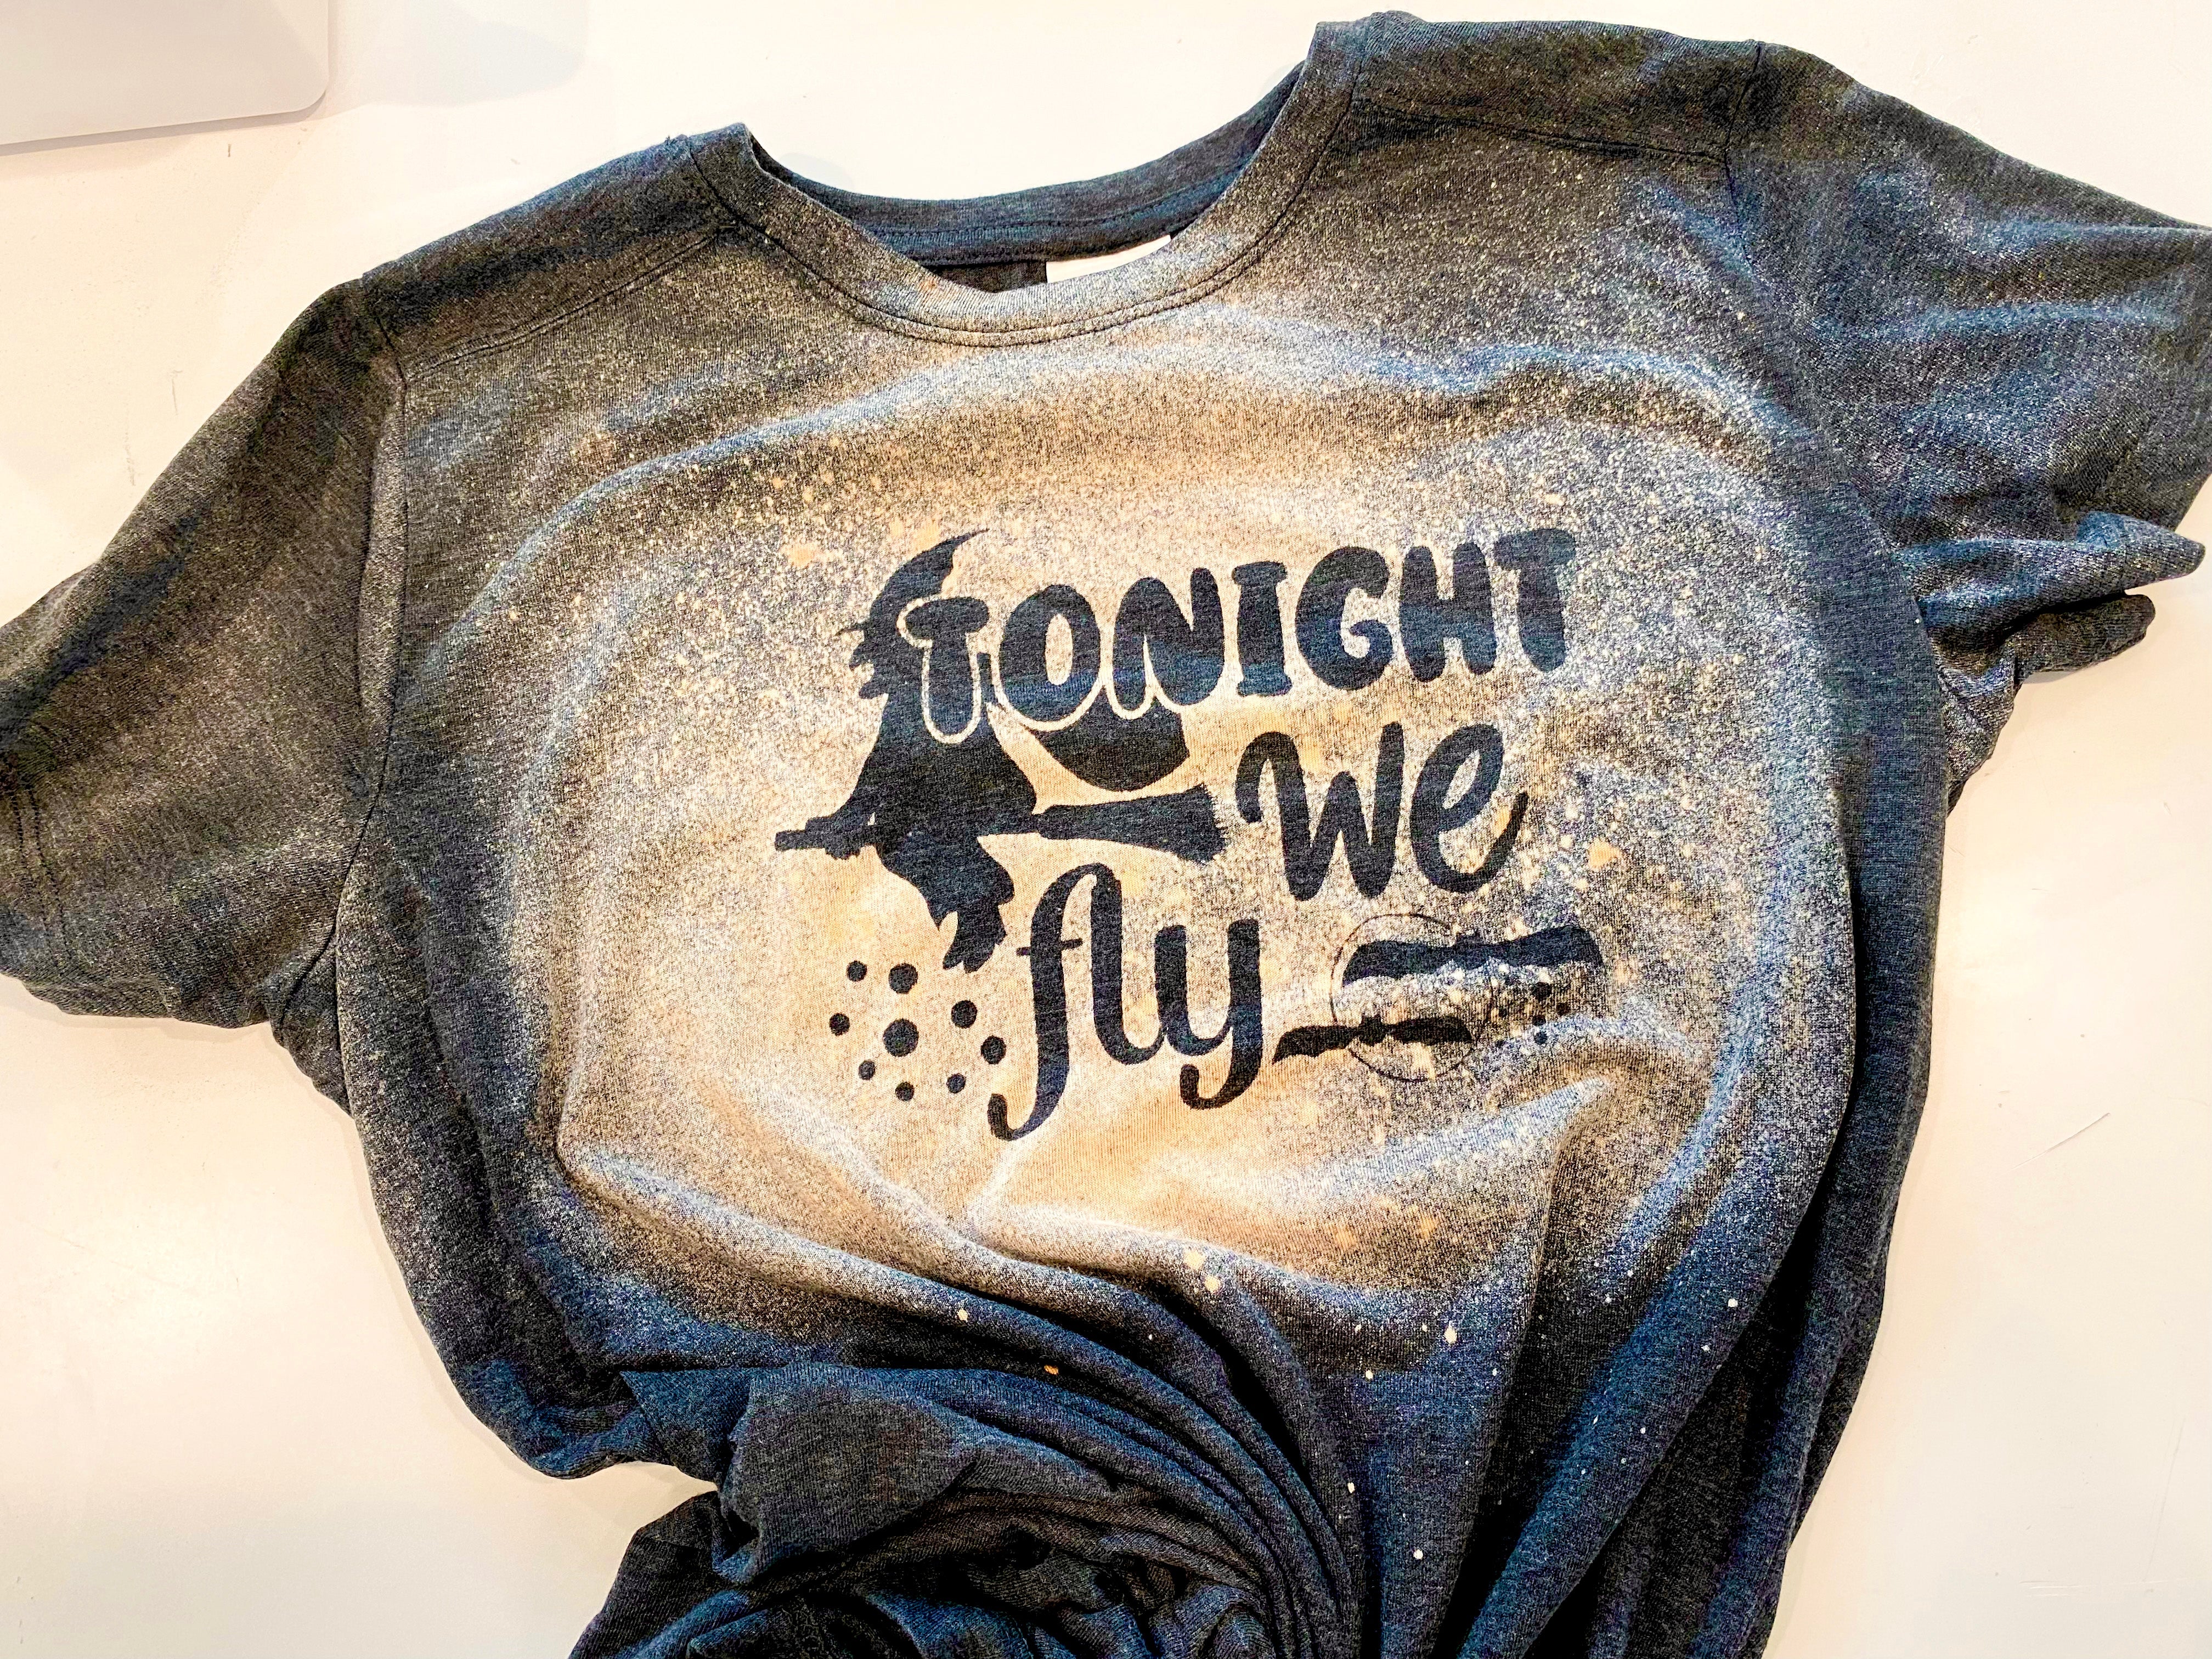
You're done! That's all there is to bleaching a shirt with vinyl! Want to save this project for later? Pin it!
